Image Capturing and Data Types
Image Capturing
After the camera is successfully connected, you can start capturing images by clicking on one of the two scan buttons in the camera viewer interface, as shown in the figure below.
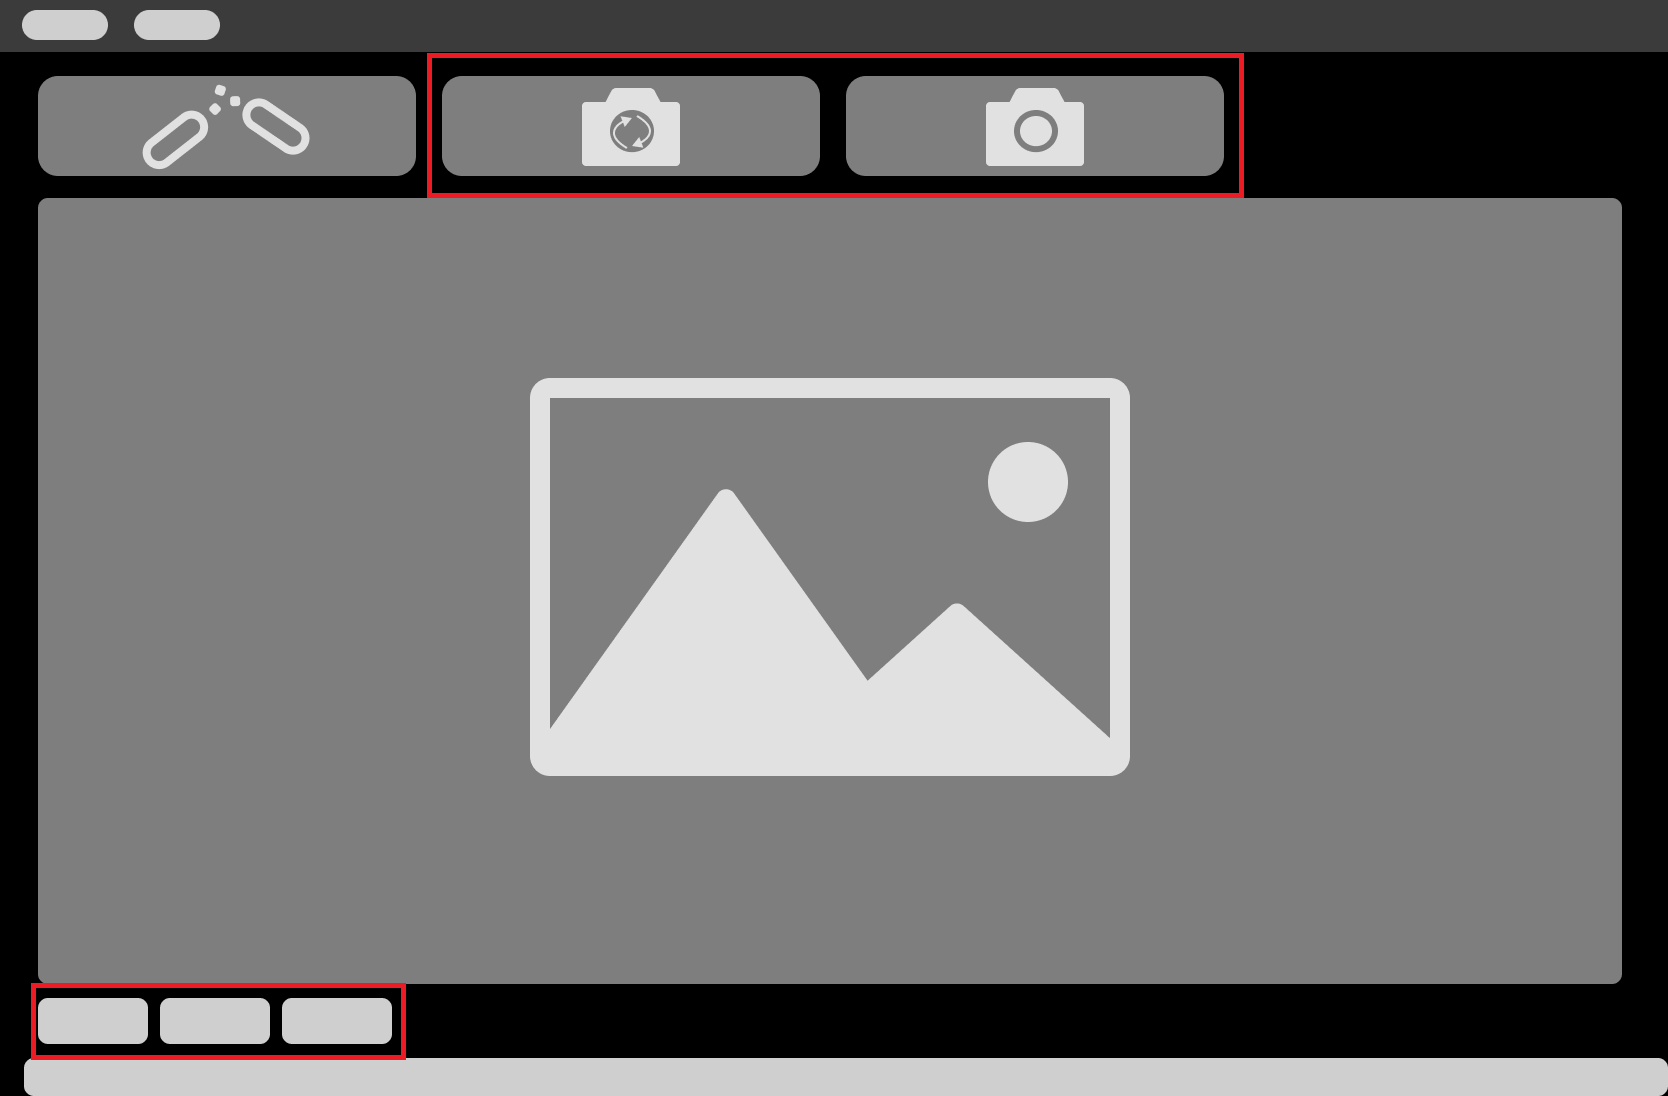
Scan buttons
The two buttons in the interface correspond to two modes of scanning.
Mode |
Description |
Continuous Scan |
Capture images at regular time intervals. The 2D image, depth map, point cloud reflect the status of the scene almost in real-time. |
Scan Once |
Capture image once. |
Data Types
After the camera started capturing images, you can view the captured object information in the following data types. You can switch between the data types by clicking on the corresponding tabs at the bottom of the interface.
Data type |
Description |
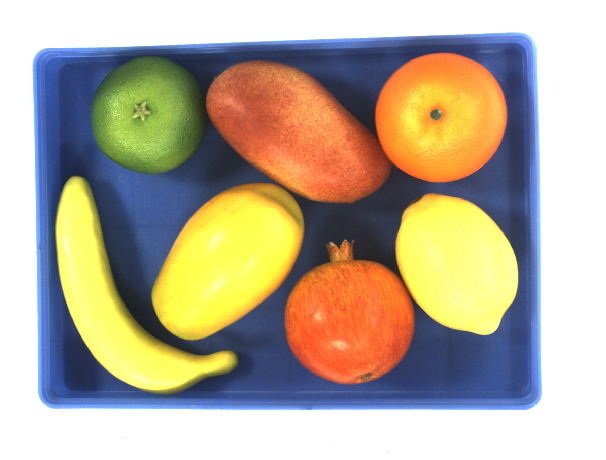
2D Image |
2D monochrome/color image (depending on whether the camera is a color camera) |
Depth map |
2D map containing information about the distances from the camera to points on the object surfaces. The value of each pixel is the actual distance the sensor measured. |
Point cloud |
The collection of points in the 3D space that reflect object surface features |
Depth Map
Below is an example of a depth map. You can set the display color under Color Scale and scroll to zoom in/out.
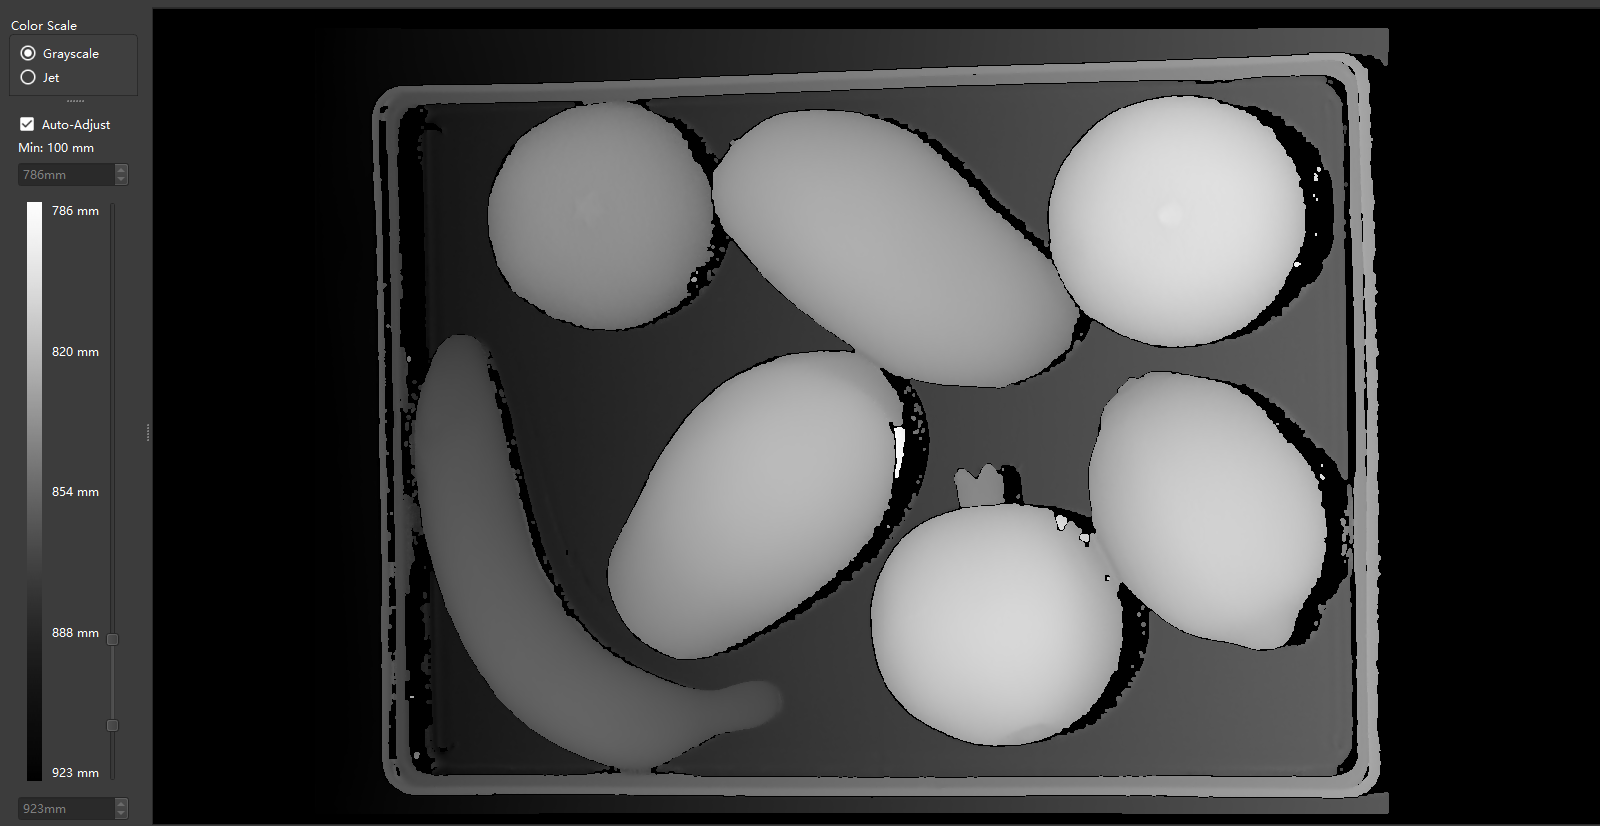
Depth map example
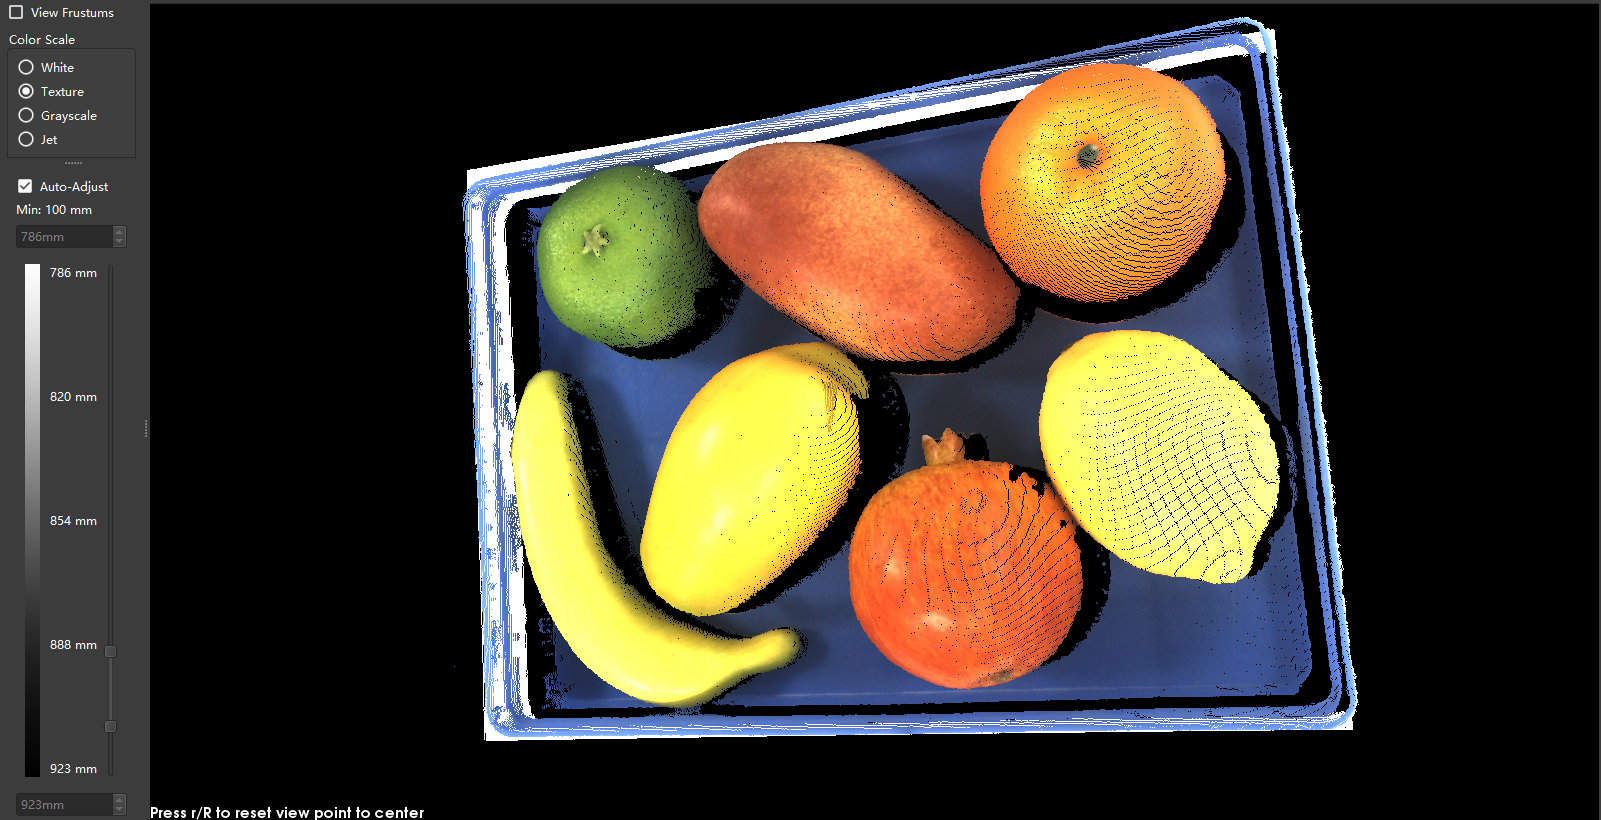
Point Cloud
Below is an example of a point cloud. You can set the display color under Color Scale, scroll to zoom in/out, and hold and drag to rotate the point cloud.
Point cloud example
You can view the view frustums by checking the option on the upper left corner when viewing the point cloud.
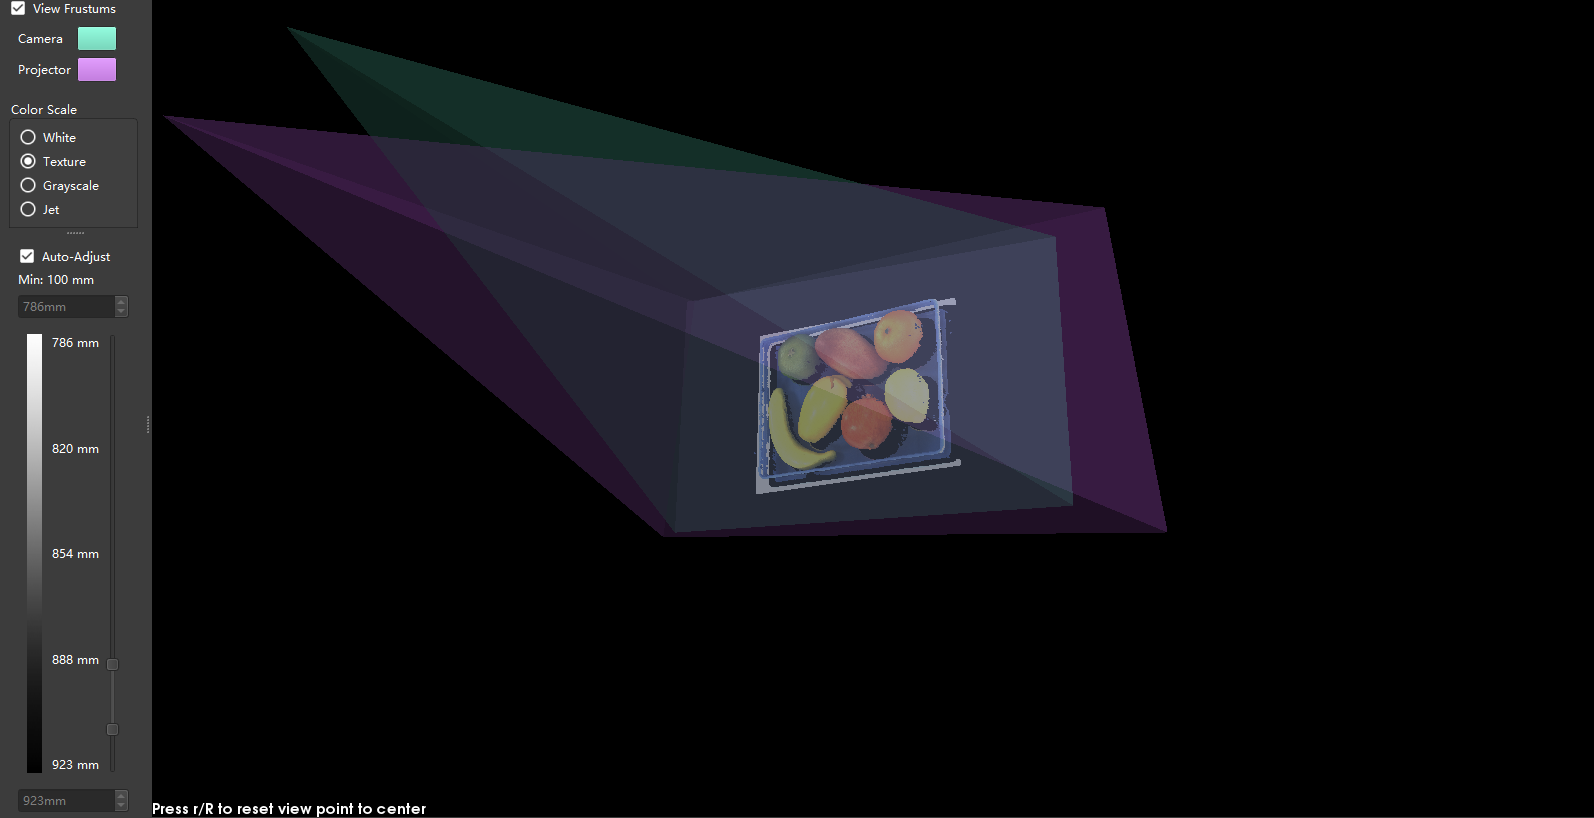
View Frustums