Instructions for Large Non-Planar Workpieces Loading Projects
The procedures for setting up a new large non-planar workpieces loading project are shown below:
Create Project
Click on in the menu bar or New Typical Application Project on the toolbar to open the following window.

Select Large Non-Planar Workpieces.
Name the project.
Click on
 to select a folder to save the project (it is recommended to create an empty folder), then click Create Project .
Project Configuration
Camera Configuration
Once the project is created, the Camera Config window as shown below will pop up.
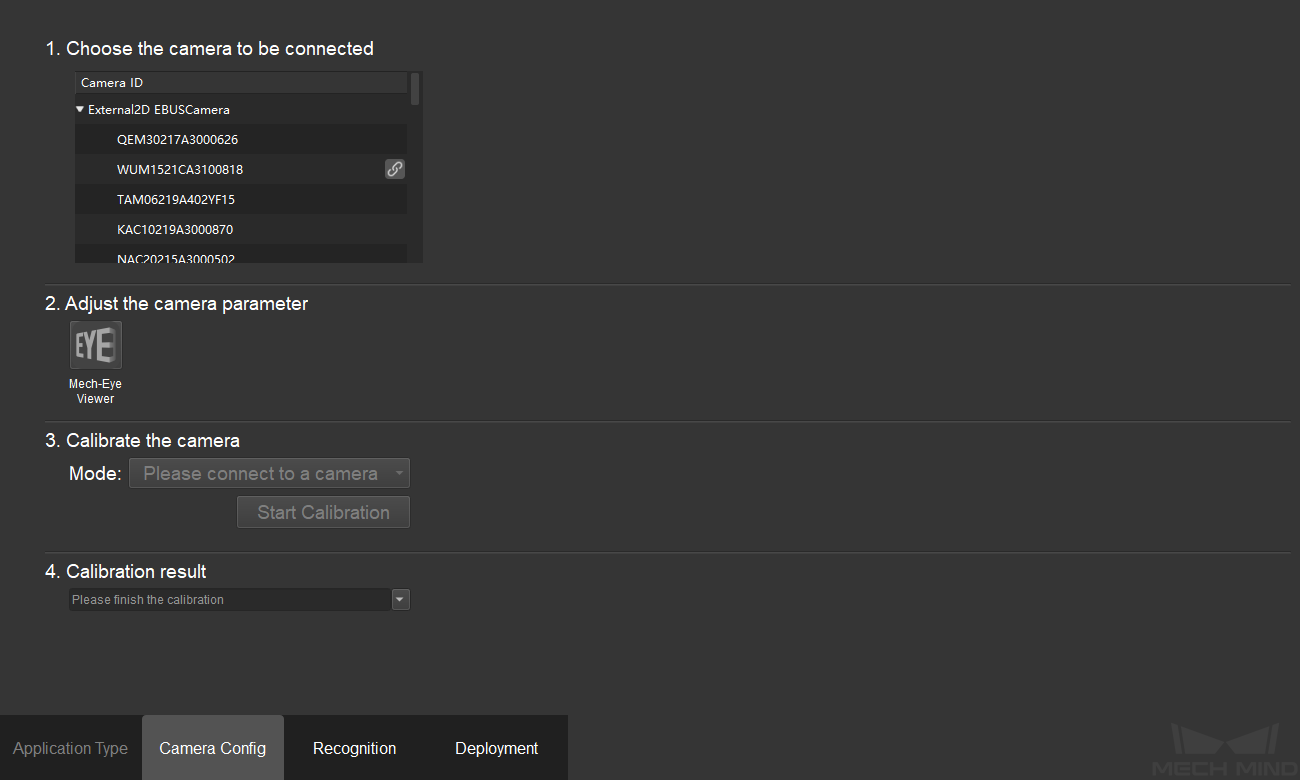
Please refer to Camera Configuration to complete the camera configuration.
Recognition
After the camera configuration is completed, click the Recognition tab at the bottom of the window and configure the point cloud, 3D matching, and poses, as shown below.

Point Cloud Pre-processing
Click Set 3D ROI in the point cloud pre-processing panel to set a 3D ROI. Please refer to Instructions for Setting 3D ROI for detailed instructions.
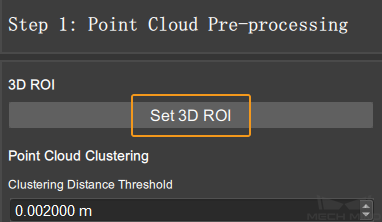
Set the value of Clustering Distance Threshold, Min Output Point Cloud, and Max Output Point Cloud.
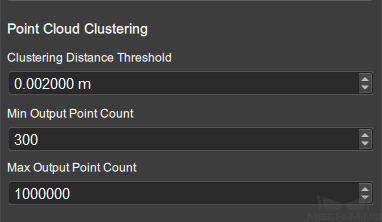
Clustering Distance Threshold: The maximum distance between two points which belong to the same point cloud cluster.
Min Output Point Cloud: The minimum number of points in a cluster, and clusters with fewer points than this value will be removed.
Max Output Point Cloud: The maximum number of points in a cluster, and clusters with points more than this value will be removed.
3D Matching
Click 3D Matching and then click Model editor to open the matching model and pick point editor. Please refer to Matching Model and Pick Point Editor for detailed instrcutions.
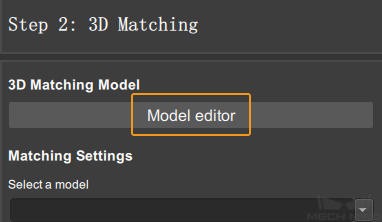
Once a point cloud model is created and saved, you can select the saved point cloud model in the drop-down list, as shown below.
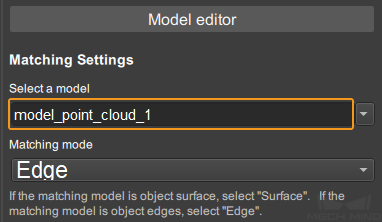
Matching mode: Select “Surface” if the point cloud model represents the whole surface of the workpiece; select “Edge” if the point cloud model only represents the edge of the workpiece.
Expected Point Cloud of Sampled Model: The smaller the value, the fewer the number of points in the sampled point cloud and the lower the matching accuracy.
Matching Speed: You can choose from High Speed, Standard, High Precision, and Customized.
Confidence: The matching result will be considered valid only if the validation confidence is greated than this value. The higher the value is, the more accurate the matching result will be.
Max Number of Outputs: This parameter specifies the maximum output number of the matching results. However, it is not necessarily equal to the actual number of output results.
Pose Processing
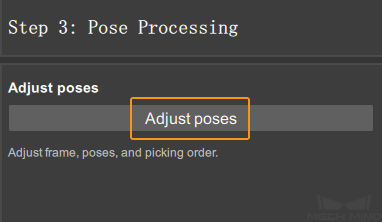
Click Pose and then click Adjust poses to open the pose step editor. Please refer to Pose Step Editor for detailed instructions.
Deployment
After you have completed configurating Recognition, click the Deployment tab to enter the deployment interface, as shown below. You can choose whether to load the project automatically and then click Finish to apply the configuration.

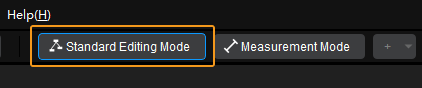
After clicking Finish, you will enter the operator interface by default. Please click Standard Editing Mode on the toolbar if you want to switch to the standard editing mode.
Running and Debugging
After completing the project deployment, click on ![]() to run the project.
to run the project.
Please see Run Project and Debug for how to run and debug the project.
Please see Details of the Project to learn about the algorithms and parameter adjustment of the project.
Tip
If you need to save the images or parameters when debugging the project or before training a deep learning model, you can use the tool Data Storage.
After successfully running and debugging the project, if you need to save the on-site data for future reference or you find that certain part of the project is not performing well and would like to optimize the Step or tune the parameters in an off-site situation, the tools Data Storage and Data Playback can be very useful.
Prerequisites for using the tool Data Playback:
A project file in which the project can run correctly without errors.
On-site source data which is gathered during the whole period while running the project, including 2D color images, depth maps, camera parameter file. Please refer to Data Storage for instructions on how to save the data.