Getting Started with Mech-Center
Install Mech-Center
Double-click on the Mech-Center .exe file to run the Setup Wizard, and then click on Next.
Select an installation path and then click on Next.
Choose whether to keep custom settings and create desktop shortcuts (usually checked by default) and then click on Next.
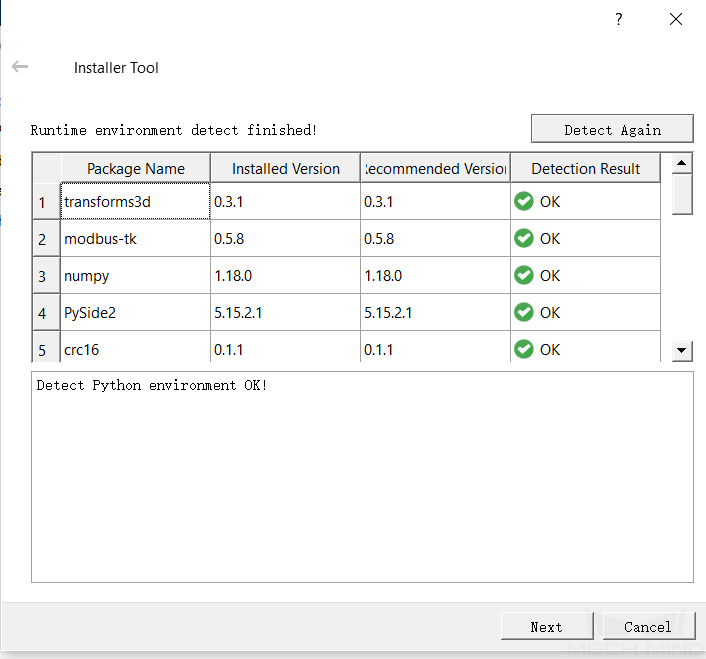
After installing Mech-Center, an environment check will be performed. Please download the missing components according to the notification. If the environment check is passed, click on Next. An message which reads “Integrated environment installed successfully” will be displayed, and then click on Finish to complete installation.
Check Open Mech-Center and click on Done will enable to run Mech-Center automatically after exit the Setup Wizard.
Now you have installed Mech-Center sucessfully. The icons
 and
and  will be displayed on the desktop.
Hint
If you have any problems opening Mech-Center, please check the installation environment first. You need to double-click on ![]() to enable Runtime Environment Check Tool to check if the environment meets all requirements.
to enable Runtime Environment Check Tool to check if the environment meets all requirements.
Deployment Settings
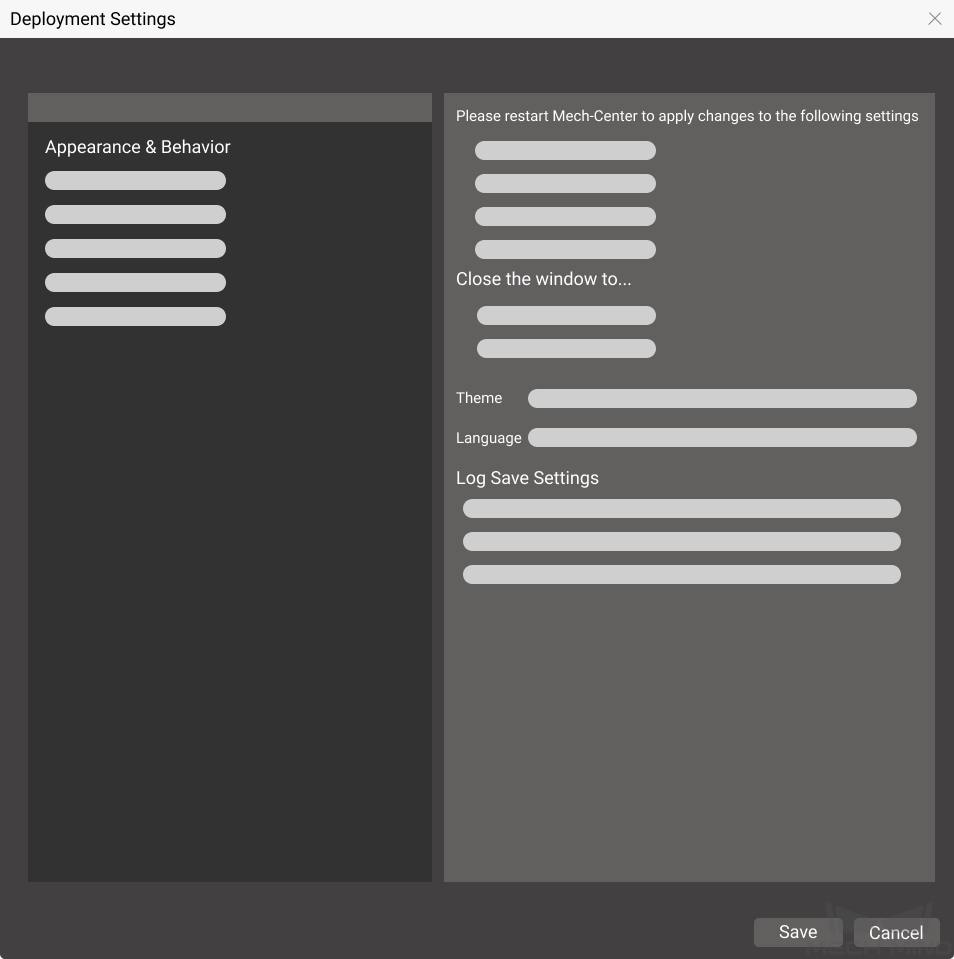
Open Mech-Center and click on Deployment Settings ![]() on the Toolbar to open the Deployment Settings window, as shown below. You can configure the path, parameter, and other settings in it. After configuration, please click on Save. For detailed instructions, please refer to Deployment Settings.
on the Toolbar to open the Deployment Settings window, as shown below. You can configure the path, parameter, and other settings in it. After configuration, please click on Save. For detailed instructions, please refer to Deployment Settings.
Hint
Please use Deployment Settings according to actual needs.
If Mech-Vision, Mech-Viz, and Mech-Eye Viewer are installed successfully, their paths will be automatically added in Deployment Settings, and you do not need to add by yourself.
Open Projects
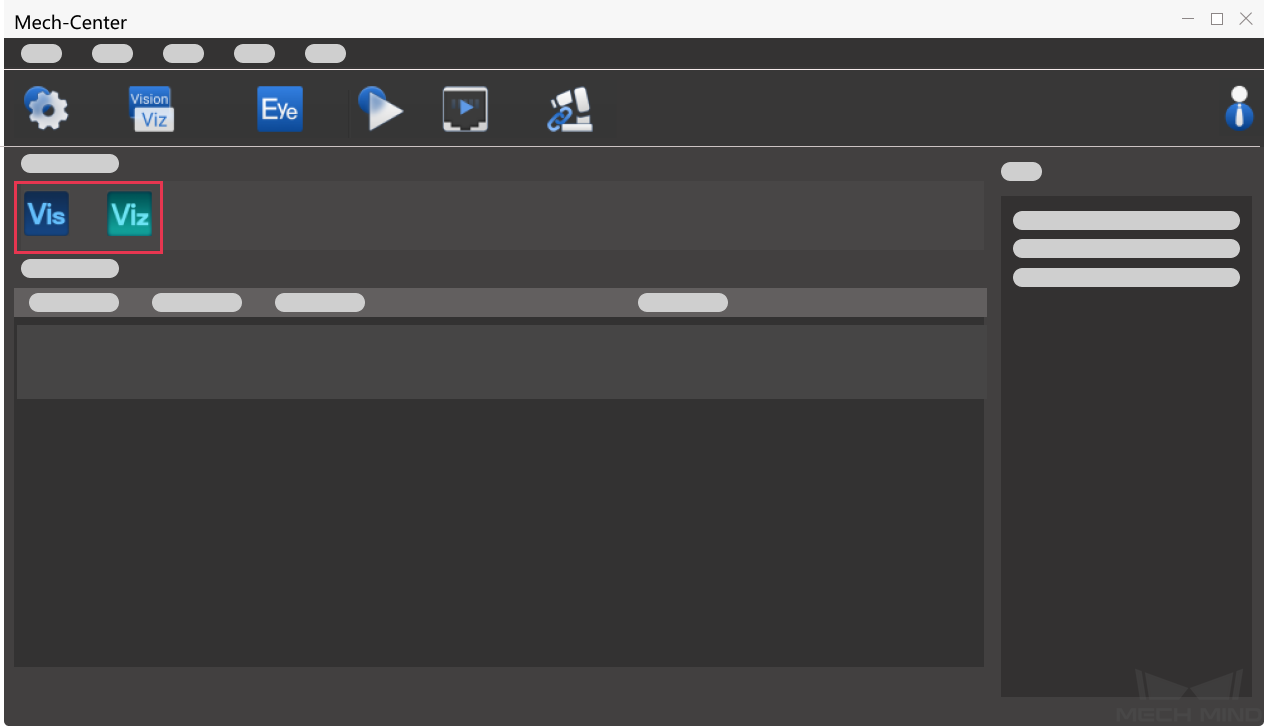
Click on Start ![]() on the Toolbar to open Mech-Viz and Mech-Vision. Their icons will be displayed on the Service Status Bar.
on the Toolbar to open Mech-Viz and Mech-Vision. Their icons will be displayed on the Service Status Bar.
Open Mech-Viz Project
Click on
 to enter the main interface of Mech-Viz.
Create a project: please refer to Create a Project for detailed instructions. You can also open an existing project.
Check Autoload Current Project on the toolbar of Mech-Viz.
View project status: the project status will be displayed on the Project Status Bar.
Hint
After checking Autoload Current Project in Mech-Viz, the Project path will be automatically added.
Open Mech-Vision Project
Click on
 to enter the main interface of Mech-Vision.
Create a project: please refer to Typical Applications to create a project. You can also open an existing project.
Check Autoload Project: select the project in the Project List and right-click with the mouse, and then check Autoload Project in the context menu.
Add project path: go to , click on
 and then Save to add the project path.
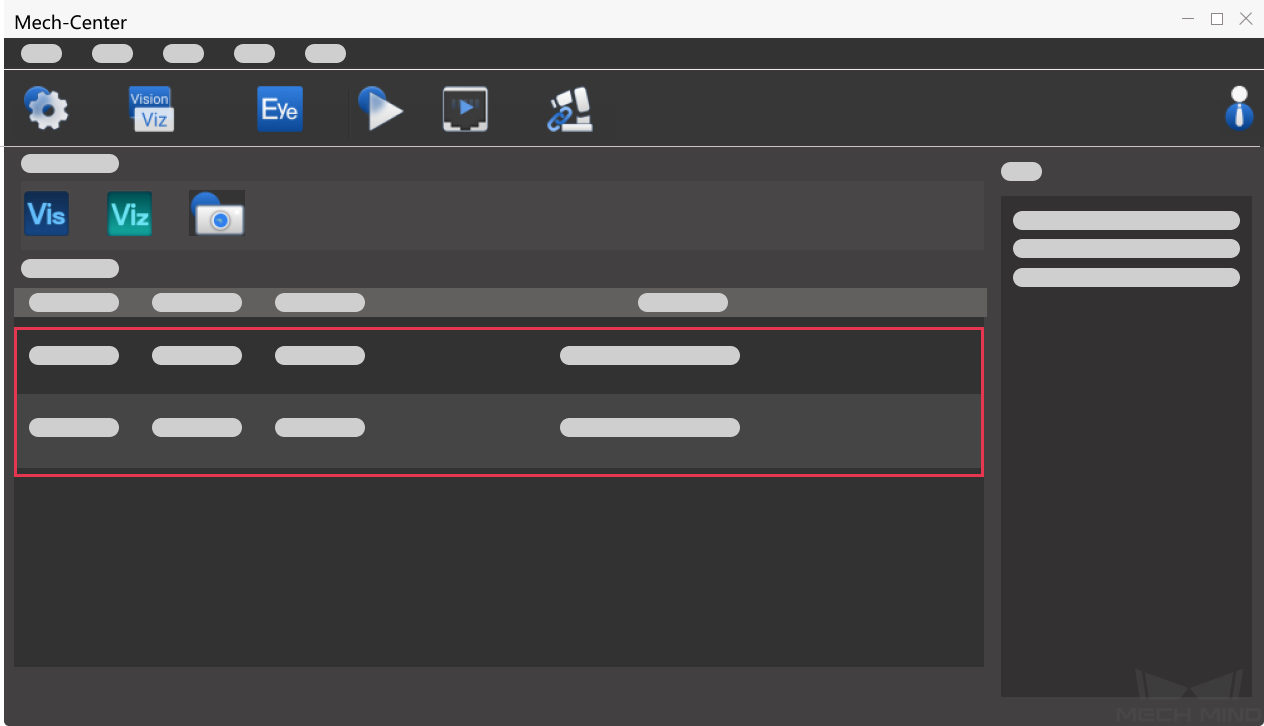
View project status: the project status will be displayed on the Project Status Bar, as shown below.
Configure Camera Settings
If you need to check or configure settings of the camera, click on Start Mech-Eye Viewer ![]() on the Toolbar. The icon will be displayed on the Service Status Bar.
on the Toolbar. The icon will be displayed on the Service Status Bar.
Connect the Robot
If the on-site robot you are using is not UR, you need to load the program files before connecting to Mech-Center. For detailed instructions, please see Robot Integrations. Click on Connect Robot ![]() on the Toolbar to connect a real robot. If the connection is successful, a robot icon will be displayed on Service Status Bar.
on the Toolbar to connect a real robot. If the connection is successful, a robot icon will be displayed on Service Status Bar.
For projects using Mech-Interface, please click on Start Interface ![]() on the Toolbar. After the interfce service is enabled, an icon will be displayed on Service Status Bar.
on the Toolbar. After the interfce service is enabled, an icon will be displayed on Service Status Bar.
Run the Project
Hint
If you want to control a real robot, please go to and uncheck Run as simulation.
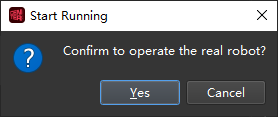
Click on Run ![]() . If a window as shown below pops up, click on Yes to run the loaded project. Then you can view related information on the Project Status Bar while running the project.
. If a window as shown below pops up, click on Yes to run the loaded project. Then you can view related information on the Project Status Bar while running the project.
Attention
When the real robot is working, please ensure the safety of personnel. When an emergency occurs, please press the emergency stop button on the robot teach pendant.
Example Mech-Viz Projects for Standard Interface
In the file location of Mech-Center, in the folder tool\viz_project, there are four example Mech-Viz projects for using Standard Interface.
Check_collision
For path planning and collision detection in vision-guided picking.
Outer_move
For the scenarios in which the robot needs to move to a pose passed in from an external client.
Suction_zone
For using multiple suction cup sections (or array grippers) through DO signals.
Vision_result_reuse
For the scenarios in which the vision result returned at a time need to be used multiple times for path planning and collision detection in vision-guided picking.