Instructions for High Precision Positioning Projects
The procedures for setting up a new high precision positioning project are shown below:
Create Project
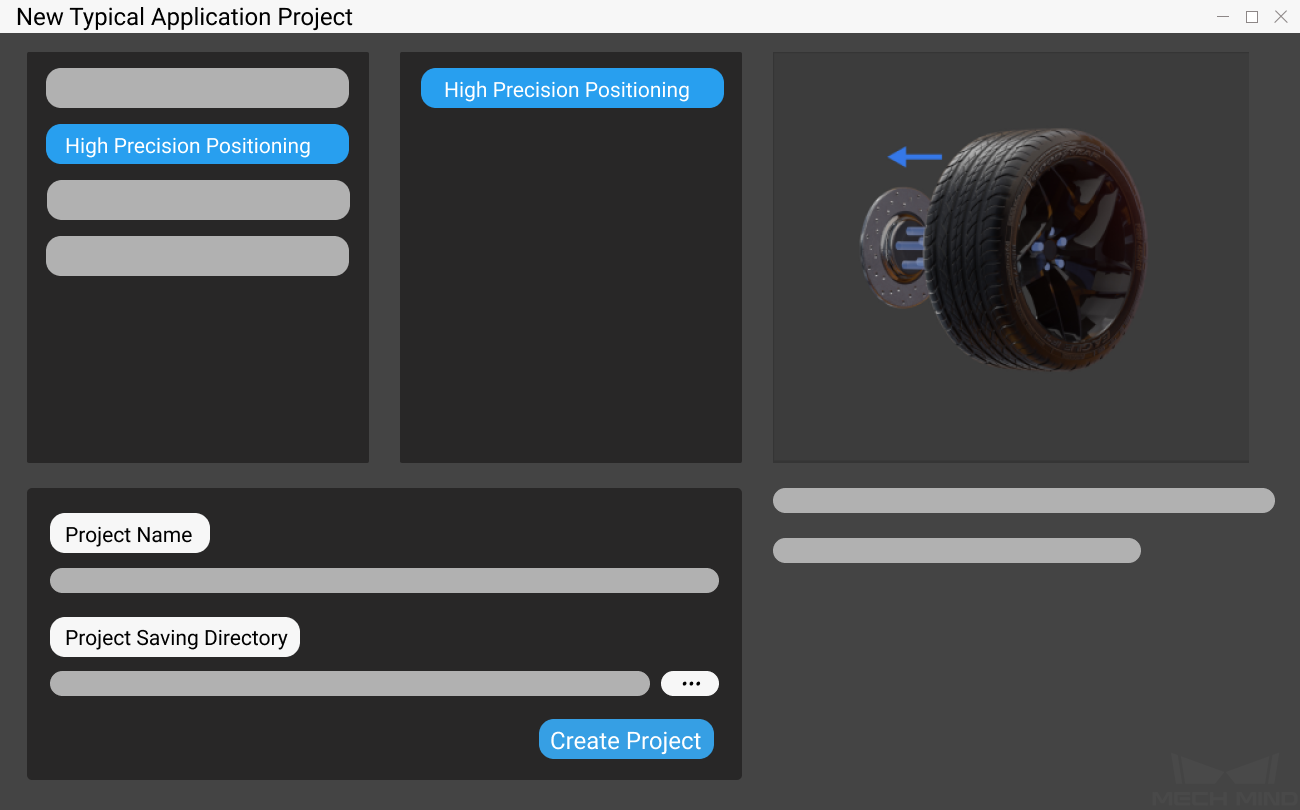
Click on in the menu bar or New Typical Application Project on the toolbar to open the following window.

Select High Precision Positioning.
Name the project.
Click on
 to select a folder to save the project (it is recommended to create an empty folder), then click Create Project .
Point Cloud Model Creation
After deploying the project, please complete the following preparation:
Use Matching Model and Pick Point Editor to create a point cloud model of the target object for 3D matching Steps.
Hint
For instructions on point cloud model creation, please see Matching Model and Pick Point Editor.
Running and Debugging
Before running the project, please refer to Hand-Eye Calibration Guide to complete the camera calibration.
After completing the calibration, please make preparation to capture images by adjusting Capture Images from Camera after reading Step Reference Guide.
Please see Run Project and Debug for how to run and debug the project.
Please see Details of the Project to learn about the algorithms and parameter adjustment of the project.
After successfully running and debugging the project, if you need to save the on-site data for future reference or you find that certain part of the project is not performing well and would like to optimize the Step or tune the parameters in an off-site situation, the tools Data Storage and Data Playback can be very useful.
Prerequisites for using the tool Data Playback:
A project file in which the project can run correctly without errors.
On-site source data which is gathered during the whole period while running the project, including 2D color images, depth maps, camera parameter file. Please refer to Data Storage for instructions on how to save the data.