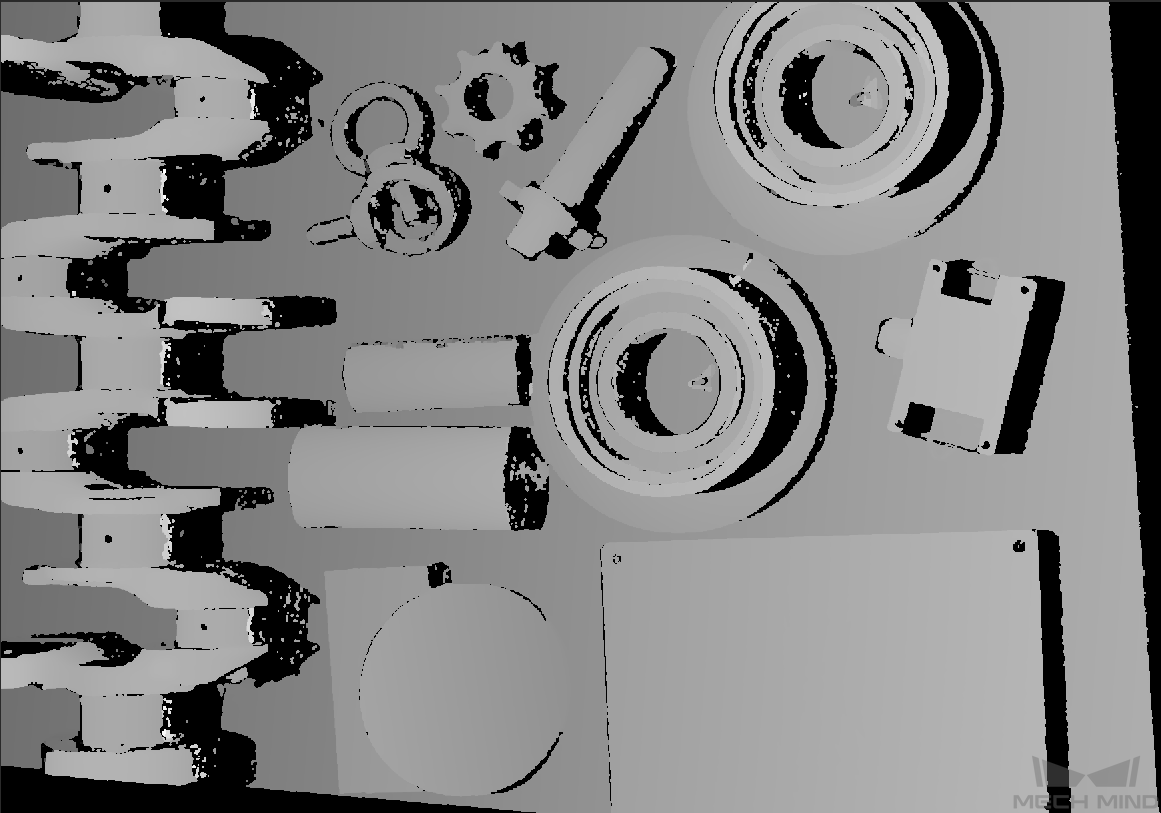
Parameter Adjustment for Depth Map
Hint
An asterisk (*) after a parameter’s name indicates that the current value of this parameter is not saved to the current parameter group.
If needed, click on Save or press Ctrl + S to save the parameter value.
3D Scanning
It is recommended to use the Exposure Assistant for obtaining optimal 3D scanning parameters.
Double click on Auto Set displayed after 3D Scanning in the parameter panel or click on to open Exposure Assistant.
Scan Multiplier
Scan Multiplier sets the number of exposure times.
Value range: 1 to 3.
Images obtained from multiple exposures are composed to produce the optimal depth map.
Exposure Time
Exposure Time sets the duration of each exposure. If you set Scan Multiplier to be greater than 1, multiple Exposure Time parameters will be displayed for setting the duration of each exposure.
Value range: 0.1 to 99 ms
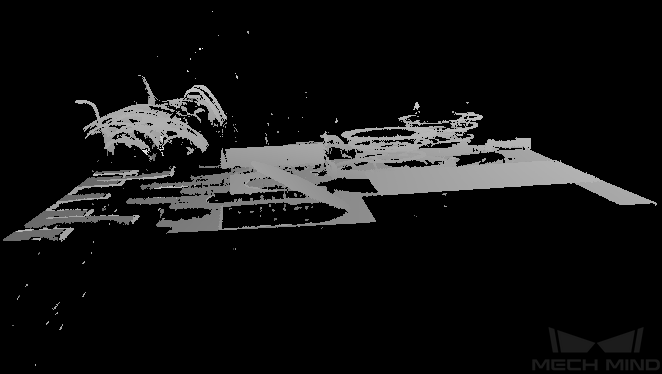
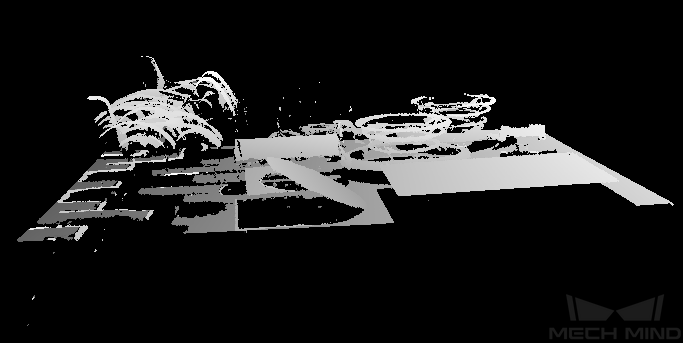
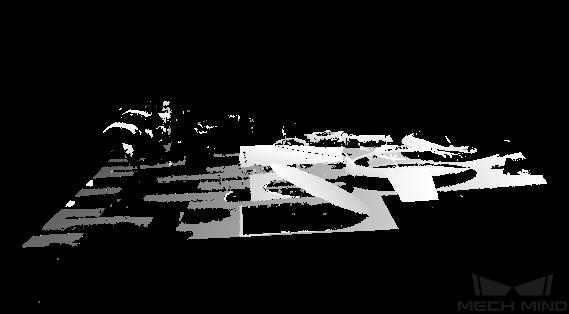
Exposure time too long or too short both may cause loss of depth information in the depth map.
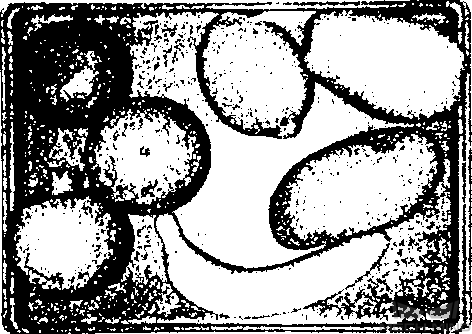
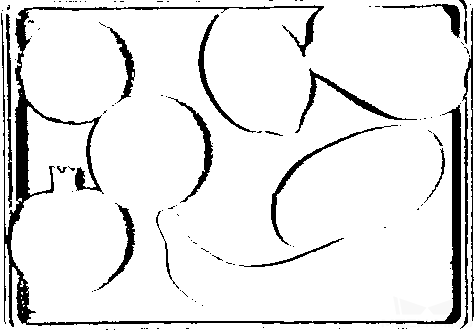
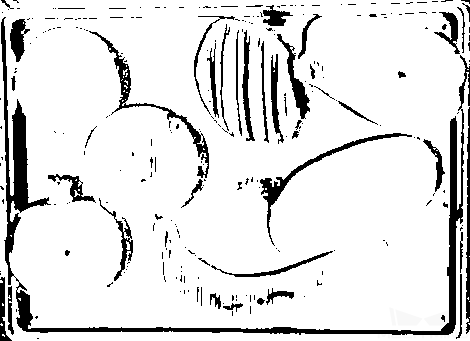
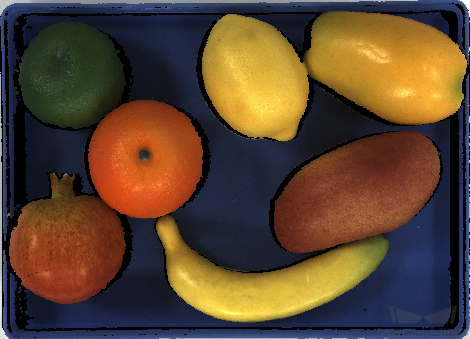
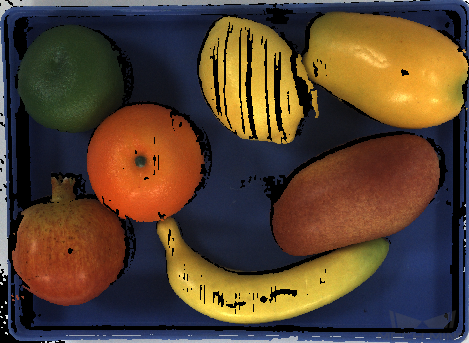
Point clouds generated from images obtained with different Exposure Time settings:
0.25 ms
1 ms
9 ms
Gain
Hint
This parameter is only available in Expert mode.
You can increase the gain to brighten the image of extremely dark objects.
Value range: 0 to 16 dB (Default is 0 dB)
When increasing the exposure time does not provide an ideal degree of brightness, it is recommended to increase the gain. However, Increasing the gain may introduce noise.
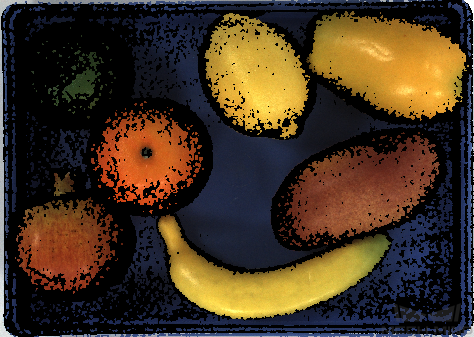
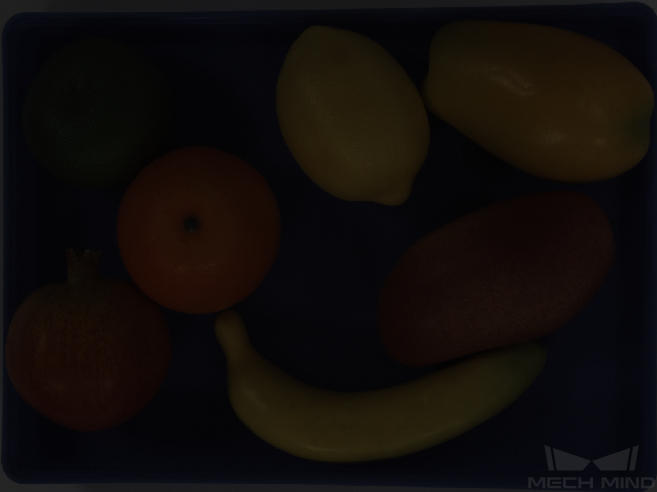
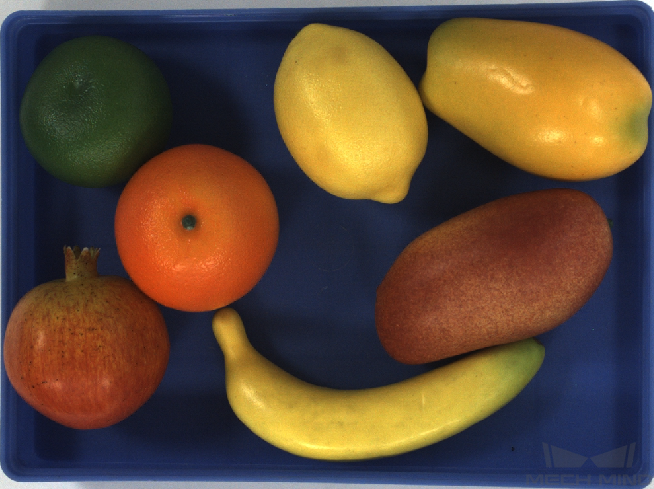
Images obtained with different gain values:
0 dB
16 dB
Hint
If the exposure time is too long, the time cost for image capturing will be higher, so it is recommended to increase the exposure time and the gain together to increase the brightness so that the exposure time will not be too long.
Projector
Hint
This parameter category is only available in Expert mode and for non-laser structured light cameras.
Projector Light Brightness
Set the brightness of the projected structured light.
Options:
High: High brightness. For dark objects.
Normal: Normal brightness. For objects of regular surfaces.
Low: Low brightness. For reflective objects.
Fringe Coding Mode
Hint
This parameter is only available when connected to a Nano, Pro XS, PRO S or PRO M camera.
This parameter changes the structured light pattern, which affects the image acquisition speed and depth data quality.
Options:
Fast: faster image capturing, but the quality of the depth map is lower.
Accurate: slower image capturing, but the quality of the depth map is higher.
Anti-flicker Mode
Hint
This parameter is only available when connected to a PRO S or PRO M camera.
Flicker refers to the rapid and periodical change in the intensity of artificial light. This phenomenon can cause fluctuations in the depth data. Such fluctuation can be reduced by adjusting the projection frequency of the structured light.
Options:
Off
AC50Hz
AC60Hz
Note
Please select the option that corresponds to the frequency of the power supply in your region. The AC frequency in most countries is 50 Hz. The AC frequency in the U.S. and some Asian countries is 60 Hz.
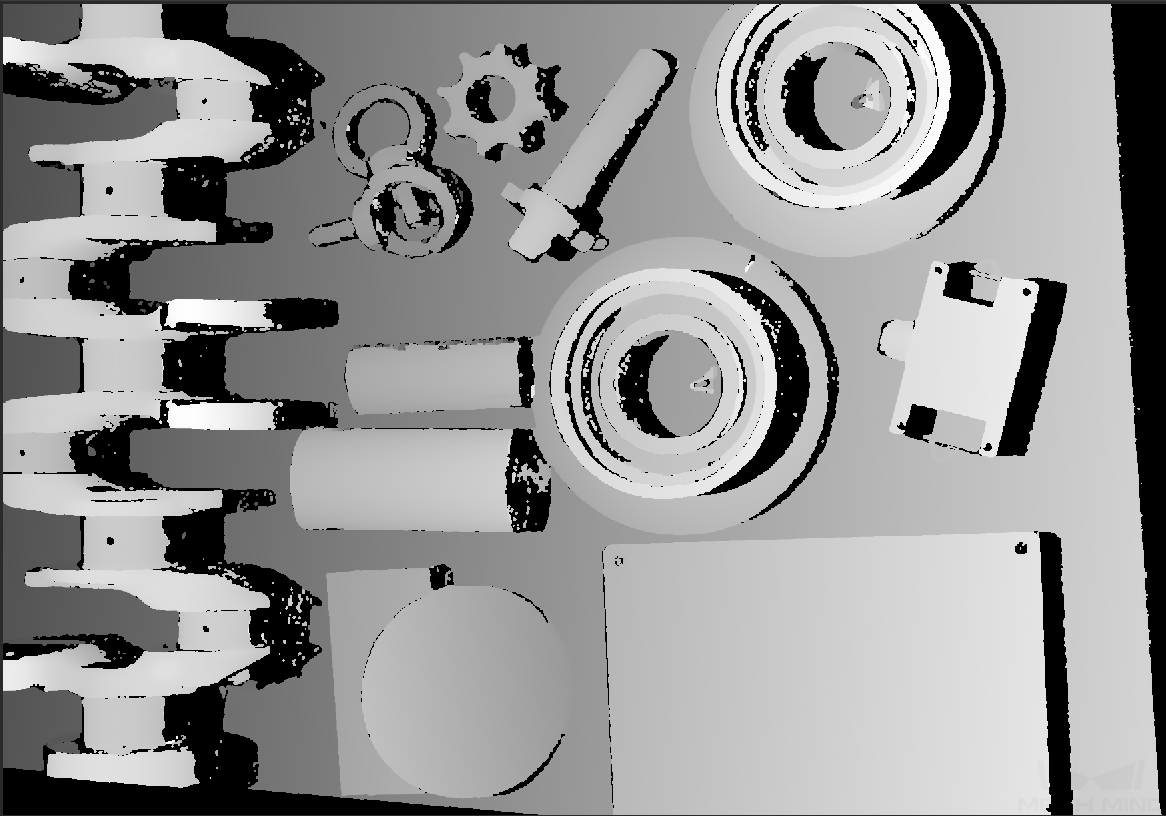
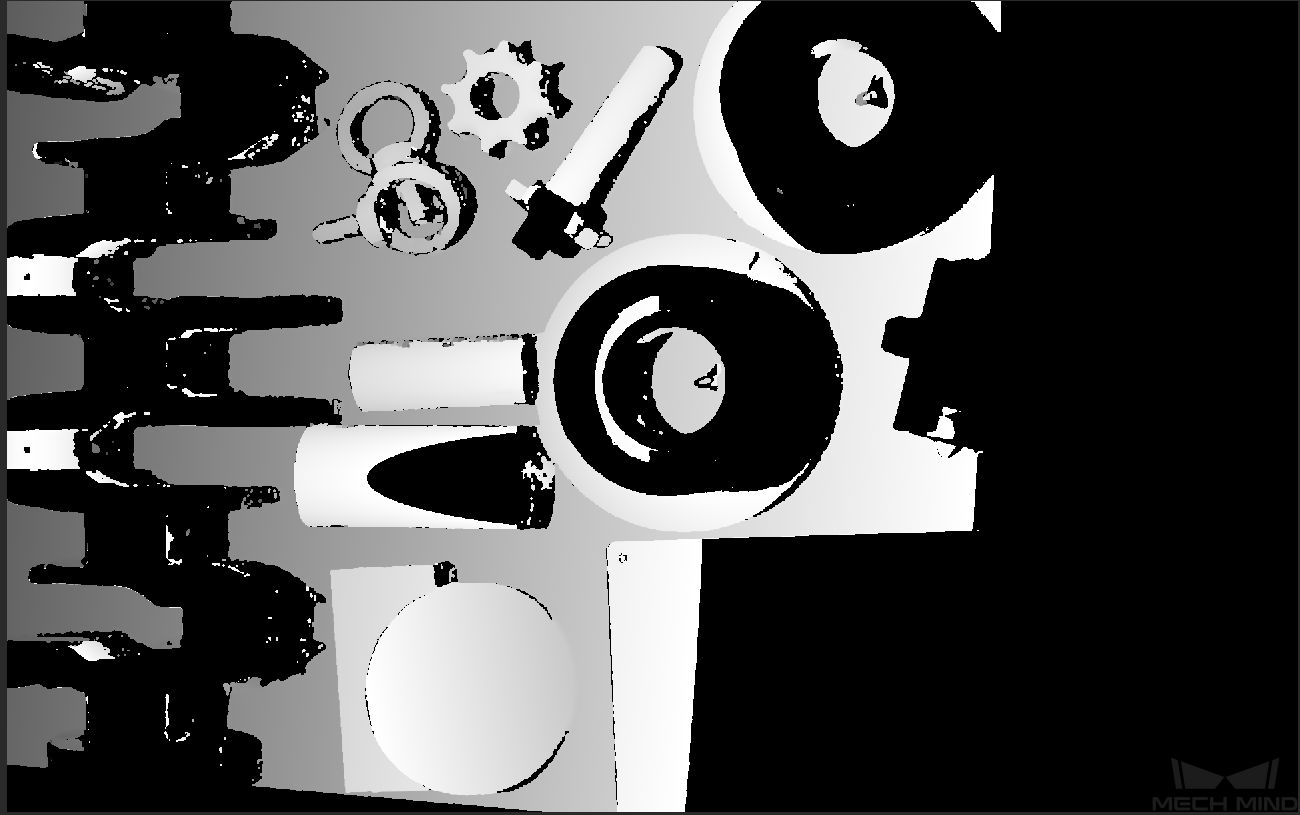
The following figure shows the depth map obtained with Anti-flicker Mode off (left) and on (right).
Laser
Hint
This parameter category is only available when connected to a Laser or LSR camera.
Fringe Coding Mode
This parameter changes the structured light pattern, which affects the image acquisition speed and depth data quality.
Options:
Fast: faster image capturing, but the quality of the depth map is lower.
Accurate: slower image capturing, but the quality of the depth map is higher.
Laser Power
This parameter sets the projection intensity of the laser. The larger the value, the stronger the intensity; the smaller the value, the weaker the intensity.
Value range: 20 to 100% (Default is 100%)
The default value of 100% works for most cases.
For objects with special surface conditions, it is recommended to apply high intensity on dark objects and low intensity on reflective objects.
UHP
Hint
This parameter category is only available when connected to a UHP camera.
Capture Mode
Set the 2D camera(s) used to capture images.
Camera1: default, capture with the main camera.
Camera2: capture with the secondary camera.
Merge: capture with the two cameras at the same time and merge the output depth maps/point clouds into one.
Hint
A UHP camera comprises of two 2D cameras. Camera1 or Merge is recommended.
Depth Range
This parameter sets the region of interest on the vertical direction.
Value range: 1 to 9,999 mm
Please set the depth range based on the dimensions and positions of the target objects to ensure there are no missing parts.
The range should not be too large or it may introduce interference. Nor should it be too small or key parts may be missing.
Below are the examples of different depth ranges:
Too large
Moderate
Too small
Hint
You can use Depth Analyzer to check the depth map quality.
3D ROI
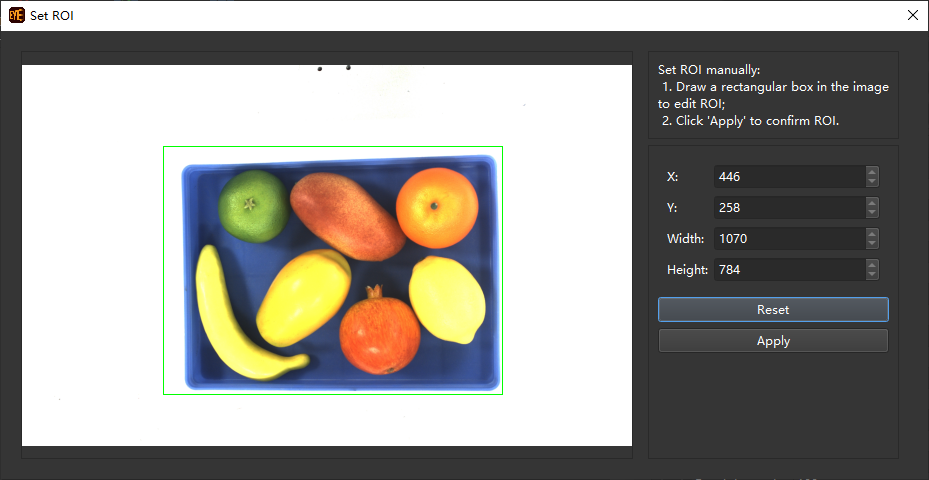
This parameter is an entry for setting the ROI used in generating depth maps and point clouds. Pixels outside the ROI will not be used to generate depth maps and point clouds.
Click on Edit to open the ROI setting window.
Click on Apply to finish setting.
Note
For LSR L cameras, the 2D image obtained by the black-and-white cameras is displayed here. If the image is under- or over-exposed, please exit this window and adjust Pattern Role Camera Exposure Mode.
