Parameter Adjustment for 2D Image
Hint
An asterisk (*) after a parameter’s name indicates that the current value of this parameter is not saved to the current parameter group. If needed, click on Save or press Ctrl + S to save the parameter value.
LSR L camera contains a color camera and two black-and-white cameras. Please adjust Texture Role Camera Exposure Mode for the color camera and Pattern Role Camera Exposure Mode for the black-and-white cameras.
2D Scanning parameters are for the 2D image.
Usually, the parameters available under Beginner mode will suffice.
If after tuning the parameters, the effect is still not satisfactory, please switch to Expert mode.
Exposure Mode
Hint
If you are using an LSR L camera, please adjust Texture Role Camera Exposure Mode; if you are using a non-laser structured light camera, please adjust Exposure Mode.
There are four exposure modes: Timed, Auto, HDR and Flash. The following table summarizes the suitable scenarios for each mode.
Exposure mode |
Suitable scenarios |
Timed |
Stable light conditions. |
Auto |
Changing light conditions. |
HDR |
Objects with varying surface colors, uneven light distribution, etc. that require superimposing images of different exposures to expand the dynamic range and enhance details. |
Flash |
Objects that require supplementary light. |
Hint
Texture Role Camera Exposure Mode for the LSR L camera does not contain Flash mode.
Timed
Exposure Time:
Sharpen Factor:
Hint
This parameter is only available in Expert mode.
Sharpening is for obtaining clearer object edge details, but it may cause more image noise.
This parameter sets the degree of sharpening on the image.
The higher the value, the intenser the sharpening, the heavier the noise.
Auto
Scan2D Expected Gray Value:
For monochrome cameras, the expected gray value affects brightness. For color cameras, the expected gray value affects the brightness of each color channel.
The higher the expected gray value, the brighter the image looks.
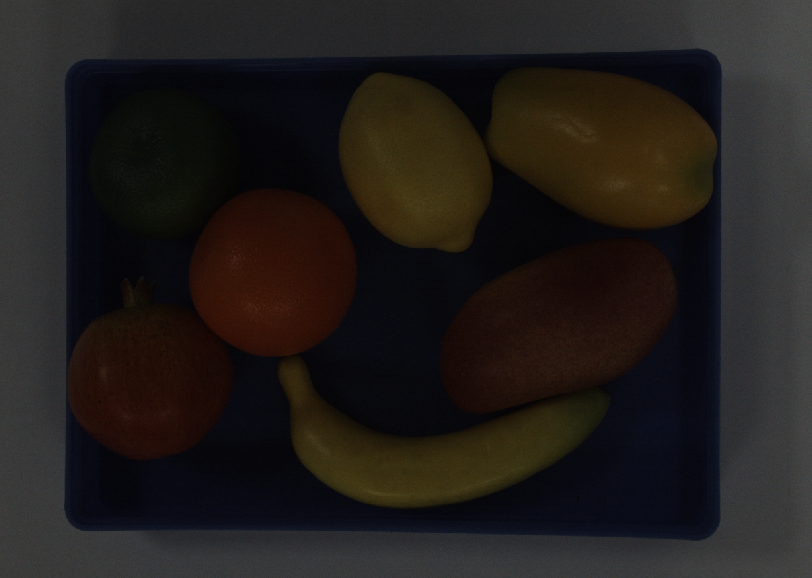
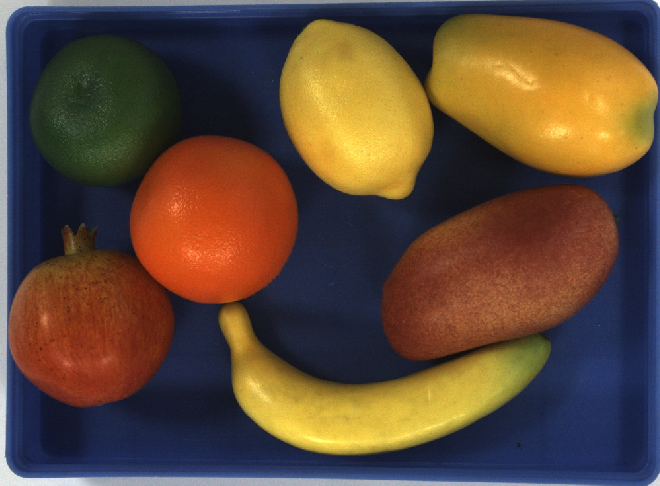
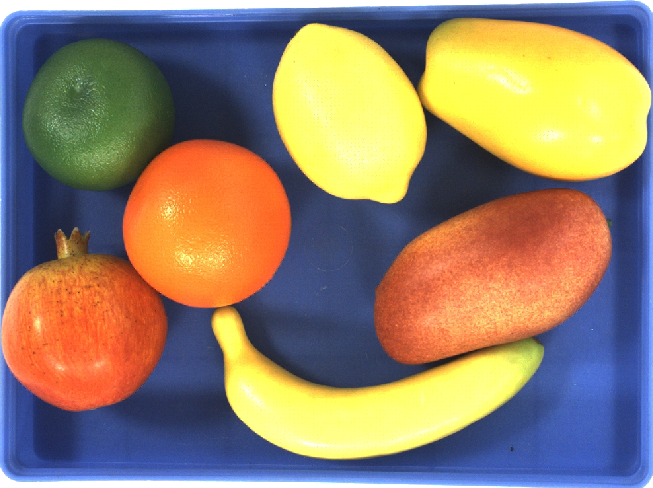
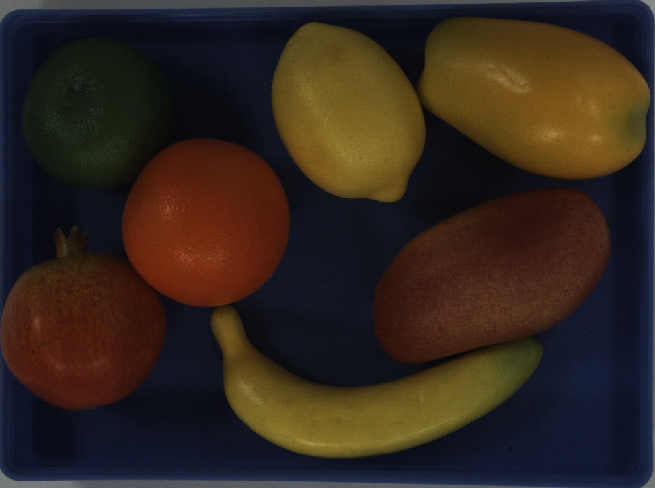
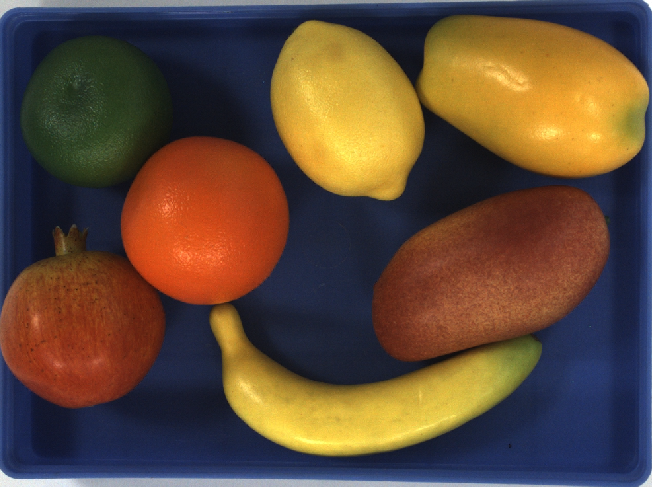
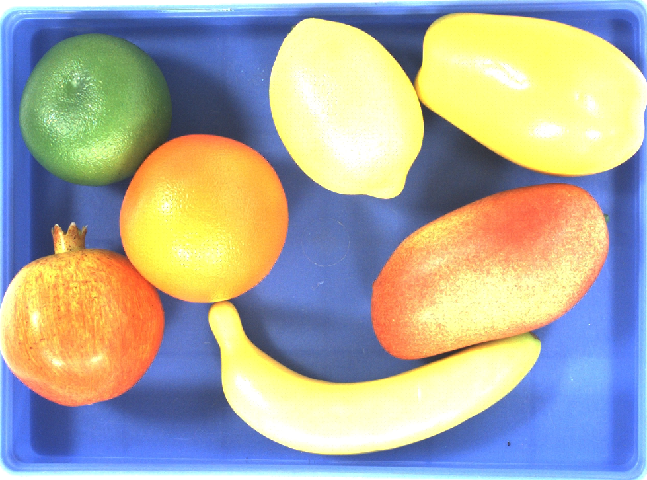
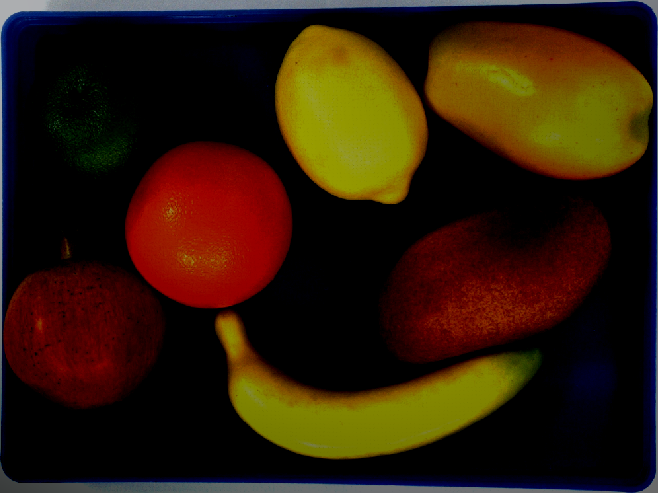
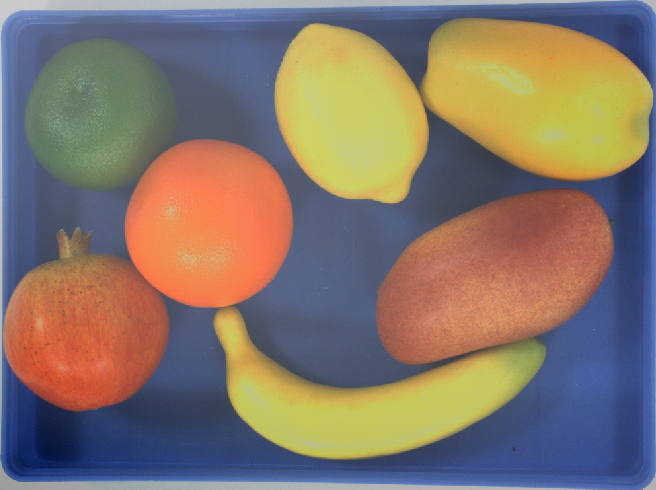
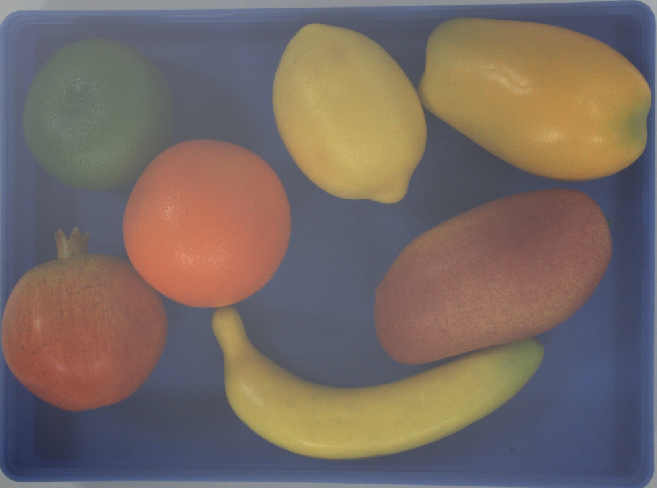
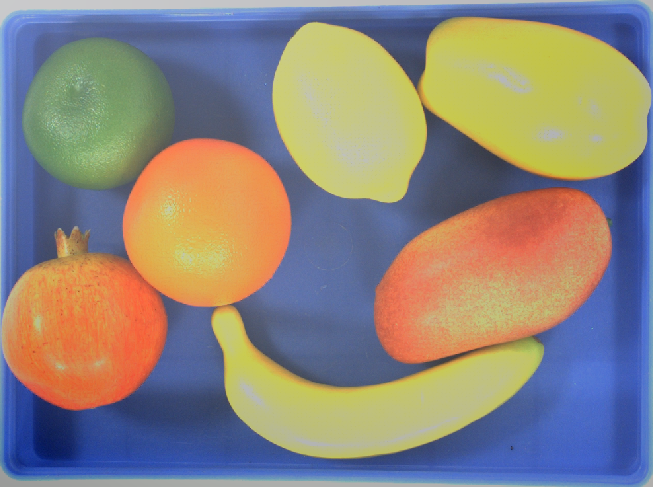
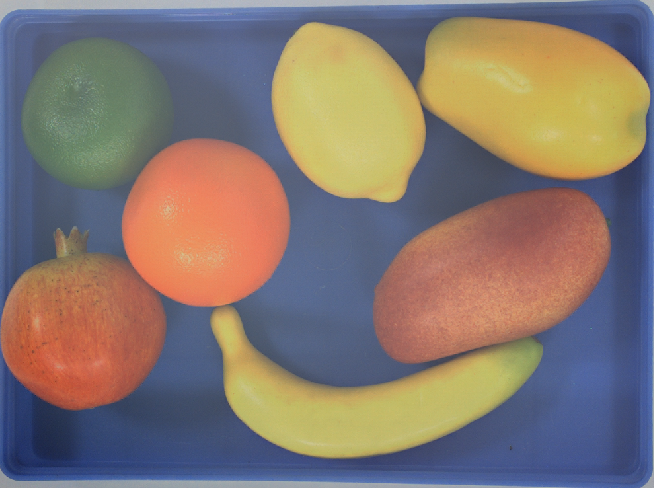
Default: 100Range: 0 to 2552D images under different expected gray values:
Sharpen Factor:
Hint
This parameter is only available in Expert mode.
Sharpening is for obtaining clearer object edge details, but it may cause more image noise.
This parameter sets the degree of sharpening on the image.
The higher the value, the intenser the sharpening, the heavier the noise.
2D Auto-Exposure ROI:
This parameter is an entry for setting the ROI where the image processing algorithm of the expected gray value applies.
Please click on Edit to open the ROI setting window. Press an hold the left mouse button on the image, and then drag to select the ROI. Click Apply to complete setting the ROI; click Reset to remove the set ROI.
HDR
Sharpen Factor:
Hint
This parameter is only available in Expert mode.
Sharpening is for obtaining clearer object edge details, but it may cause more image noise.
This parameter sets the degree of sharpening on the image.
The higher the value, the intenser the sharpening, the heavier the noise.
Tone Mapping
HDR Exposure Sequence
This parameter is an entry for setting the HDR exposure time sequence. Please click on Edit to open the setting window.
+: add an exposure to the sequence.
-: remove the selected exposure from the sequence.
Reset: remove all exposures in the sequence.
Cancel: cancel all the changes and close the window.
Apply: save all the changes to the exposure time sequence.
After adding an exposure, use the arrow buttons to adjust the duration of the exposure, or input the desired duration to the text field.
Make sure to click on Apply to apply the changes you made.
2D images captured with a single exposure of different durations:
2D images captured with a single exposure and multiple exposures:
Flash
This option provides supplementary light to the objects when capturing the image.
The contrast between using flash and not using flash:
Sharpen Factor:
Hint
This parameter is only available in Expert mode.
Sharpening is for obtaining clearer object edge details, but it may cause more image noise.
This parameter sets the degree of sharpening on the image.
The higher the value, the intenser the sharpening, the heavier the noise.
Pattern Role Camera Exposure Mode
Hint
This parameter is only available when connected to an LSR L camera.
The 2D images obtained by the black-and-white cameras are used for checking camera intrinsic parameters and calibrating camera extrinsic parameters with Mech-Vision’s Camera Calibration.
Ensure that these 2D images are not over- or under-exposed and that the marks on the calibration board in the images are clearly visible.
Pattern Role Camera Exposure Mode contains two modes, Timed and Flash:
Timed: usually used in stable lighting conditions.
Flash: used when supplementary lighting is required. Supplementary lighting is provided by the projector.
Timed
Pattern Role Camera Exposure Time: this parameter affects the image brightness. The longer the exposure time, the brighter the image is.
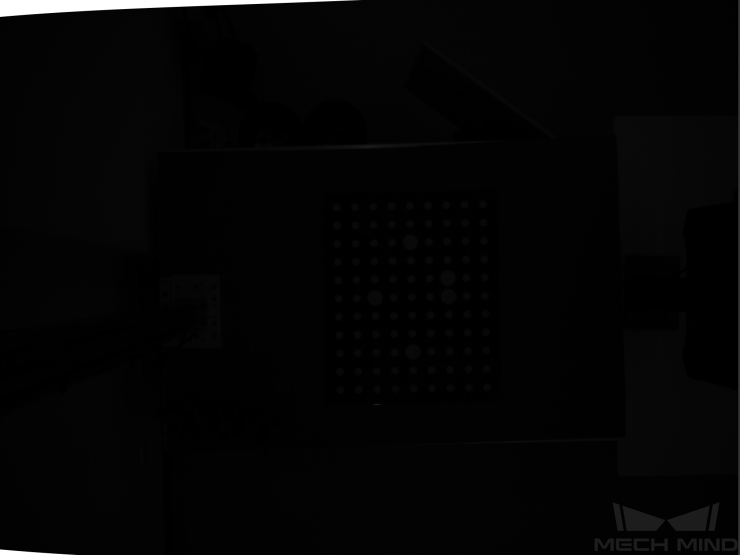
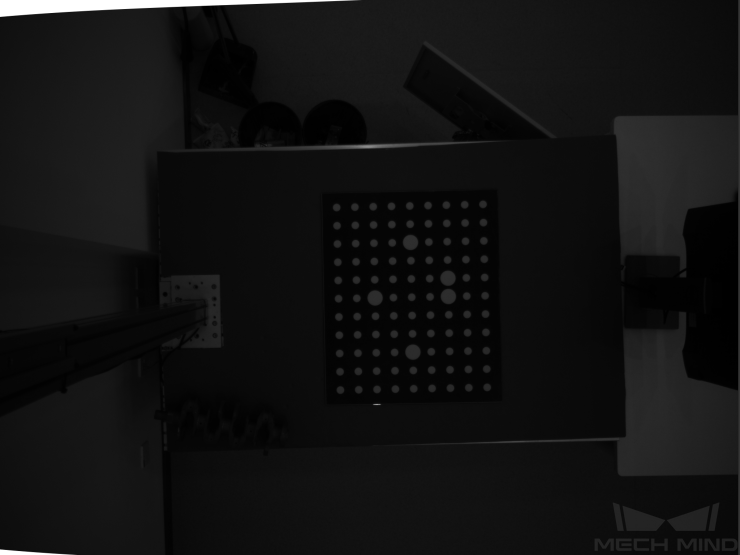
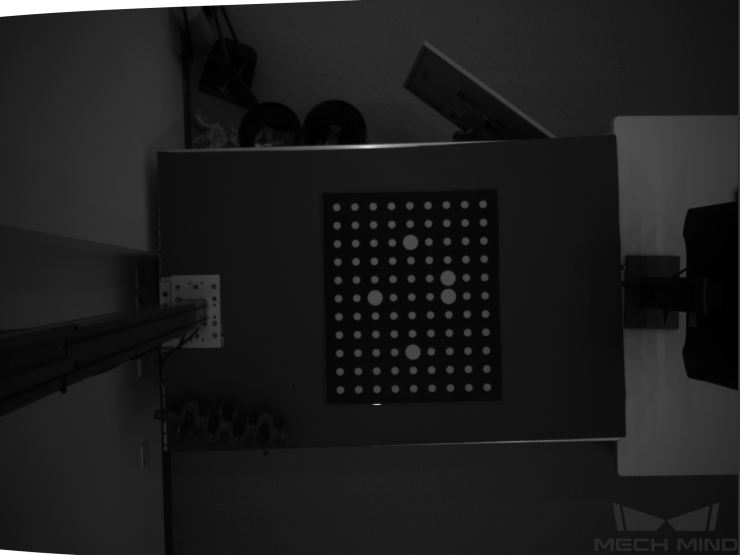
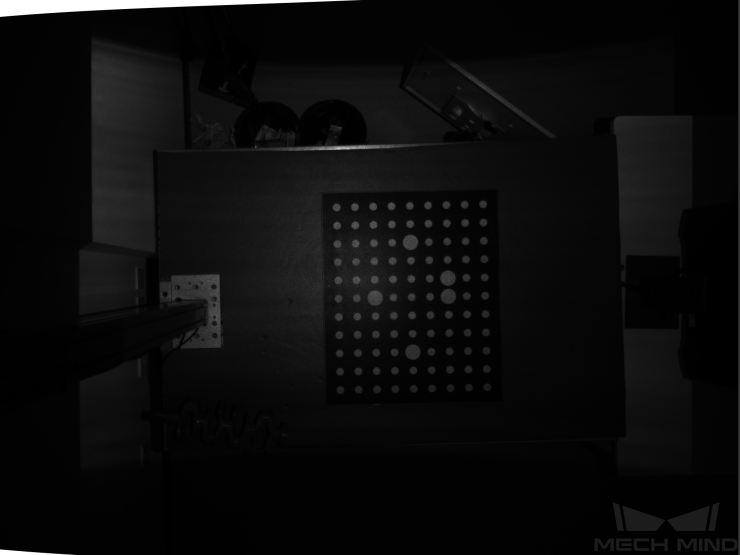
2D images obtained with different exposure times:
10 ms
40 ms
80 ms
Flash
This option provides supplementary light to the objects when capturing the image.
The contrast between using flash and not using flash:
Flash |
No Flash |
White Balance
The object color in the image may not be the same as that of the real object because of the ambient light.
Please adjust the white balance to make the 2D image reflect the real object colors.
See View 2D Camera and Set Parameters for details.
Hint
This parameter is only applicable on color cameras.
