Mech-Eye Viewer Quick Start Guide
Connect to the Camera
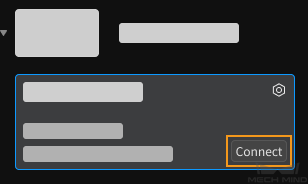
Open Mech-Eye Viewer, select the camera you’d like to connect to in the Camera List, and then click on Connect.
Capture Images
If the camera is successfully connected, Mech-Eye Viewer displays the Camera Viewer interface shown below.
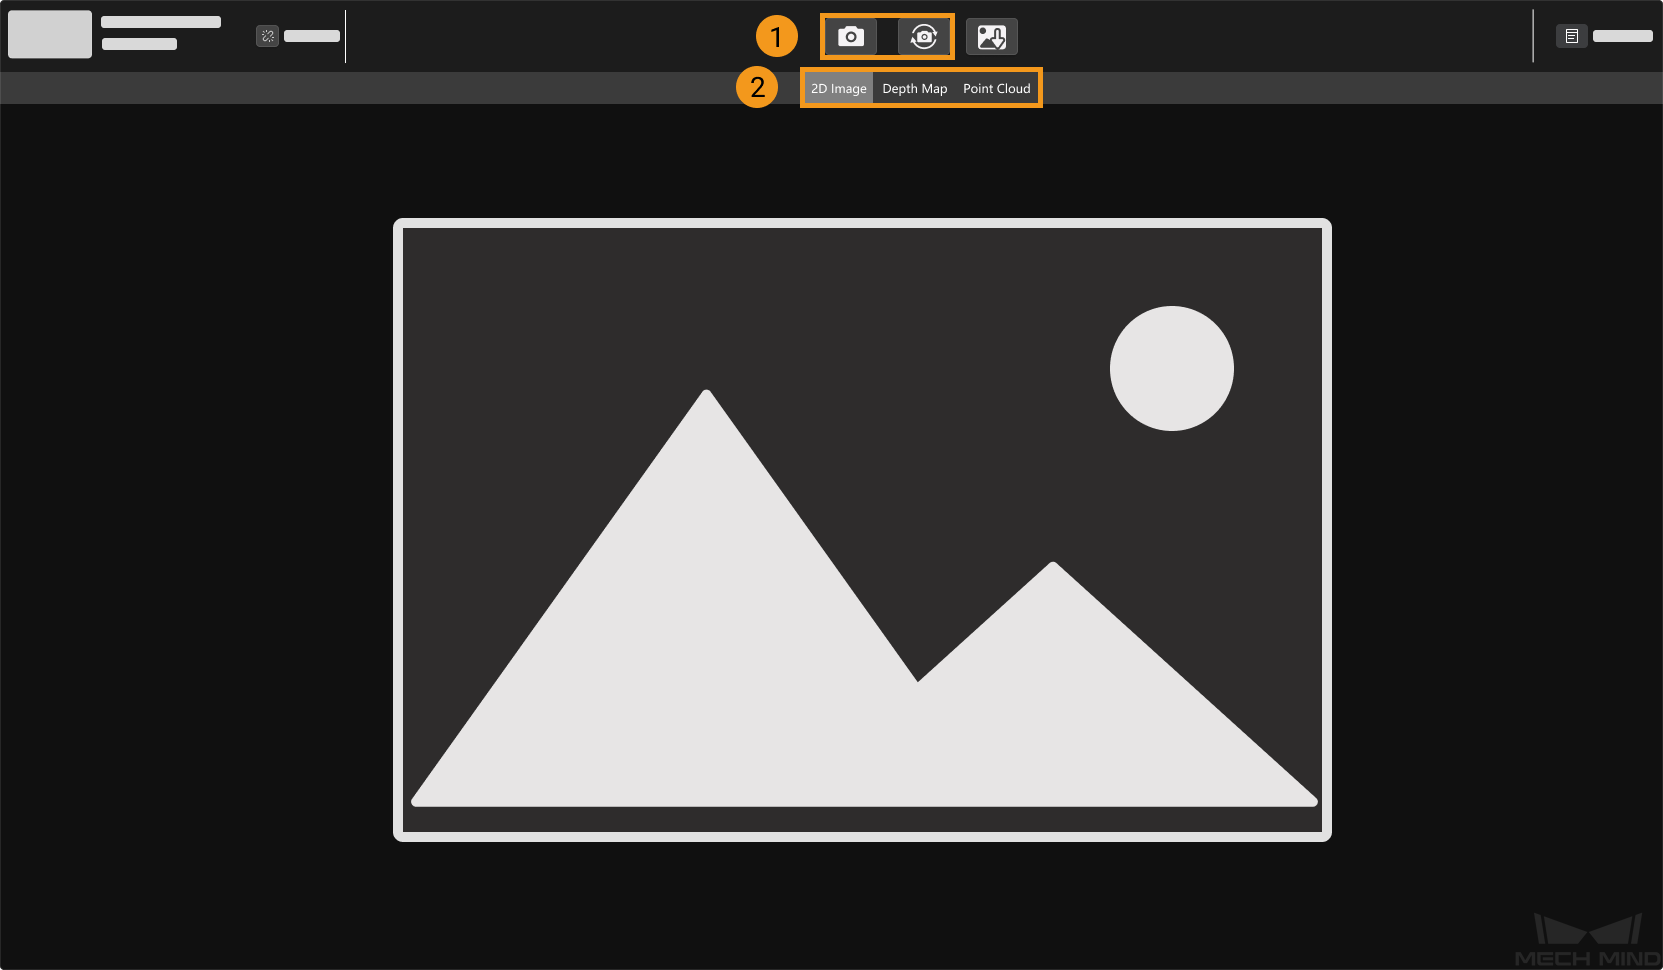
Click on
 or
or  to capture images.
Switch the displayed data type by clicking on 2D Image, Depth Map, and Point Cloud.
Adjust Parameters
You can adjust parameters in the parameter panel to the right to optimize the data quality.
2D Image Optimization
Adjust the Exposure Mode and relevant parameters of 2D Scanning in the Parameter Panel. Use continuous scan to visualize the result when adjusting exposure parameters. Please refer to Parameter Adjustment for 2D Image for detailed instructions.
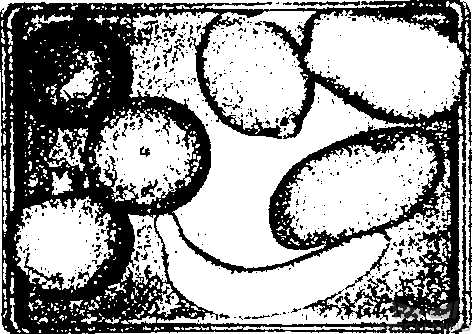
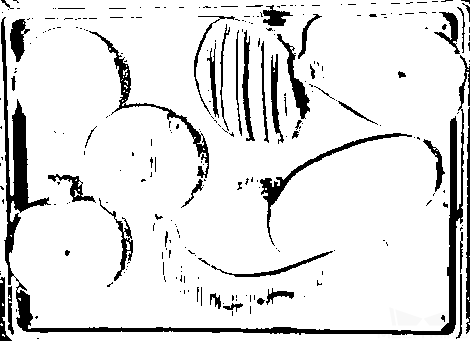
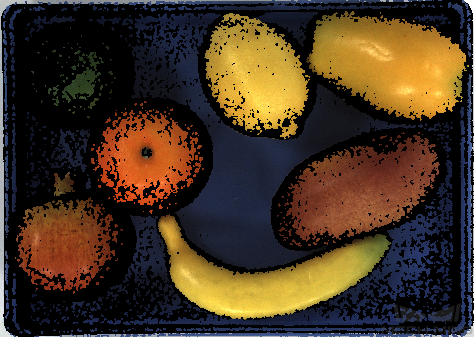
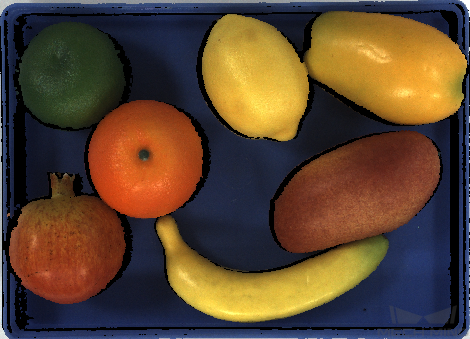
The results of different exposure time in Timed Exposure mode are illustrated in the table below:
Exposure Time 5ms
Exposure Time 20ms
Exposure Time 40ms


Hint
The exposure time will affect the brightness of the image. The longer the exposure time, the brighter the image will be; the shorter the exposure time, the darker the image will be.
Depth Map and Point Cloud Optimization
Adjust the Exposure Time and Scan Multiplier of 3D Scanning in the Parameter Panel. The point cloud of the object can only be displayed while using Scan Once. You can use Exposure Assistant to obtain the optimal parameter sets. Please refer to Parameter Adjustment for Depth Map for detailed instructions.
The results of adjusting 3D Parameters are illustrated in the table below:
Exposure Time 0.25ms
Exposure Time 20ms
Exposure Time 9ms


Point Cloud Processing Optimization
Adjust Cloud Smooth Mode, Cloud Outlier Filter Mode, and Fringe Contrast Threshold of Point Cloud Processing in the Parameter Panel. Please refer to Parameter Adjustment for Point Cloud for detailed instructions.
Save Data
Click on  in the Camera Toolbar to save the last obtained 2D image, depth map, and/or point cloud. If you’d like to save the raw data, go to File in the Menu Bar and click on Save Raw Data of Camera to save the raw data in MRAW format.