Measure Height Difference Point to Point
Function
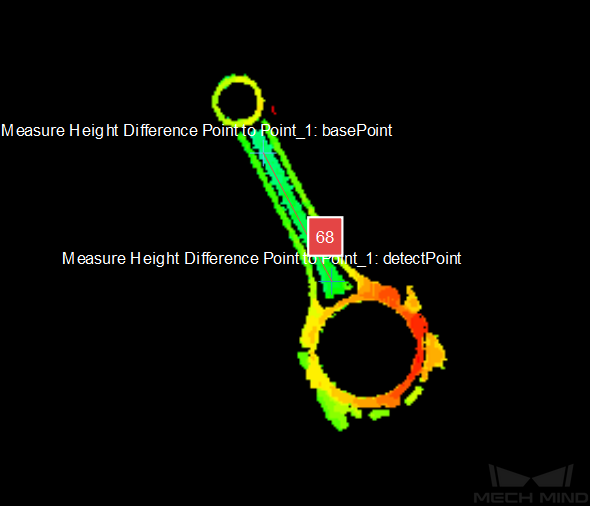
This Step is used to calculate the height difference from the detect point to the base point.
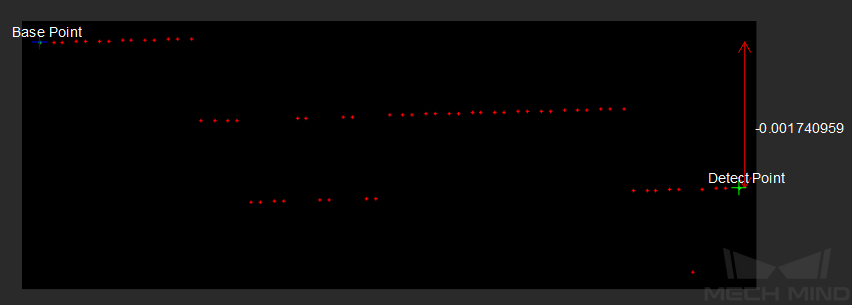
A line segment connecting the two specified points will be automatically drawn, and the variation of heights along the line will be shown in the height view widget.
Hint
Before using this Step, please refer to Getting Started with Measurement Mode to learn about basics of Measurement Mode.
Sample Application
Connect Read Point Cloud V2, Orthographic Projection, and Measure Height Difference Point to Point to calculate the height difference from the detect point to the base point.
Connect Steps
Click on Orthographic Projection , go to the Step Input Source Selection panel, and then select Read Point Cloud V2_1_Point Cloud With Normals as Input 1 (Point Cloud With Normals).
Click on Measure Height Difference Point to Point, go to the Step Input Source Selection panel, and then select Orthographic Projection_1_Depth Image as Input 1 (Visualization Background).
Configure parameters
Note
Please prepare the point cloud of the object to be measured in advance.
Configure in Read Point Cloud V2
Click on the Step, and configure the Point Cloud Source and other parameters in the Step Parameters panel.
Configure in Measure Height Difference Point to Point
The baseline point and detect point are located in the upper left corner in the sketchpad area by default. Please drag them onto the point cloud.

You can also adjust the position of the points in the Step Parameters panel, as shown below.

Read the result
After completeing the configuration, click on Run to run the project. Click on Measure Height Difference Point to Point and check the measurement result in the Measurement Output panel.
The variation of heights along the line will be shown in the height view widget.
Hint
You can set the LSL (lower specification limit) and USL (upper specification limit) in Measurement Output and Result View panels to check whether the measurement conforms to the specification.


