Create a New Project
After ensuring that the system environment meets the requirements for integration, you can refer to the following instructions to create a new project using the SDK. The instructions take .NET (Visual Studio 2019) as an example:
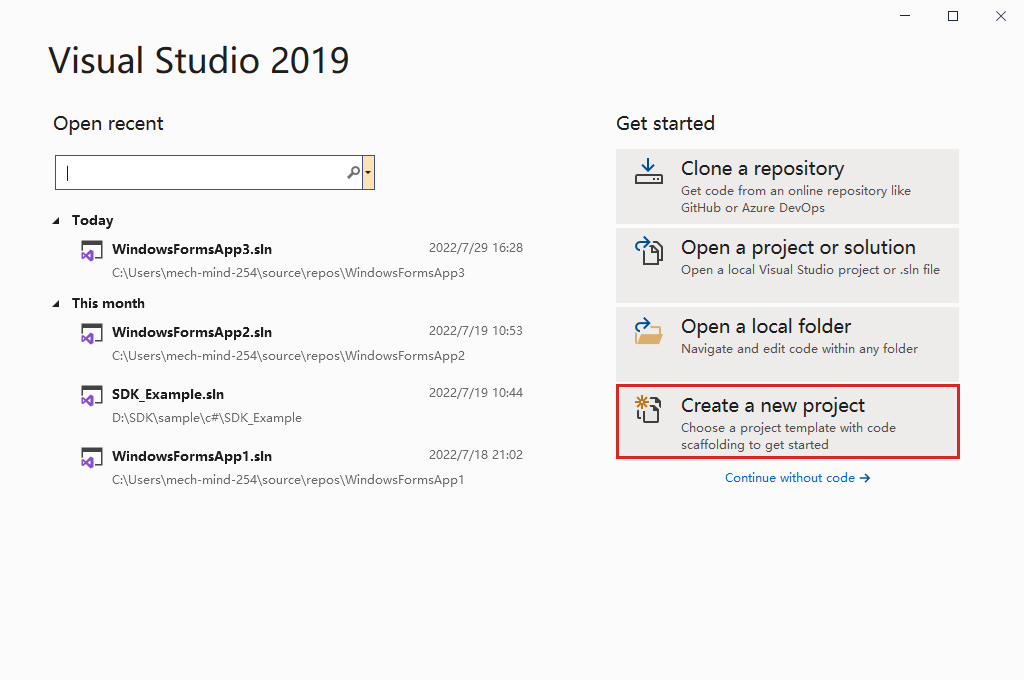
Create a new project
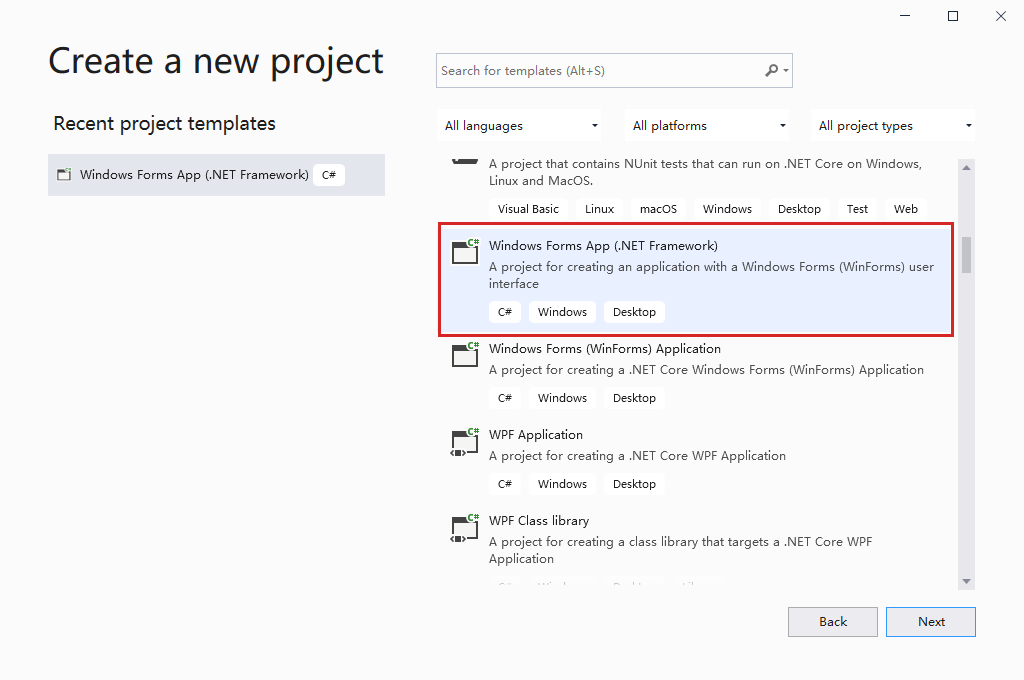
Open Visual Studio 2019, if you are to create a new project for the first time, please click on from the upper left corner, and on the Create New Project page, click Windows Desktop Wizard to create a Windows application.
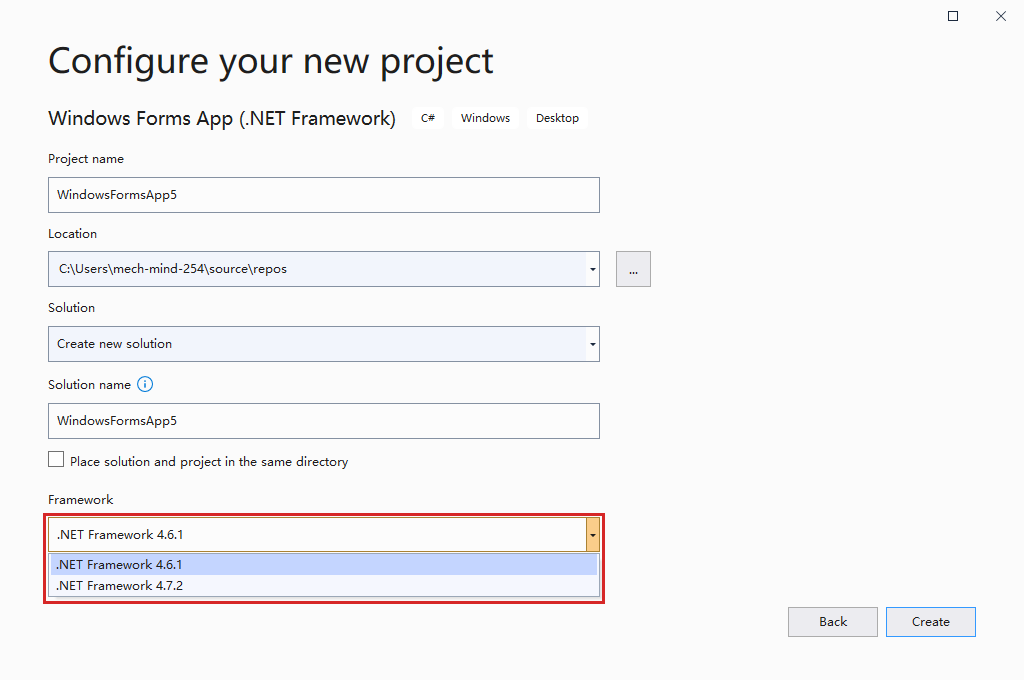
Configure the new project
Select .NET Framework 4.6.1 (4.6.1 and above are supported).
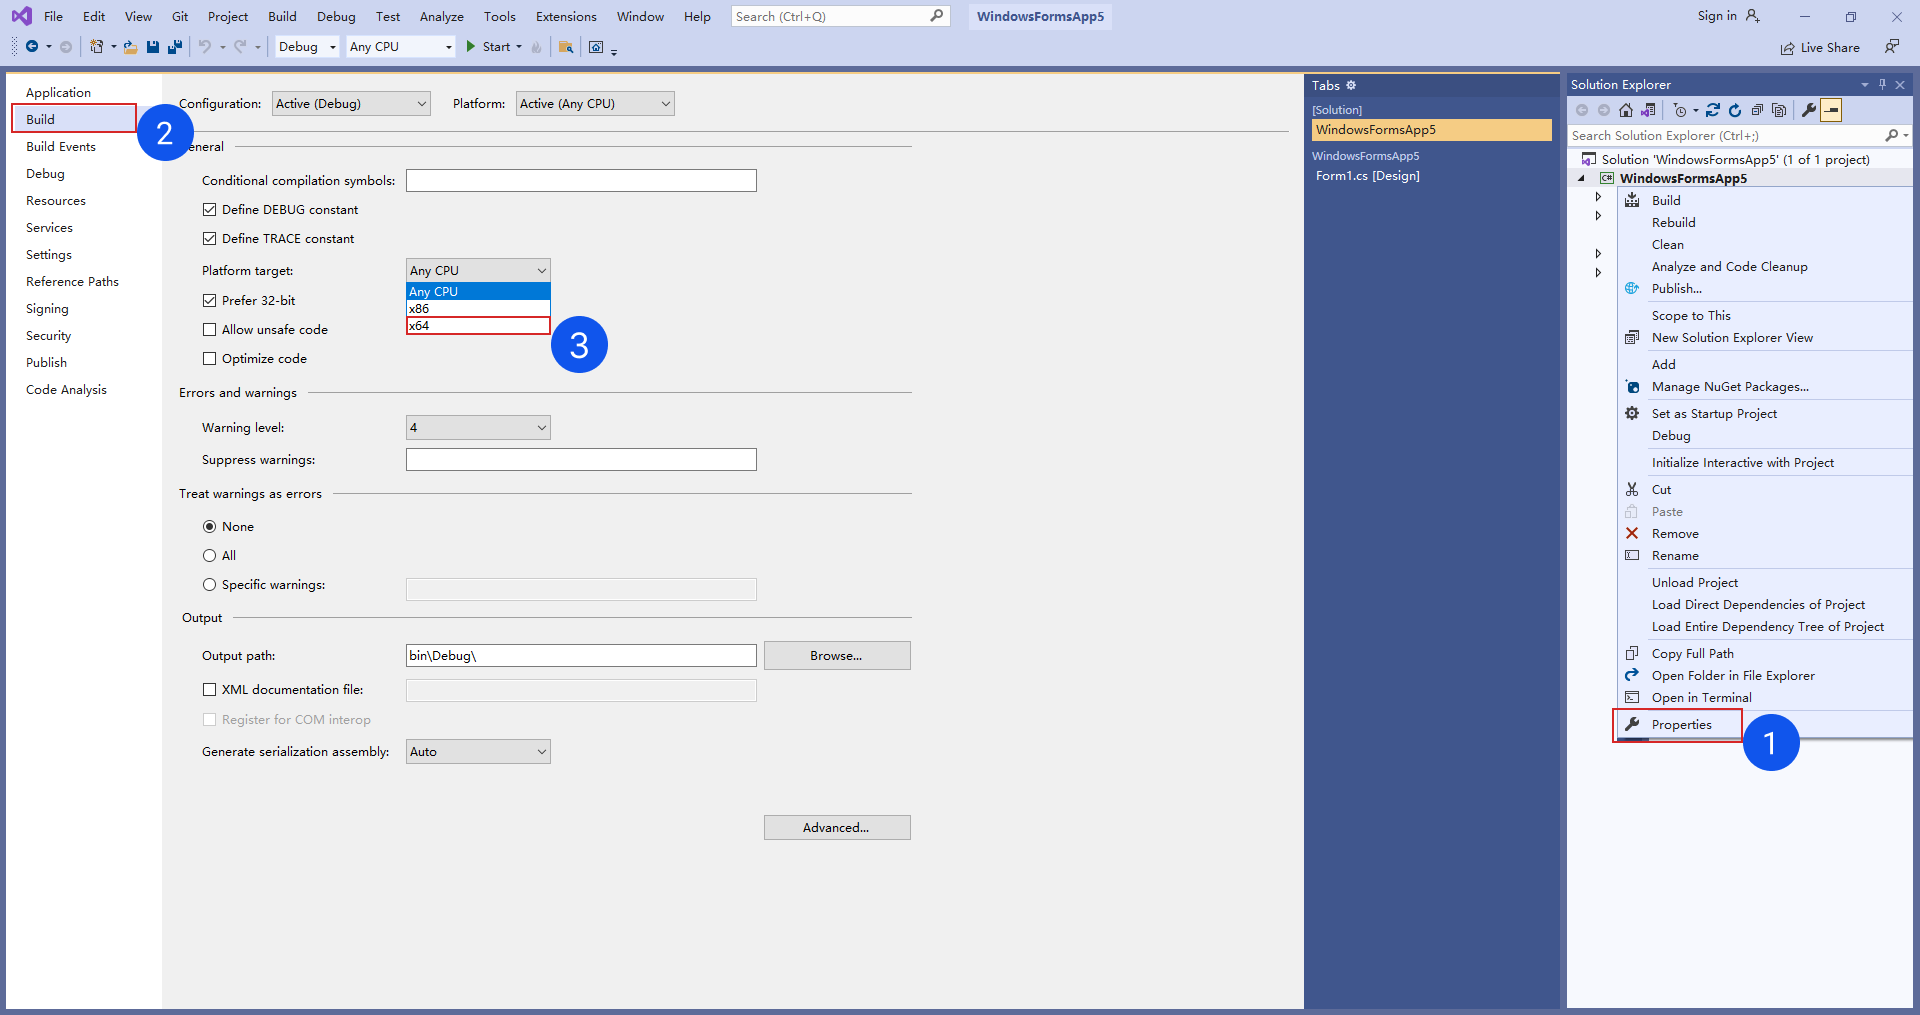
Configure project properties
Right-click the new project name in the right project bar, and select for the target platform. You can also add the x64 active solutions platform via the configuration manager.
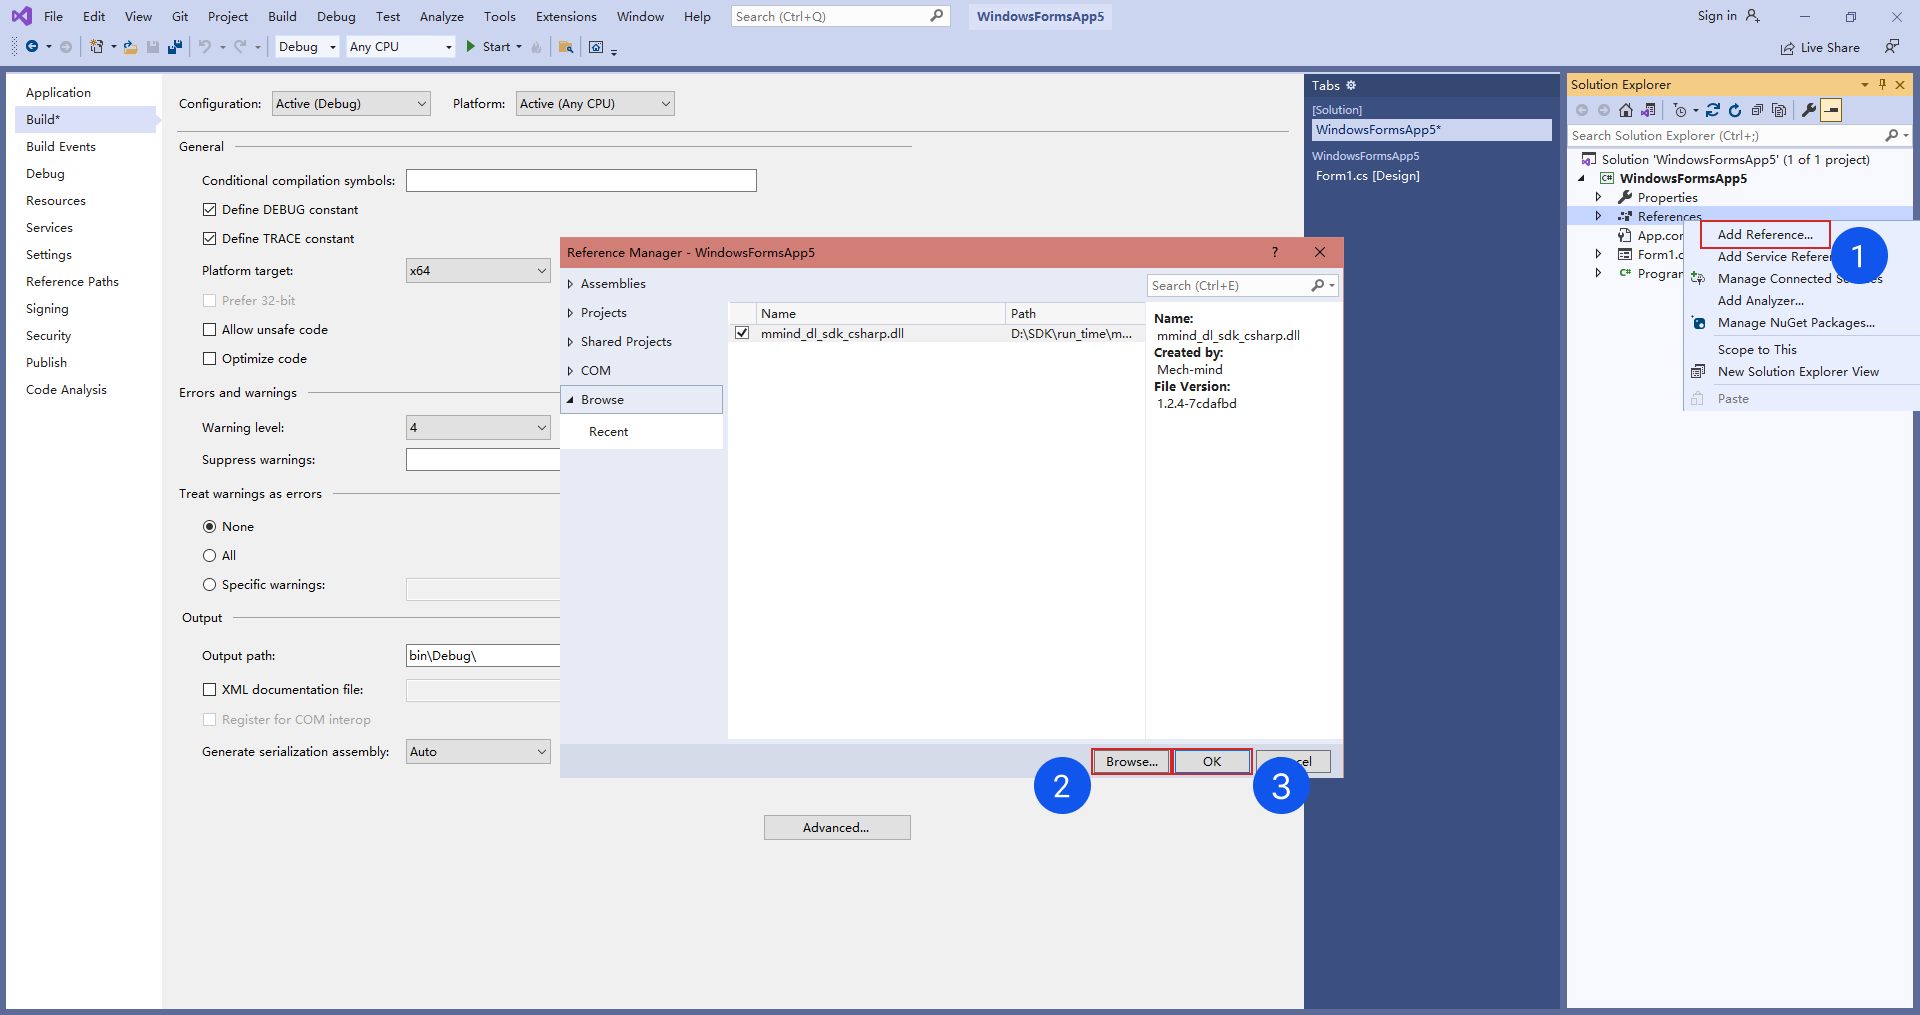
Add referencing
Right-click on Reference in the project section and select Add reference, click on Browse in the pop-up window, check the file mmind_dl_sdk_csharp.dll under the Mech-DLK-2.3.0 folder, and click on OK. If the file already exists in the window, select it directly.
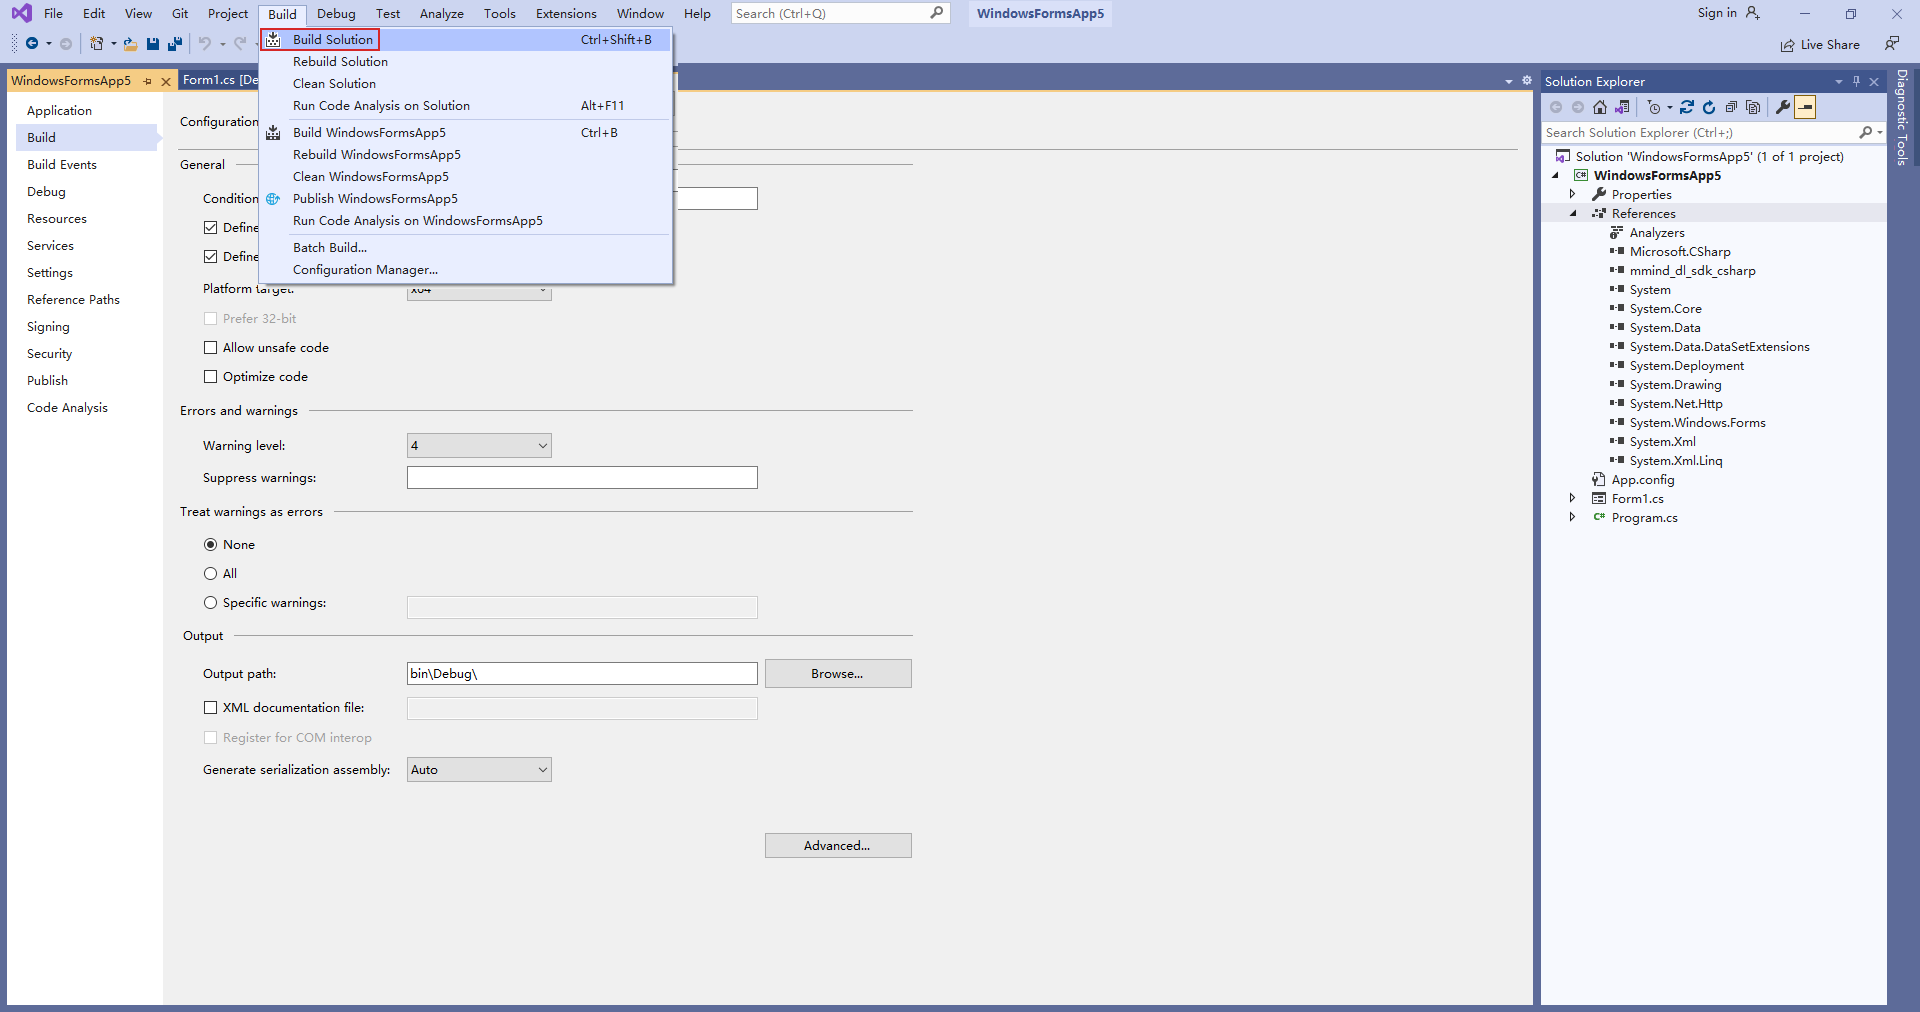
Build solution
Click on on the menu at the top to generate an executable file.
Start integration
You can refer to the code of the example project or API Reference Guide to complete subsequent integrations.