Improve Labeling Quality and Efficiency
The quality and efficiency of labeling can be improved by improving image quality and selecting appropriate labeling tools.
Image Preprocessing
When the original images captured by the camera have problems such as darkness and unobvious object features due to lighting or other factors, to improve the efficiency of manual labeling, you can use the image preprocessing tool  , to preprocess images by adjusting parameters such as brightness, contrast, or color balance.
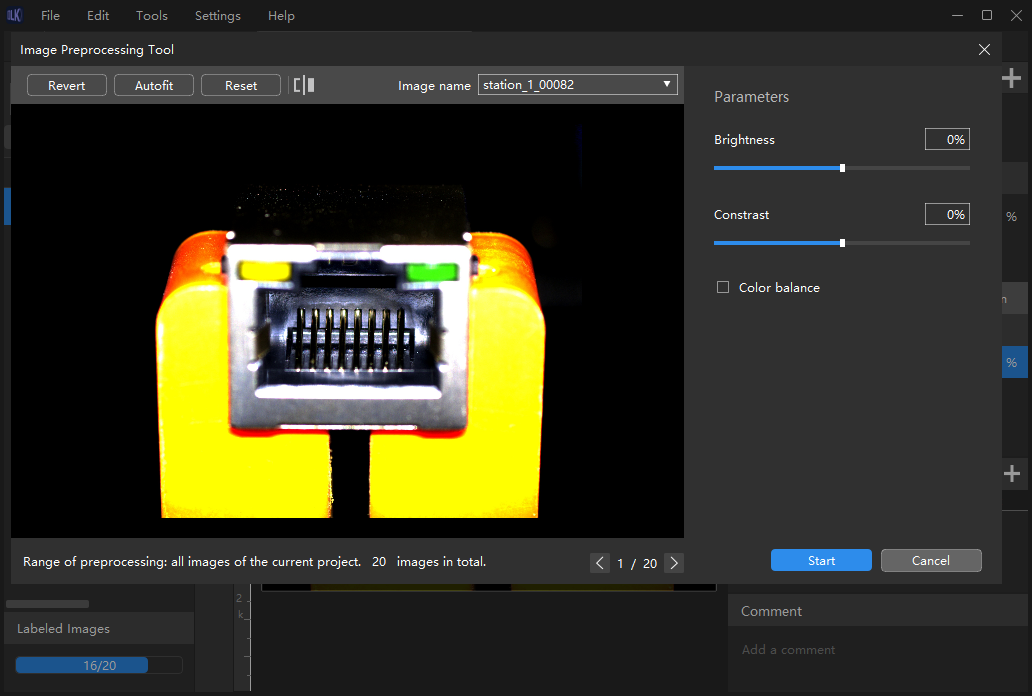
Below is a comparison of images before and after preprocessing:

Hint
The preprocessed images will replace the original images in the training, testing, and validation sets.
Smart Labeling Tool
Under modules including Defect Segmentation, Instance Segmentation, and Object Detection, when multiple objects in an image have large color differences and are scattered, you can use the Smart Labeling Tool to conveniently label the objects in the image.
Perform smart labeling
Click
 .
.Left-click an object to be labeled and a green dot will appear and a selection region will be automatically formed. Click multiple times to optimize the selection if it is too small.
Right-click to add red dots, which erodes the surrounding selection region or cancels the entire selection region.
Click Apply to display the labeling result.

Tip
When the objects differ greatly in colors and have clear contours, it is recommended that you label multiple objects at a time and click Apply. If the objects are not obviously distinct, it is recommended to label them one at a time.
Adjust the contours
When the contour of a selection region needs to be adjusted, you can use the Select Tool
 to select the region, and drag or add/remove the vertices to optimize the region.
Hint
Left-click to add a vertice, and right-click to remove a vertice.
Please ensure that the contour of each selection region fits the actual object contour as much as possible.

Tip
In difficult scenarios where multiple objects of similar color fit or overlap each other, or where objects have complex contours, or objects are reflective, it is recommended to use other suitable tools for labeling.
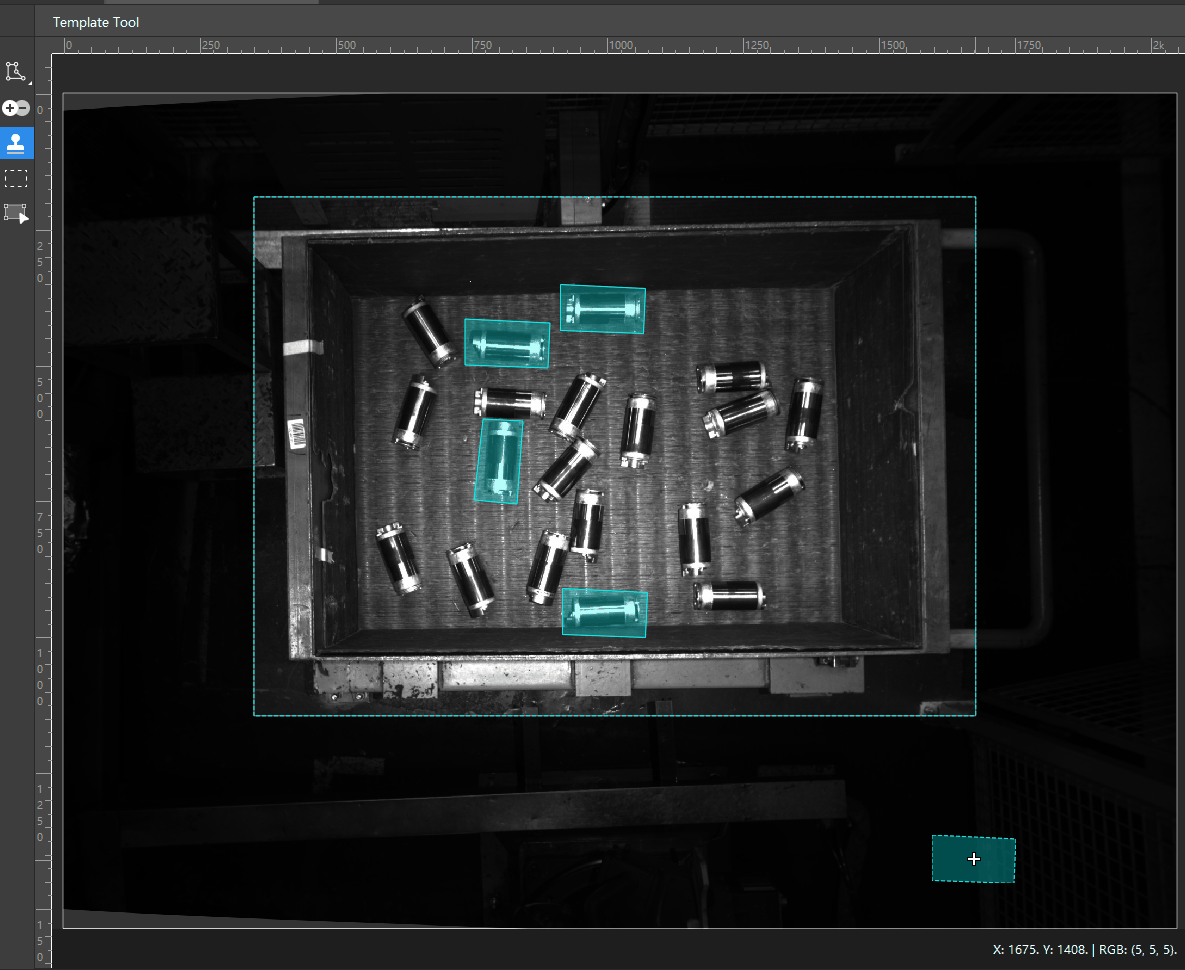
Template Tool
For modules including Instance Segmentation and Object Detection, you can use the Template Tool to set an existing selection as a template, so that you can duplicate the selection onto other objects of the same type and angle to the camera.
This tool is suitable for scenarios where there are multiple neatly placed objects of the same type and it improves labeling efficiency.
Set a region selection as a template
Click
 in the toolbar. Right-click on the region that needs to be set as the template, and click Set current selection as template, and the template will be set.
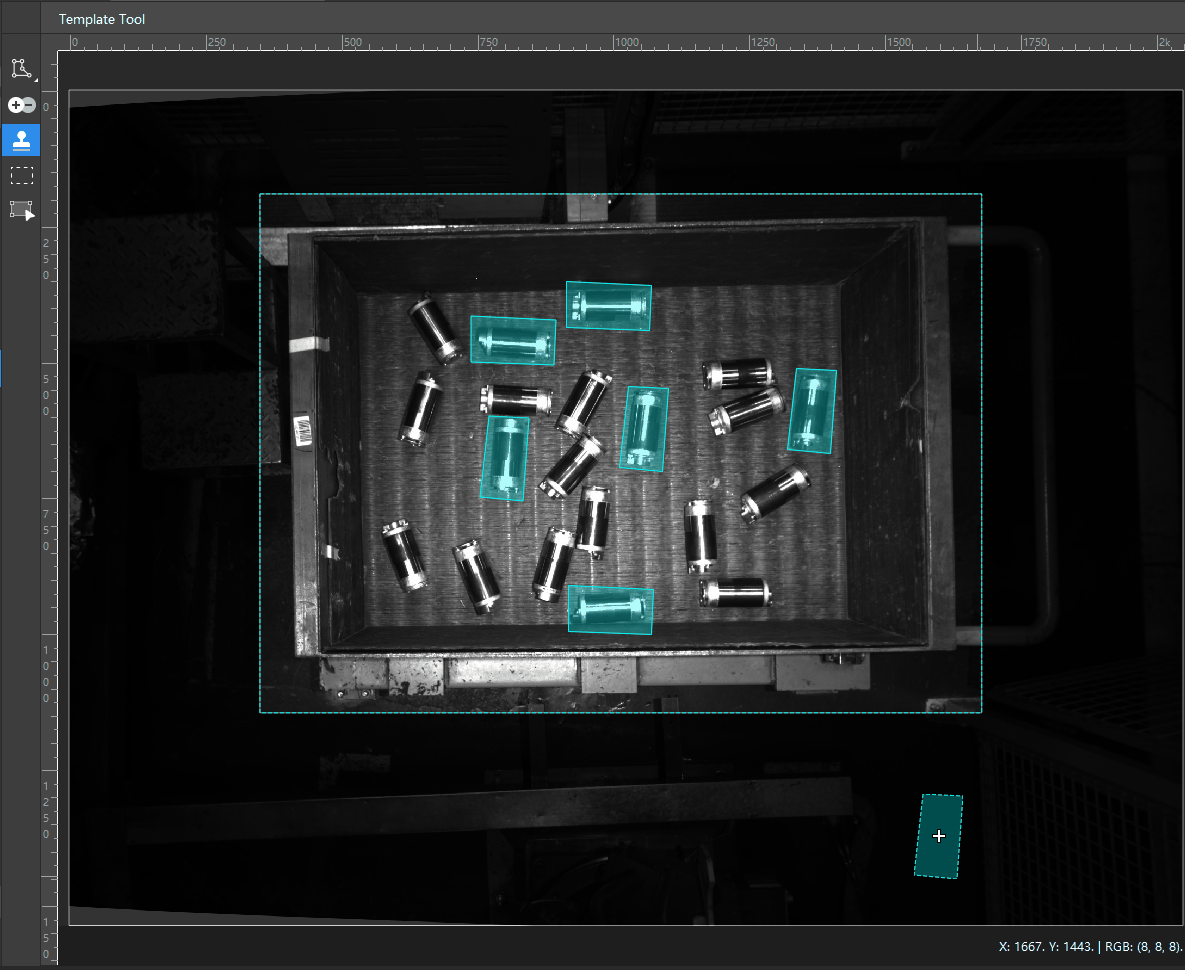
Change template
Right-click on a new region, and click Set current selection as template.
Adjust selection region
If the applied template on a new object cannot fully fit the object contour, after applying the template, you can use the Select Tool
 , drag or add/remove vertices, or rotate the region using
  .
.Hint
Left-click to add a vertice, and right-click to remove a vertice.
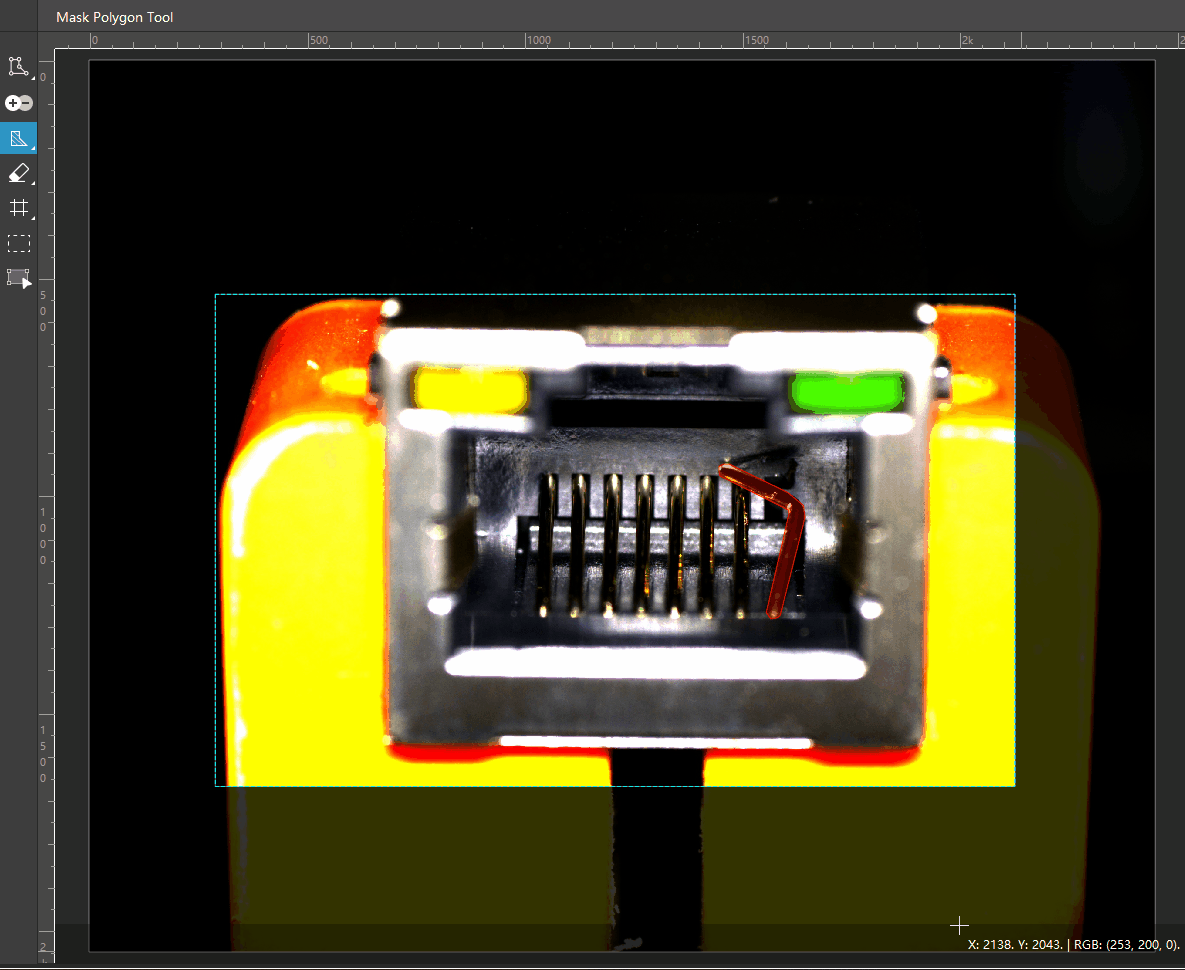
Mask Polygon Tool
If there are some irrelevant parts that may interfere with model training/inference, you can use the Mask Polygon Tool ![]() to cover such parts. The masked parts will not be involved in training/inference.
to cover such parts. The masked parts will not be involved in training/inference.
For example, the object surface features that should not be judged as defects but are similar to defects, need to be masked out.