Module Cascading
The module cascading function is used to cascade two or more algorithm modules to train a model with multiple recognition functions.
When to Use Module Cascading
When two or more identification requirements need to be met, module cascading can be used. For example, when both object defect segmentation and defect classification are required, the “Defect Segmentation” module and the “Classification” module can be cascaded.
With module cascading, there is no need to create multiple projects, which saves training and deployment time.
Please see Train the First Model for instructions on using module cascading.
Methods of Cascading
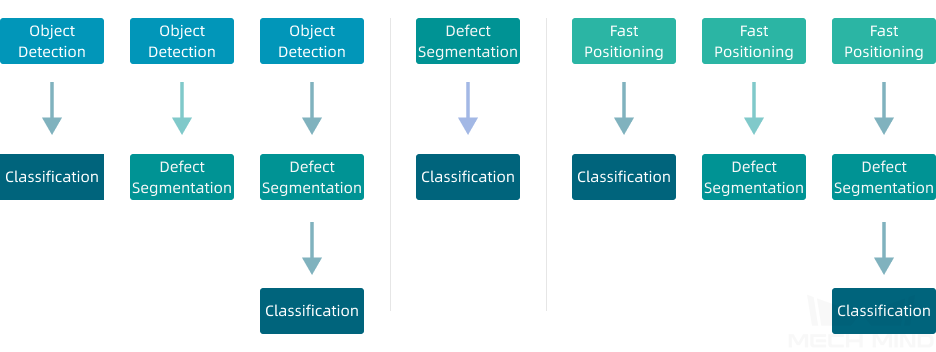
Create a Cascading Project
The following instructions show how to create a cascading project for recognizing object defects and classifying the defects.
The function is achieved by cascading two algorithm modules.
Defect Segmentation recognizes defects in objects.
Classification classifies the defects.
Create the project
Click New Project on the main window, select the project path and enter the project name to create a new project.

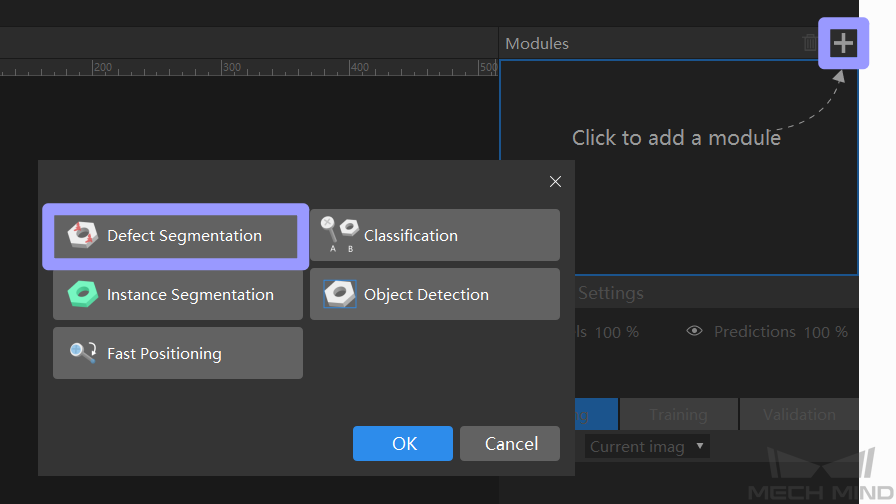
Add the “Defect Segmentation” module
Click on
 in the module section on the right part of the main window, select the Defect Segmentation module and click on Confirm .
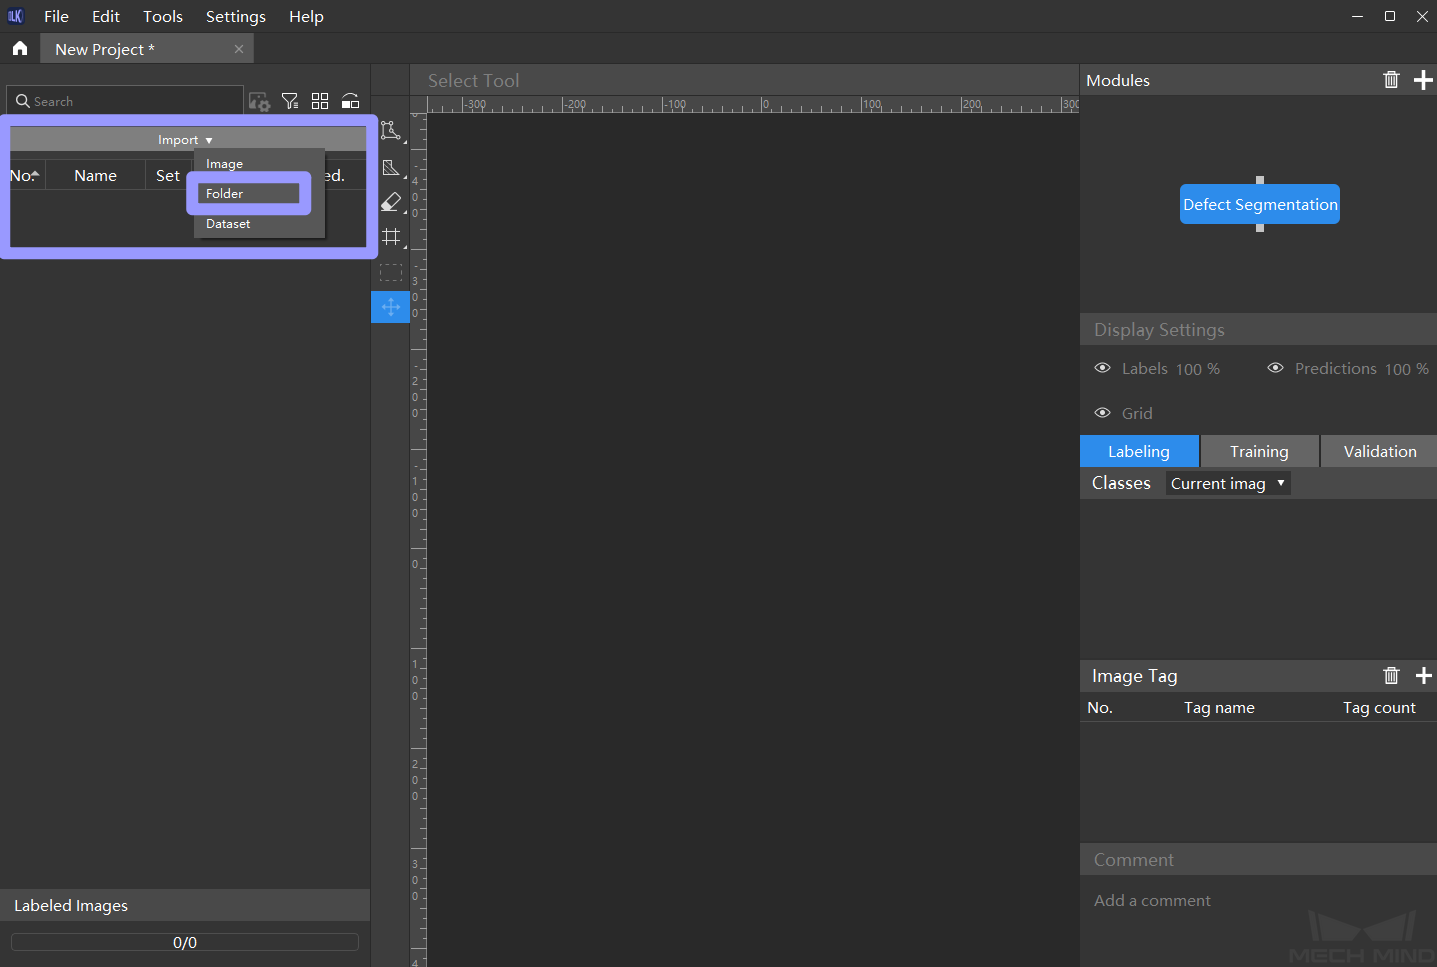
Import image data
Click Import in the upper left, and select how to import the image data.
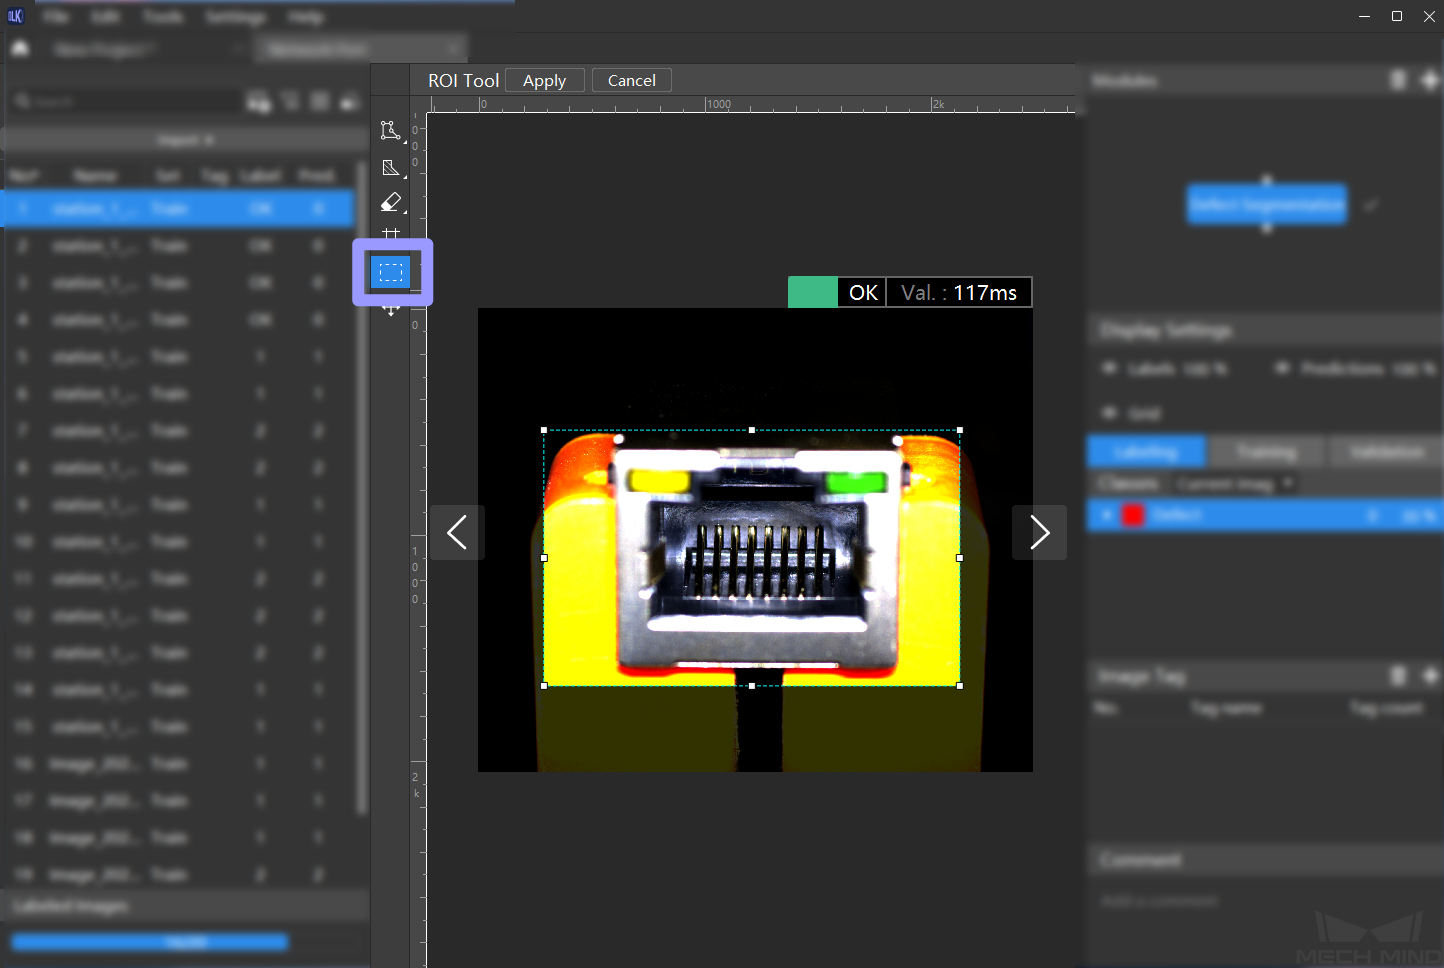
Select ROI
Click on
 to select the region of interest from the image. The purpose is to reduce the interference of irrelevant background information and reduce the image processing time.
Label the images
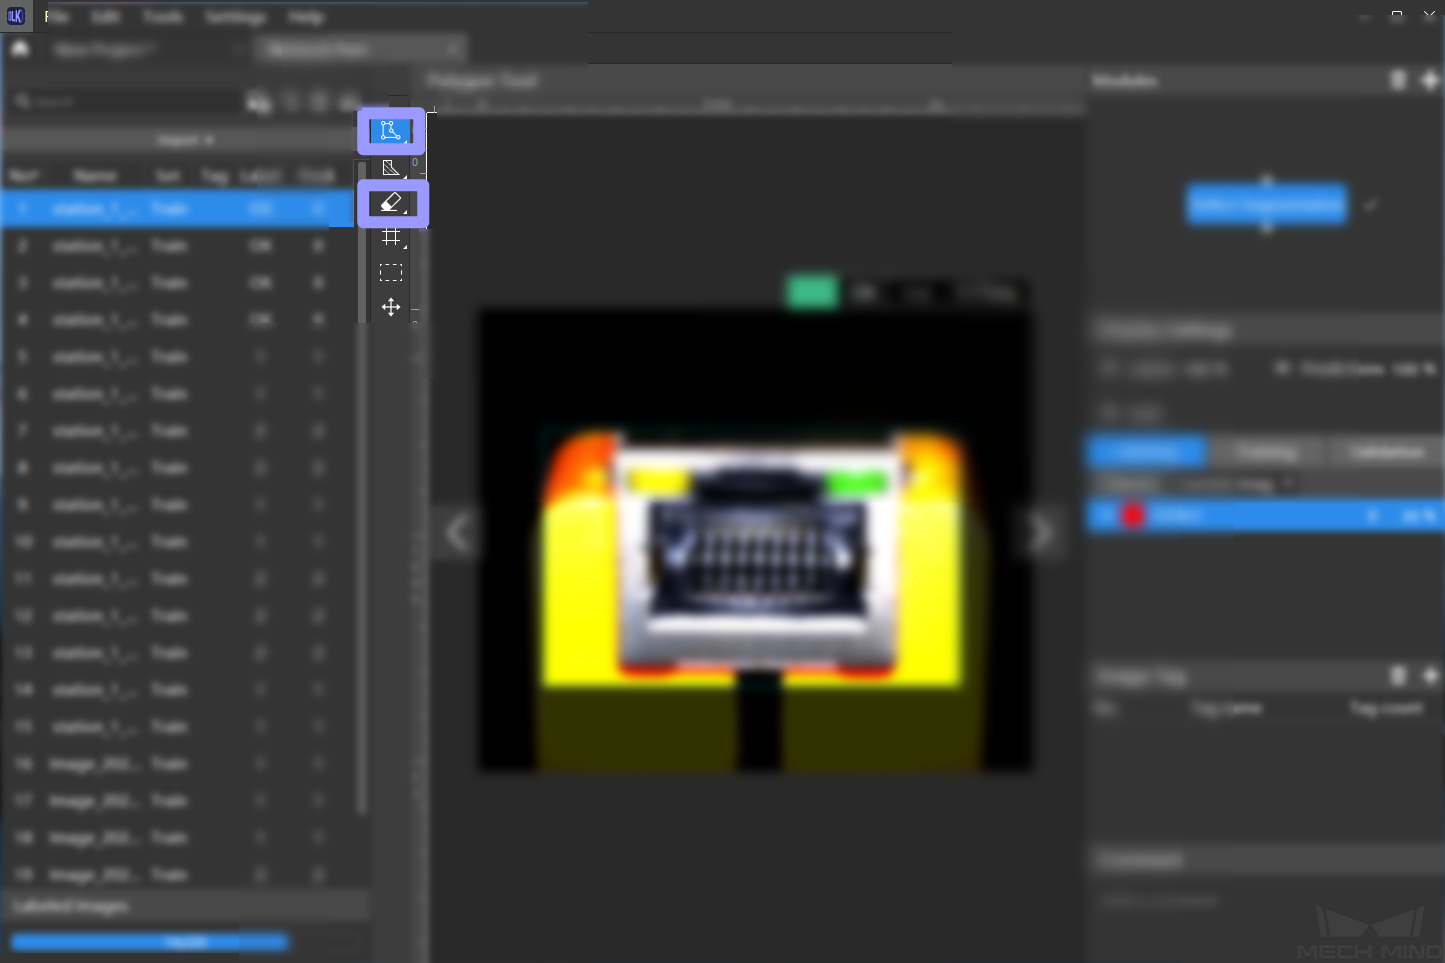
Please label the OK images and the NG images that contain defects in each dataset. For NG images, please right-click on
 on the left-side toolbar of the image, select the appropriate tools according to the shape of the defects, and select all defect regions in the images.
Click
 to use the eraser tool for adjusting the selected regions.
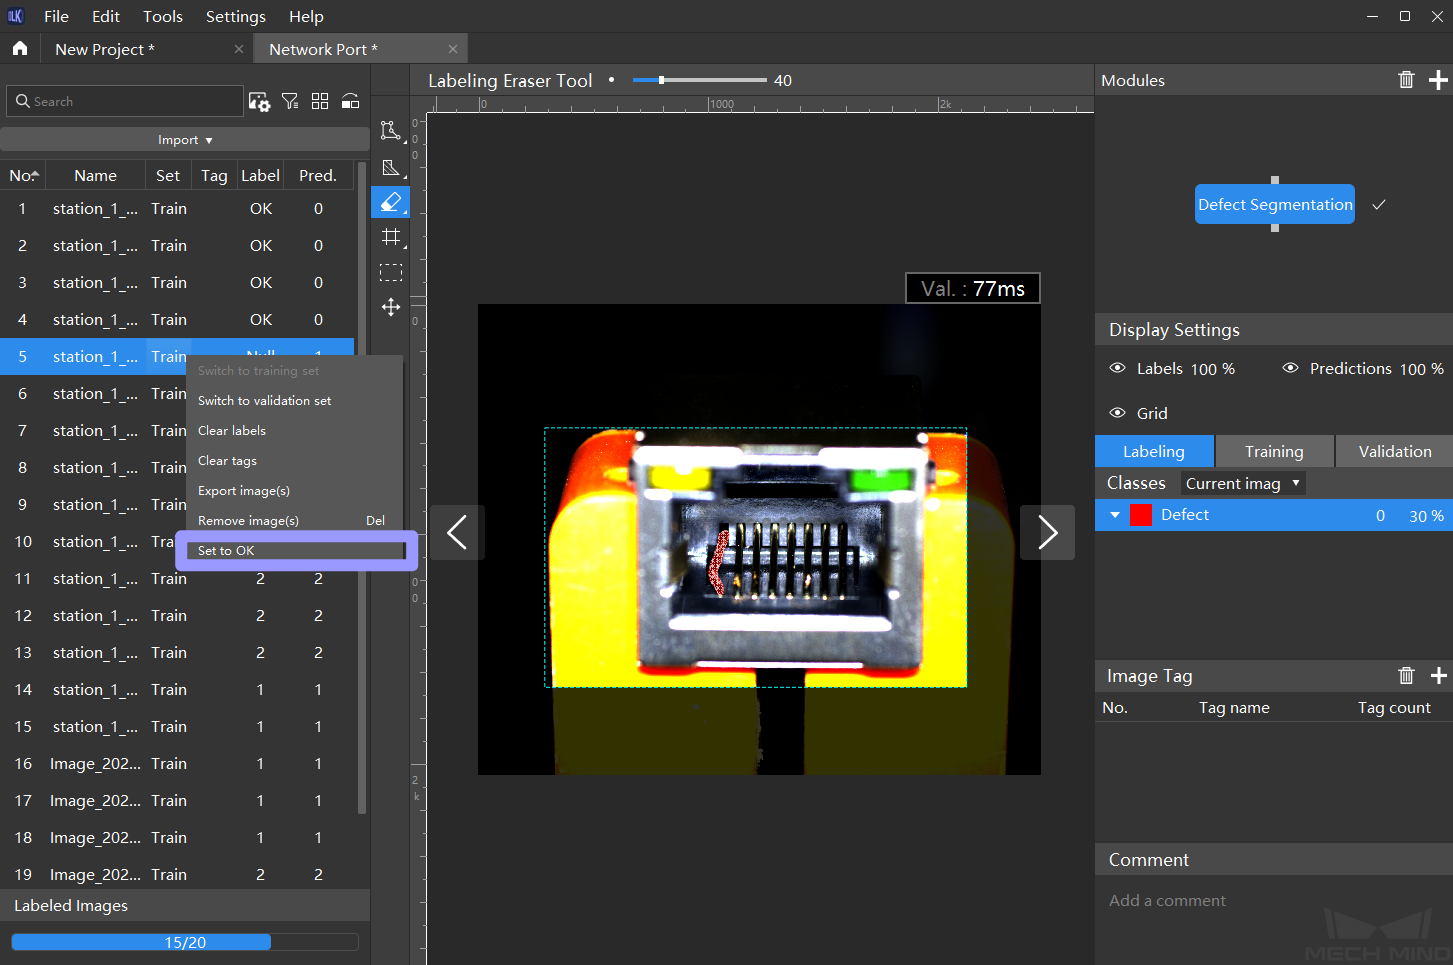
For an image that contains no defect, please select the image in the image list on the left, right-click, and select Set to OK .
Train the model
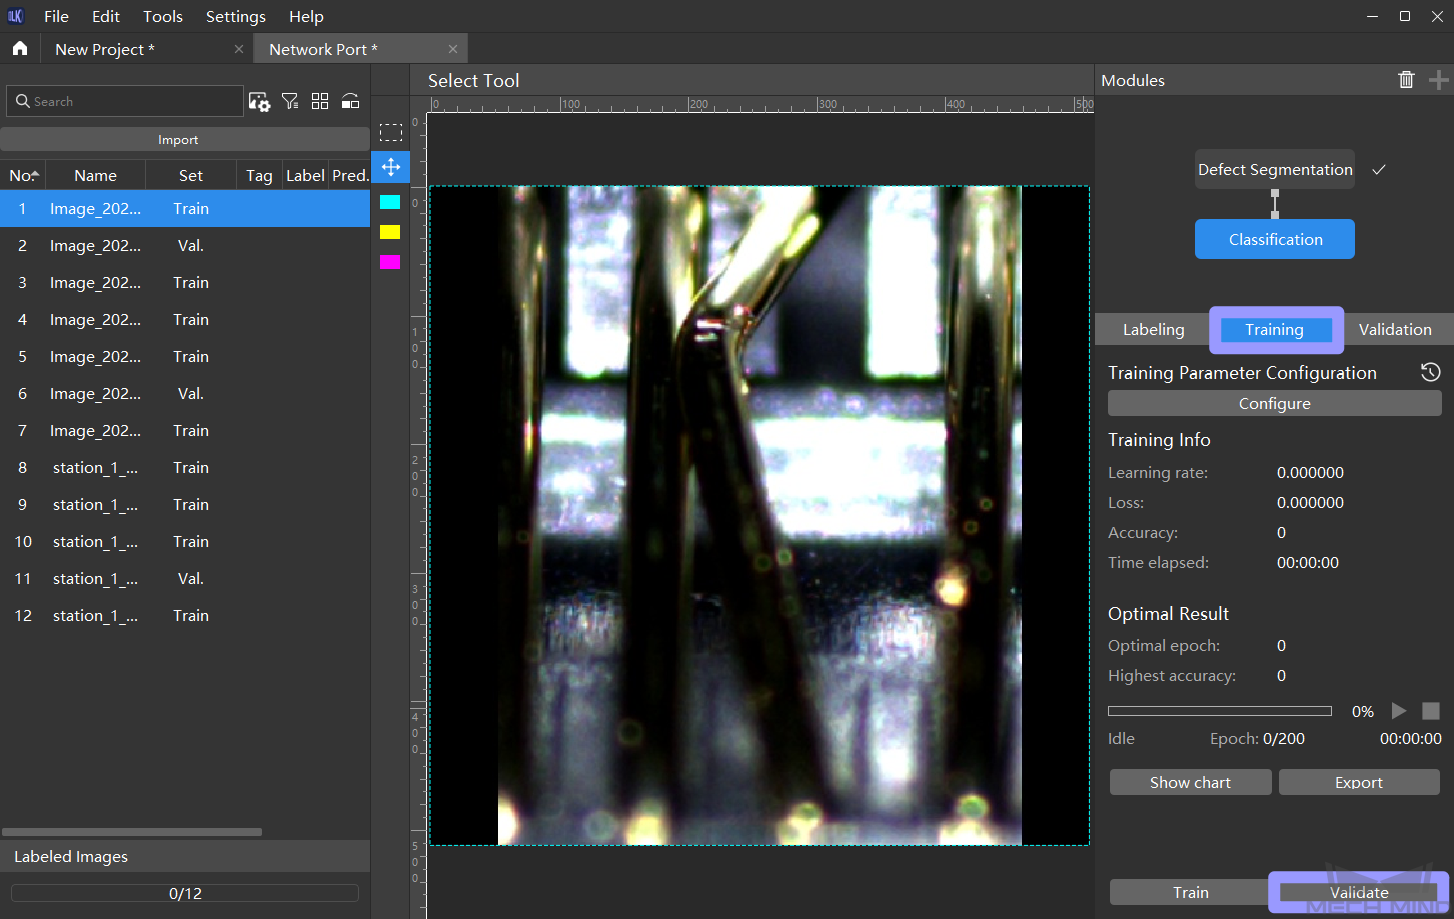
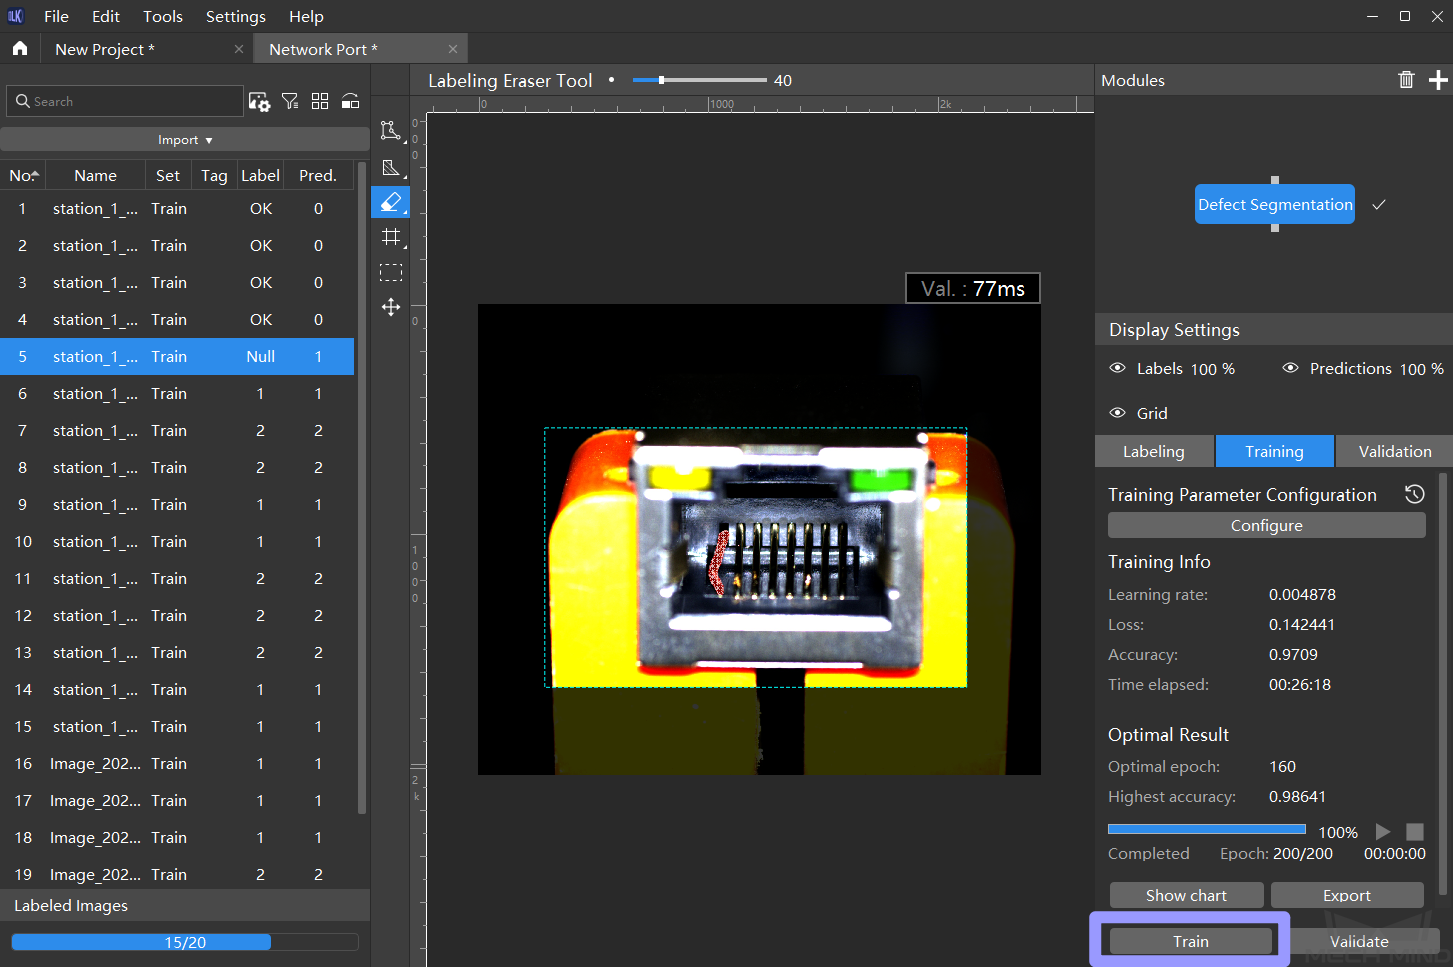
Click train at the bottom right to start training.
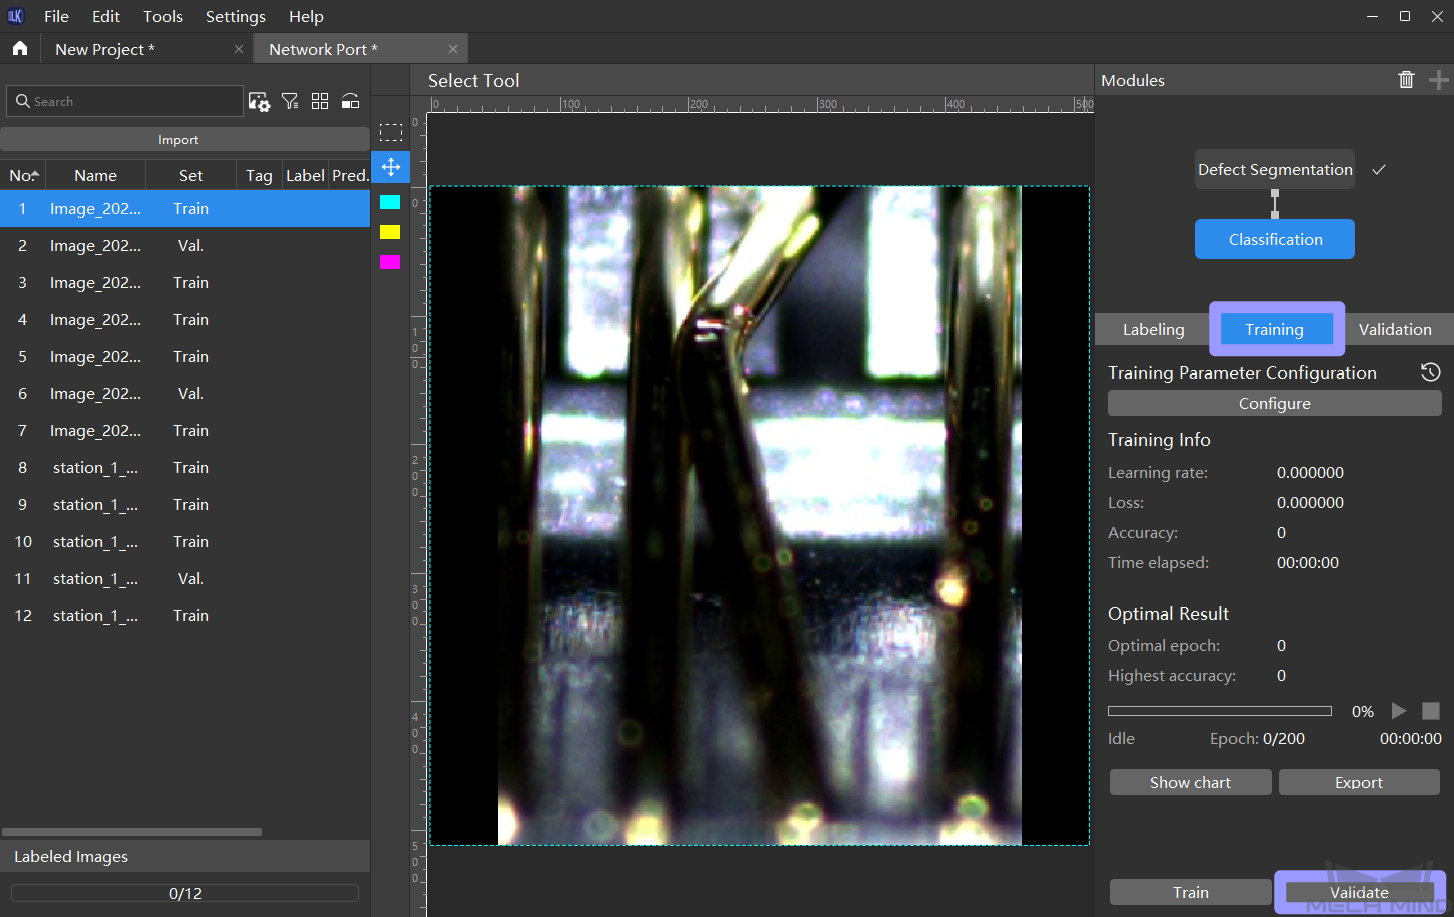
Validate the training effect
After the model training is completed, please click on Validate Result to see the model effect.
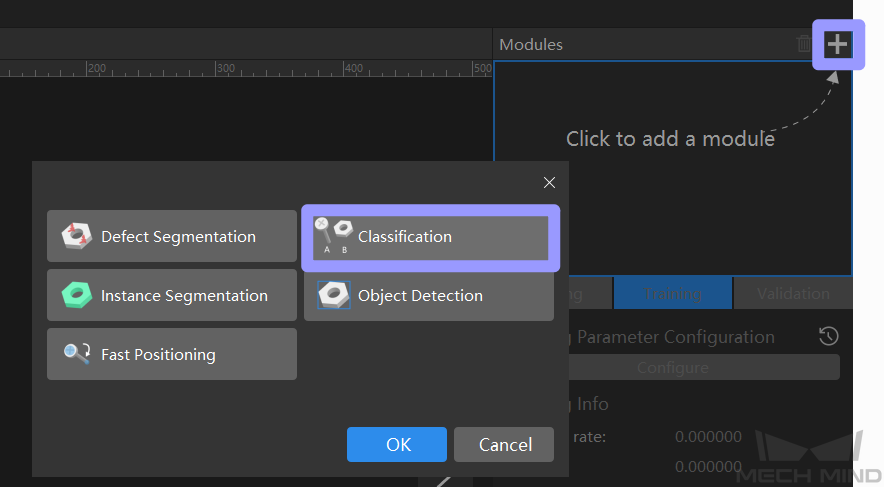
Add the “Classification” module
After validating the training effect of the trained defect segmentation model and confirming that the recognition performance meets the requirement, please click + in the “Module” section at the upper right of the window to add a “Classification” module.
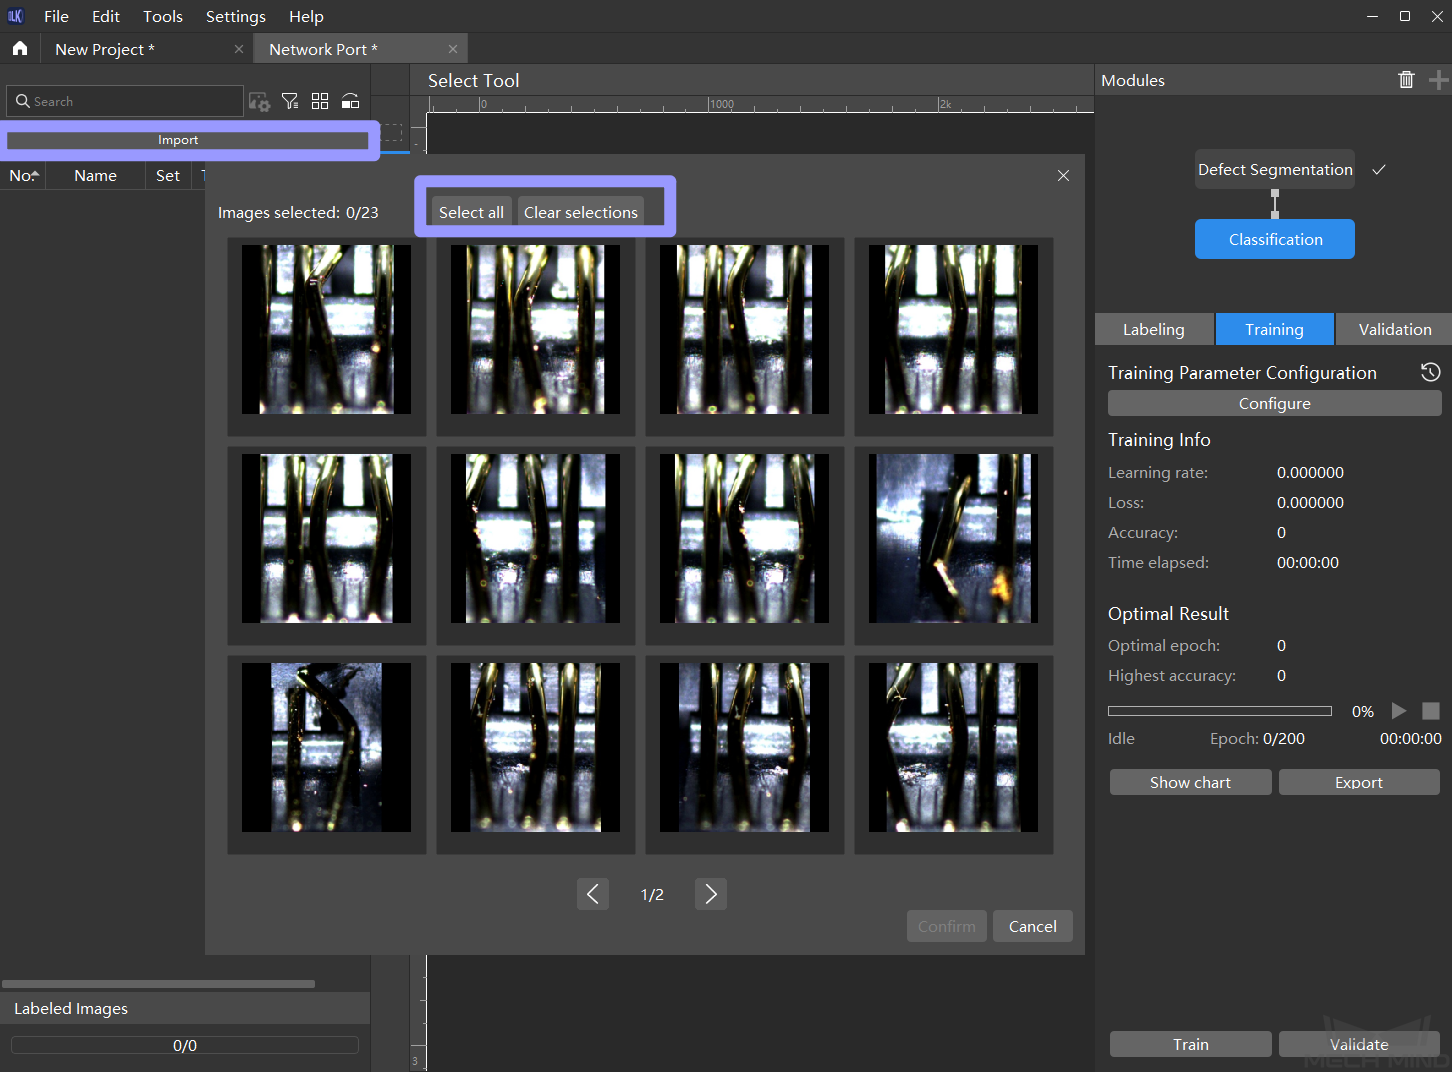
Import data into the “Classification” module
The above defect segmentation training results will be imported into the image classification module as a data source. Please click on Import , select the required data, and click on Confirm .
Create image classification labels and start labeling
Before labeling the Classification module, please click on + in the “Label” section on the right to create different labels according to the classes of the target objects. Then click a label on the left side of the “Label” section to label the images.

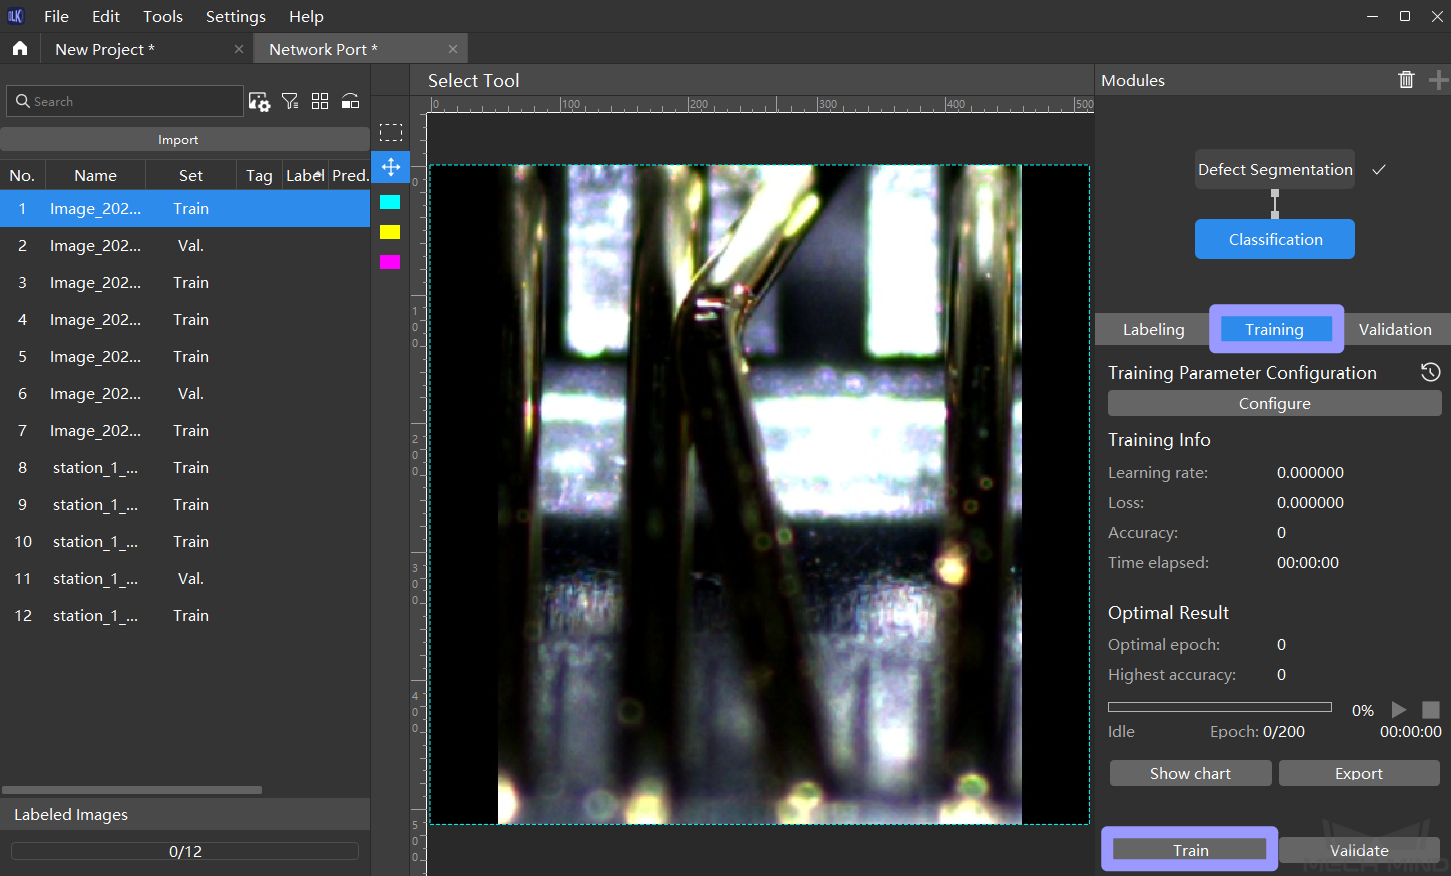
Train the model
Click Train to start training the model with default parameters.
Validate the model
After training, click Validate to see the model’s performance.

Export the model file
After the model training is completed, please click on Export model on the right to export the optimal model to the project folder.
