TM Calibration Program
Before performing the following operations, please make sure that:
You have loaded the Standard Interface program onto the robot and can establish communcation with Mech-Center.
You are familiar with the contents in Hand-Eye Calibration Guide.
The robot is in the Manual mode, i.e., the green Manual light is on. If the robot is in the Auto mode, please press and hold the M/A button on the Robot Stick to switch to the Manual mode.
The calibration process is as follows:
Load the Calibration program
Click
 and select Project to open the window as shown below.
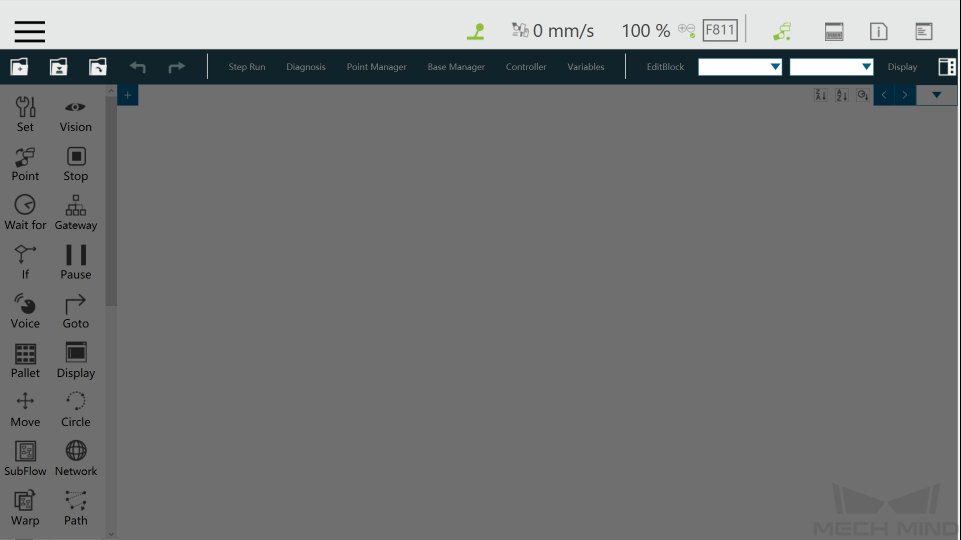
Click
 , and select mm_calibaration in the pop-up window, and then click OK.
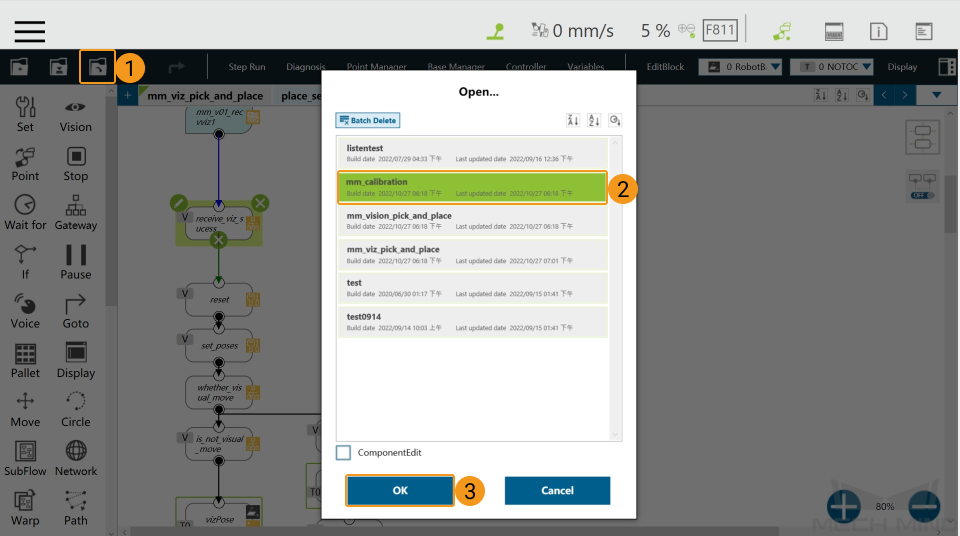
Set the Start Point for Calibration
Click Point Manager.

Click
 in the pop-up window.
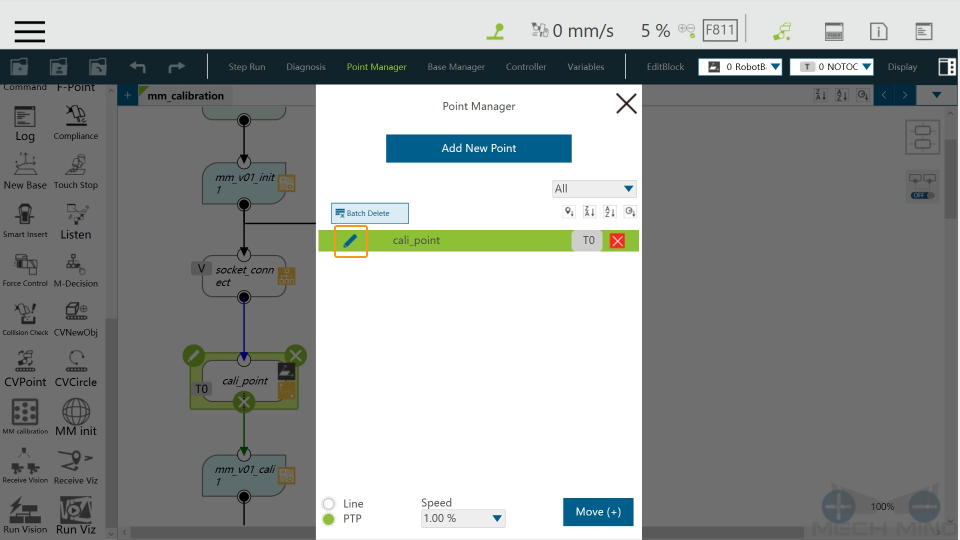
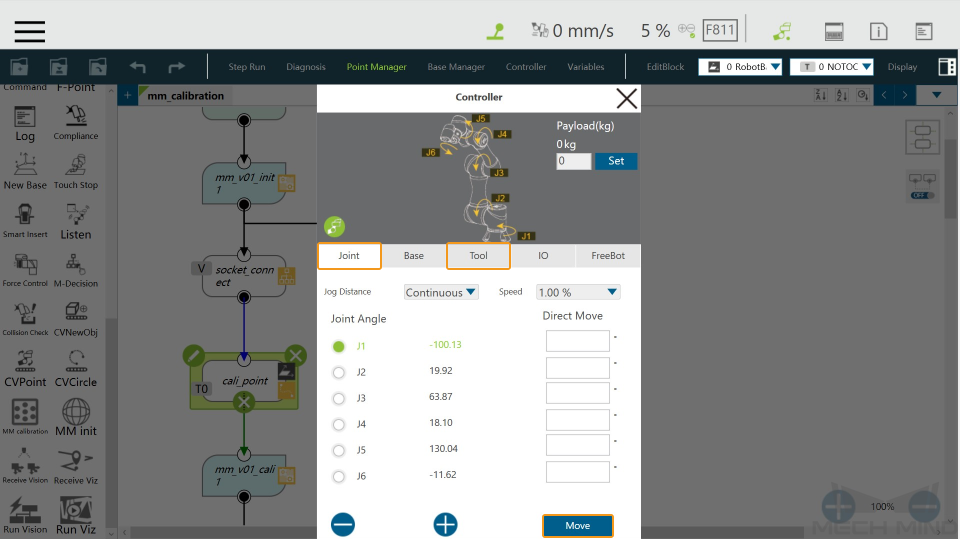
Click Controller.
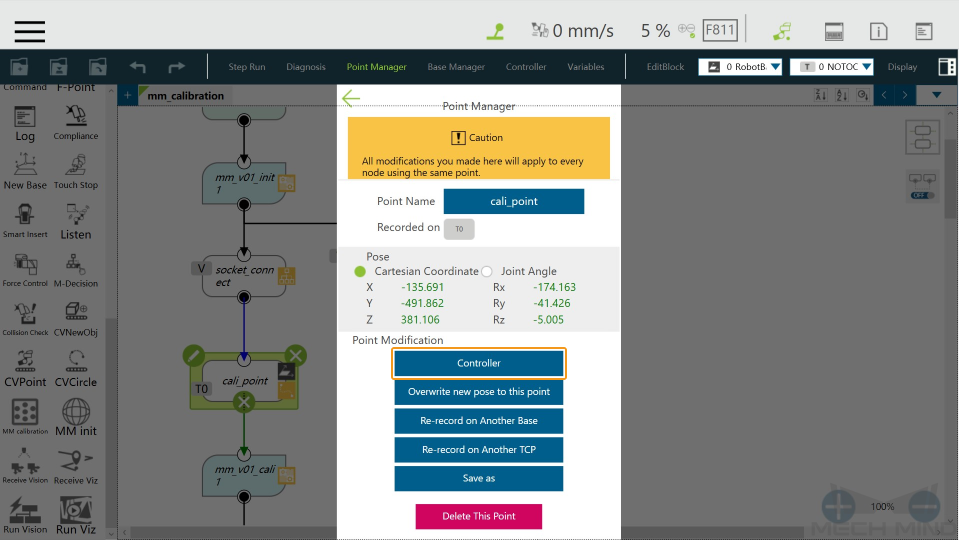
Adjust the robot pose in the Joint or Tool tab, and click Move when finished.
Note
This point is the first point where the camera captures the image for hand-eye calibration. Please make sure that the calibration board is at the center of the camera’s field of view.
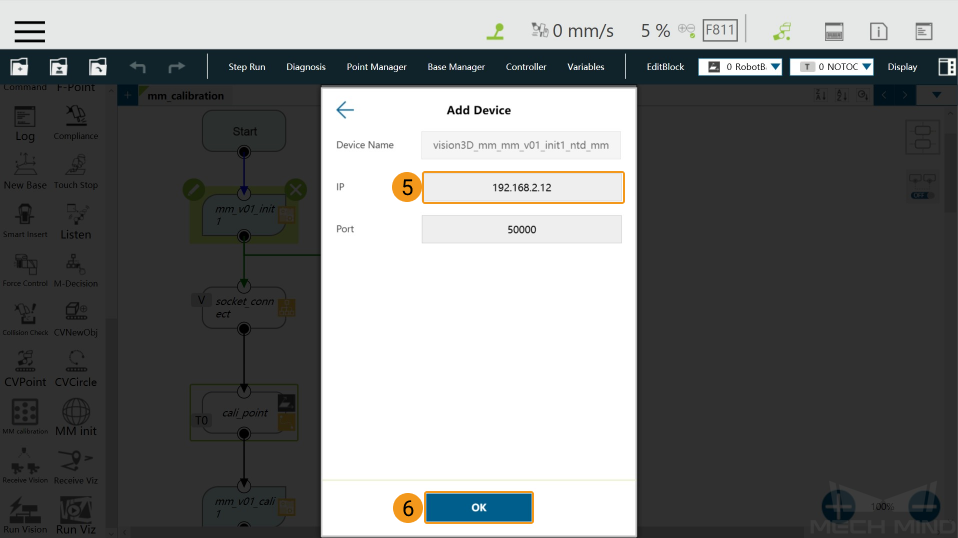
Configure the IP Address of the IPC
Click the
 icon on the upper left corner of the mm_v01_init1 node.
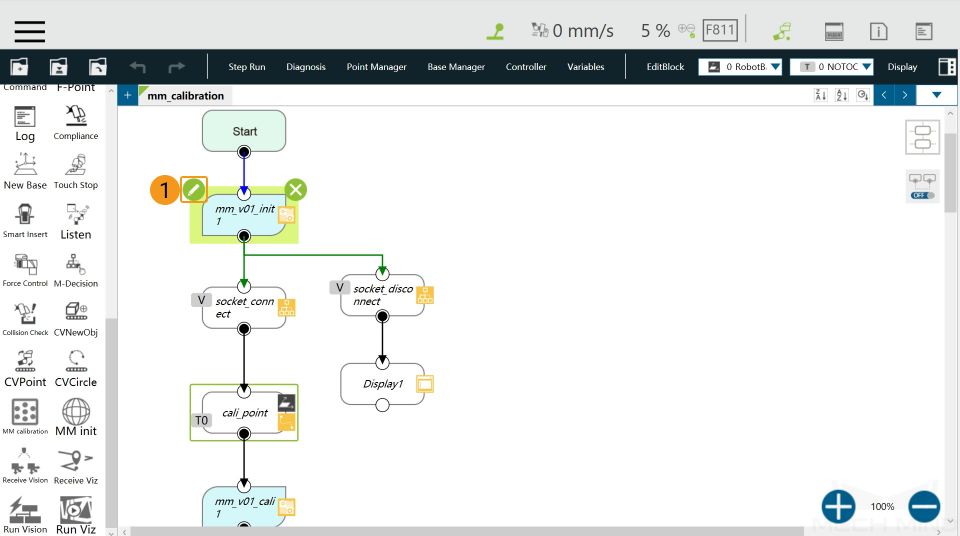
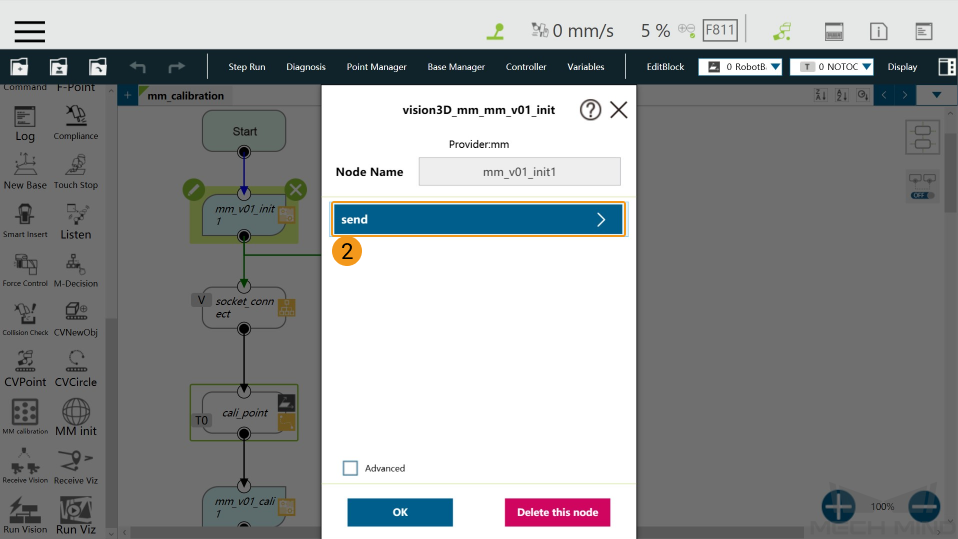
Click send, and select vision3D_mm_mm_v01_init1_ntd_mm in the Network window.

Click + in the Device window.
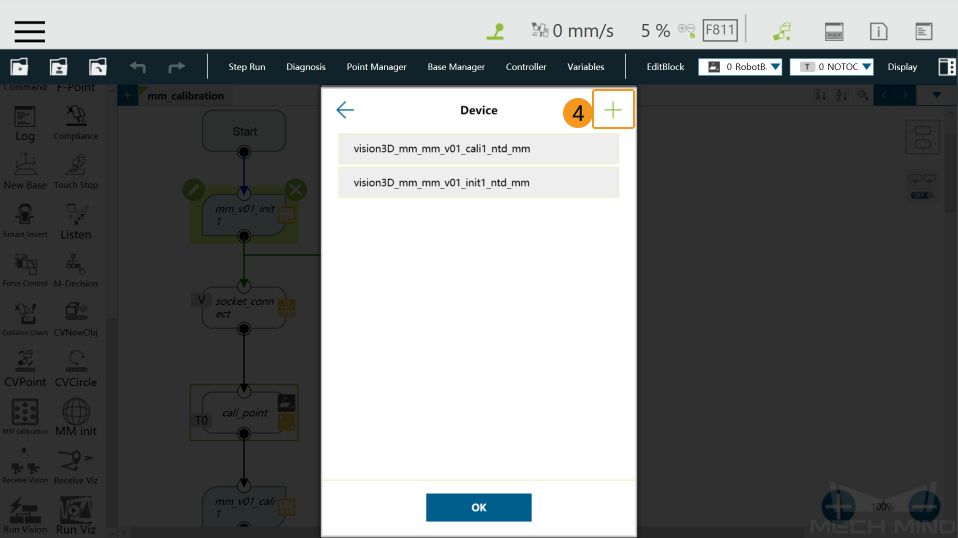
Enter the IP address of the IPC in the Add Device window and click OK.
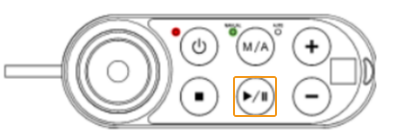
Run the Calibration Program
In the Manual mode (the green Manual light is on), press the Run button on the Robot Stick to run the calibration program.
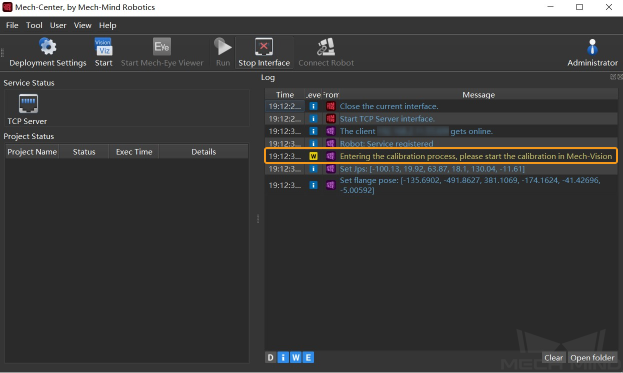
Make sure that the message “Entering the calibration process, please start the calibration in Mech-Vision” is displayed in Mech-Center’s Log panel.
Auto-Calibrate with Mech-Vision
Start Mech-Vision, click the Camera Calibration (Standard) button in the toolbar, or select in the menu bar to open the calibration tool.
Please follow the instructions in the software to complete the settings.
Select Start a new calibration process.
Select a camera mounting method.
Select Multiple random board poses for adding calibration points.
Note
If no connected robot model is displayed in the window for adding calibration points, the connection between the robot and Mech-Center is not properly established. Please re-run the robot program.
Follow the instructions in Mech-Vision to finish the calibration. You can refer to Calibration Procedure for detailed infomation.