Hardware Installation
You can mount the camera, IPC, and accessories after pre-mounting check.
Mount the Camera
There are two ways to mount the camera:
Mount through the camera bracket, which is already attached to the back of the camera when packaged.
Mount through threaded holes.
You can either use the bolts inside the accessory box to mount the camera or use your own wrench and bolts. See the specifications of bolts and wrench below:
Hint
Please remove the screen protector after the camera is mounted.
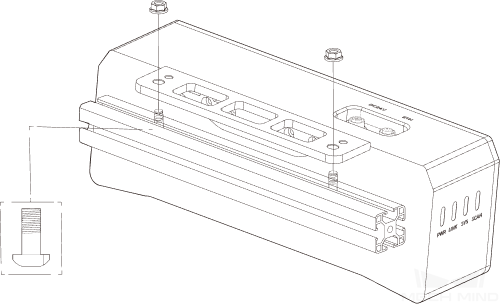
Mount through Camera Bracket
Tighten the two bolts with the wrench to fasten the camera, as shown below:
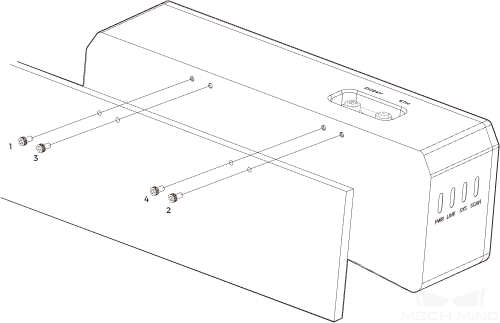
Mount through Threaded Holes
Use a wrench to loosely screw on the bolts in the order specified below, and then fully tighten all the bolts.
Hint
Please remove the camera bracket with a wrench before mounting the camera.
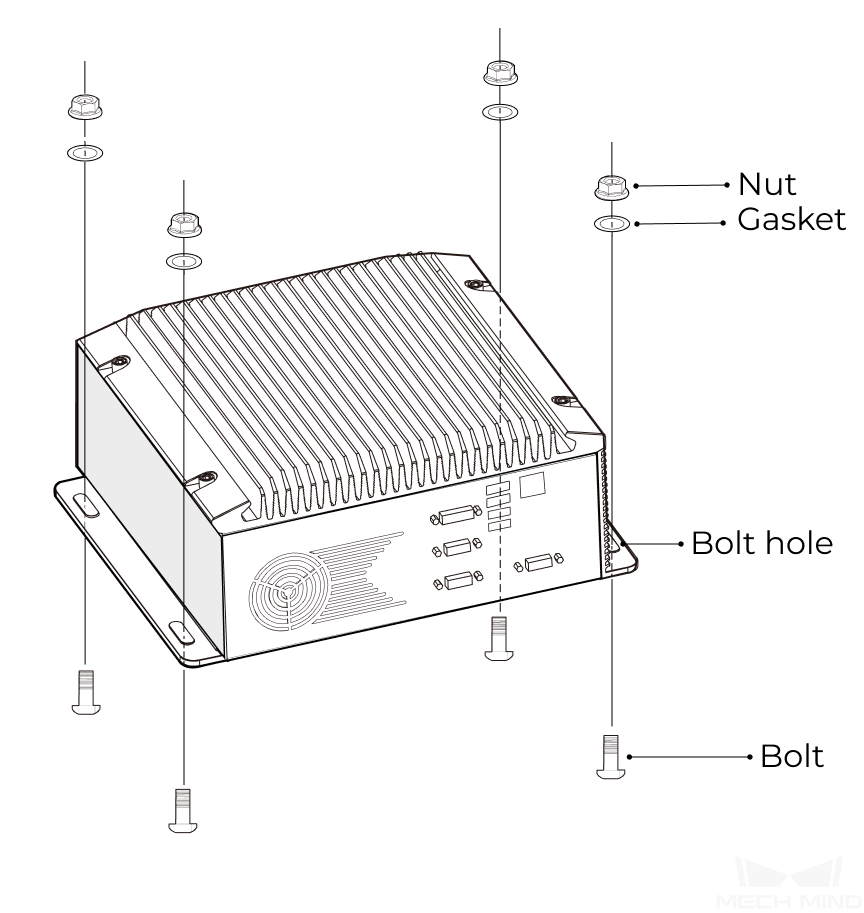
Mount the IPC (optional)
If the IPC needs to be mounted on a rack, please refer to this section for instructions.
Hint
The wrench, bolts, nuts, and gaskets are not included in the package. Please prepare them beforehand.
Tighten the two bolts with the wrench to fasten the camera, as shown below:
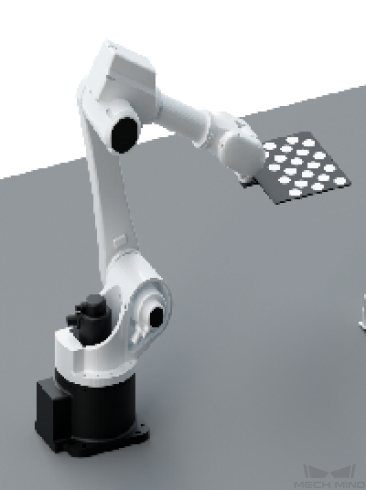
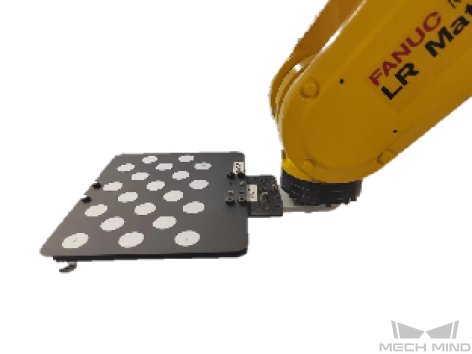
Mount the Accessories
To calibrate or check the extrinsic parameters for ETH mounting mode, the calibration board needs to be mounted on the robot with the flange adapter.
Mount the Flange Adapter
When checking the extrinsic parameters, the calibration board should be mounted on the last joint of the robot. Usually the flange adapter is used to connect the board to the robot.
Mount the Calibration Board
Common ways to mount the calibration board:
Direct mounting
Mounting through the flange adapter