Parameters for 2D Image
The parameters in the 2D Parameters category affect the quality of the 2D image.
The general criteria for a good 2D image:
Not over-exposed.
Not under-exposed.
The details that you need are visible and clear enough.
Note
Depending on your project needs, you may not need to ensure that the entire 2D image has the right brightness. As long as the parts needed for subsequent processes (such as deep learning inference and template matching) are clear enough for the processing, it is acceptable for irrelevant parts to be over- or under-exposed.
Note
Before proceeding, make sure you are familiar with the components and functions of the parameter panel.
The Beginner level parameters are basic parameters, and the additional parameters in Expert level are advanced parameters.
It is recommended to adjust the basic parameters first. If the quality of the 2D image is still unsatisfactory, adjust the advanced parameters.
Basic Parameters for 2D Image
Depending on what camera is connected, you may see different parameters in the 2D Parameters category, and the options therein also differ.
If you are connected to a LSR (V4) or DEEP (V4) series camera: 2D Image (Texture) Exposure Mode and 2D Image (Depth Source) Exposure Mode are displayed.
If you are connected to a camera from another series: Exposure Mode is displayed.
Note
For the LSR (V4) and DEEP (V4) series:
2D Image (Texture) Exposure Mode affects the 2D image used for texturing the point cloud.
2D Image (Depth Source) Exposure Mode affects the 2D images captured by the 2D cameras that acquire the depth data. These images are used in hand-eye calibration, checking intrinsic parameters, and setting ROI.
The “Color Image” port in Mech-Vision obtains the 2D image (depth source). If you need to adjust the “color images” in Mech-Vision, please adjust 2D Image (Depth Source) Exposure Mode.
The following table summarizes the options available for each of the above parameters.
Exposure Mode
2D Image (Texture) Exposure Mode
2D Image (Depth Source) Exposure Mode
Timed
Auto
HDR
Flash
The following table summarizes the suitable scenarios for each exposure mode option.
Exposure mode
Suitable scenario
Timed
Usually used in stable lighting conditions.
Auto
Usually used in varying lighting conditions.
HDR
Usually used for objects with various colors or textures.
Flash
Usually used in dark environments.
The exposure mode option selected determines what other parameters are displayed in the 2D Parameters category. The following sections explain the parameters corresponding to each option.
Timed Exposure Mode
With the Timed option, you can set a single exposure time for capturing the image.
For cameras from series other than DEEP (V4) and LSR (V4):
Adjust Exposure Time.
For DEEP (V4) and LSR (V4) series cameras:
DEEP (V4) and LSR (V4) series cameras provide two types of 2D images. Please adjust Exposure Time and/or 2D Image (Depth Source) Exposre Time according to your actual needs.
Parameter
Adjusting…
Image usage
Exposure Time
2D Image (Texture)
2D image used for texturing the point cloud
2D Image (Depth Source) Exposure Time
2D Image (Depth Source)
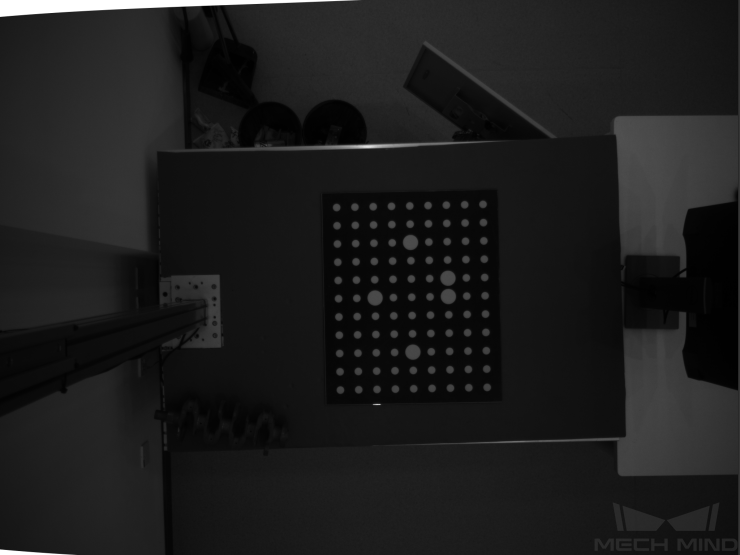
Check intrinsic parameters
Set ROI
Hand-Eye calibration
Exposure Time/2D Image (Depth Source) Exposure Time
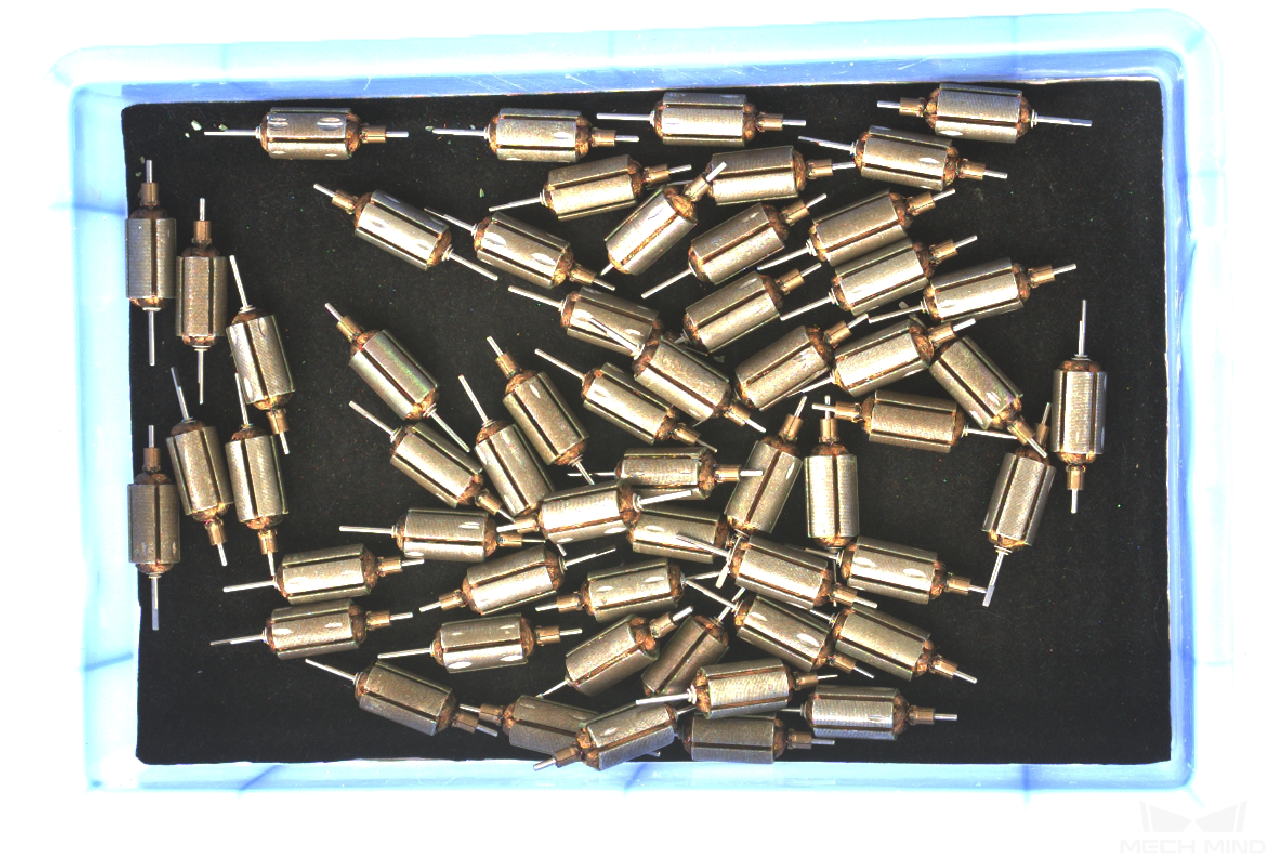
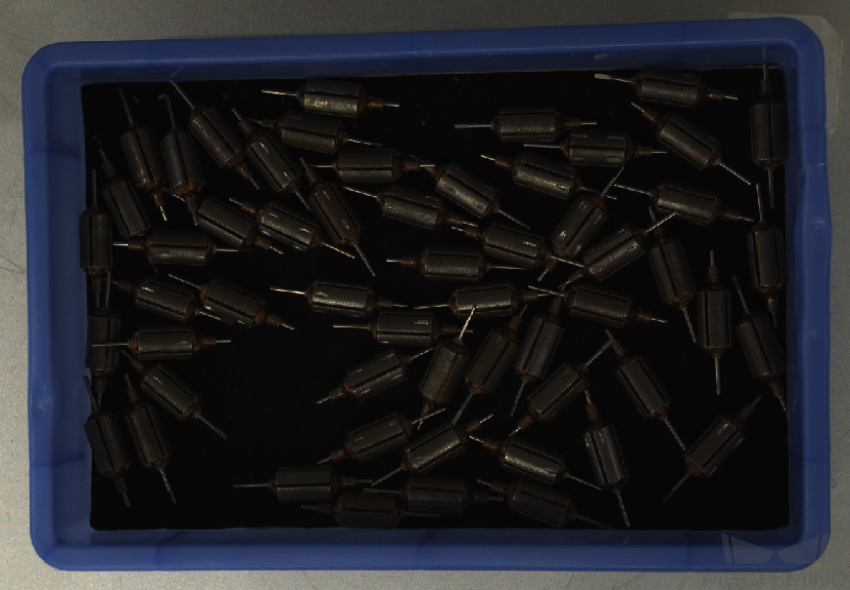
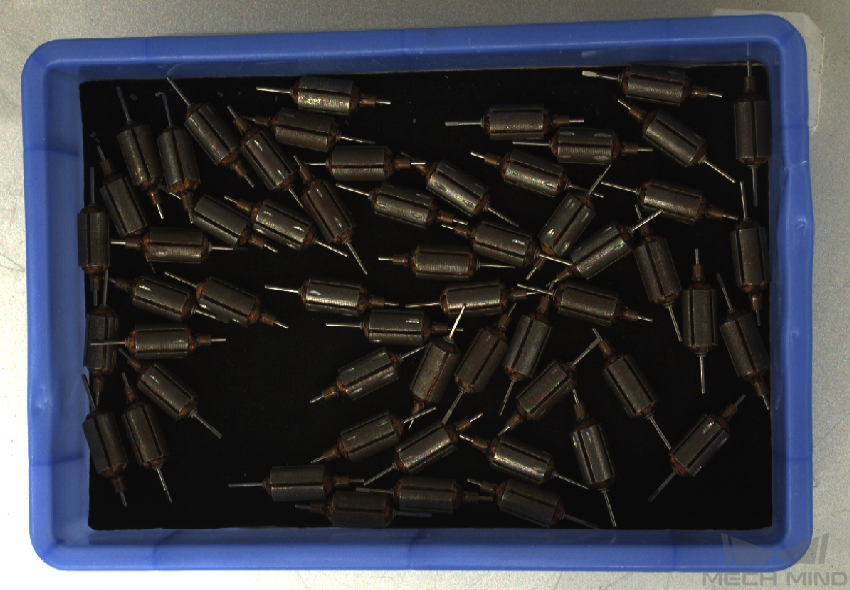
The value of Exposure Time/2D Image (Depth Source) Exposure Time affects the brightness of the image.
Usually, long exposure time is used in dark environments, and short exposure time is used in bright environments.
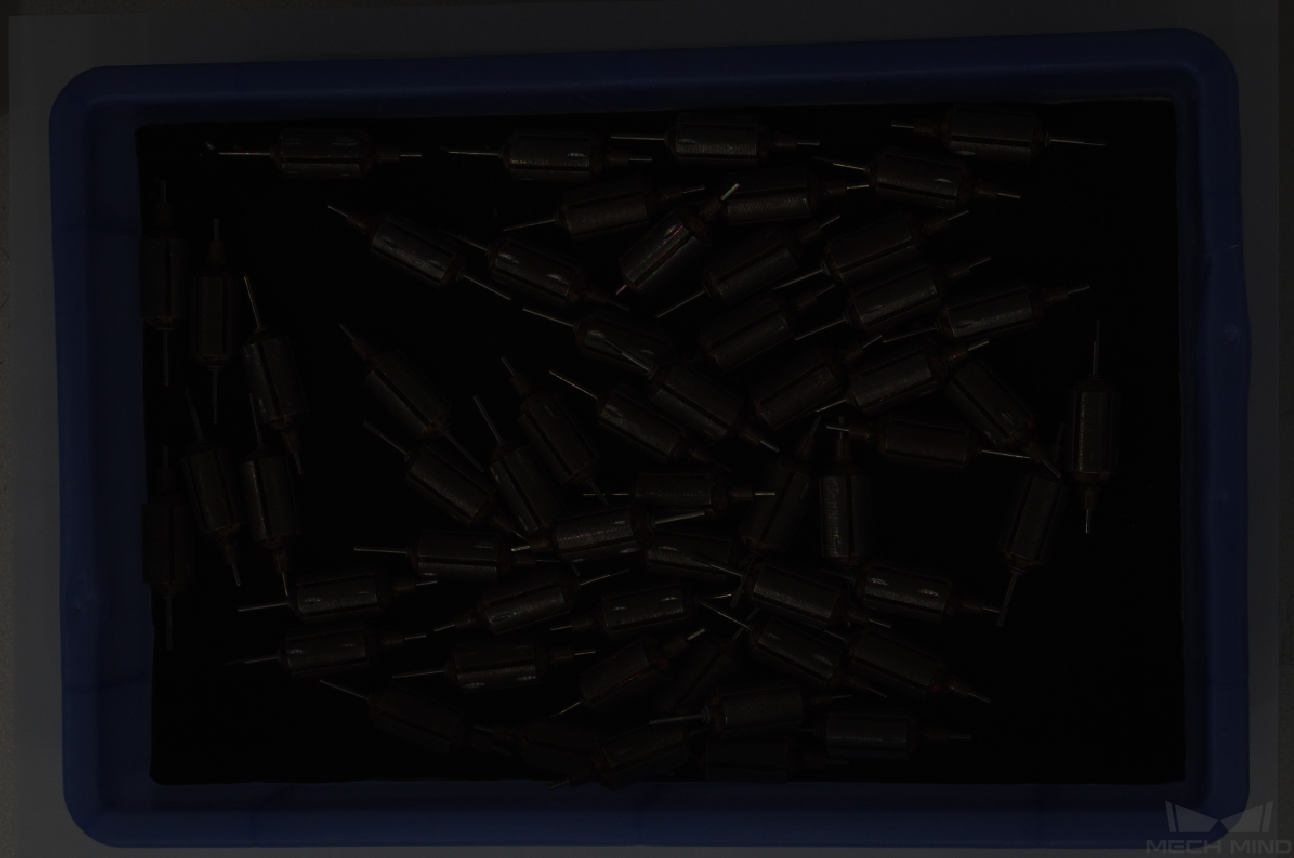
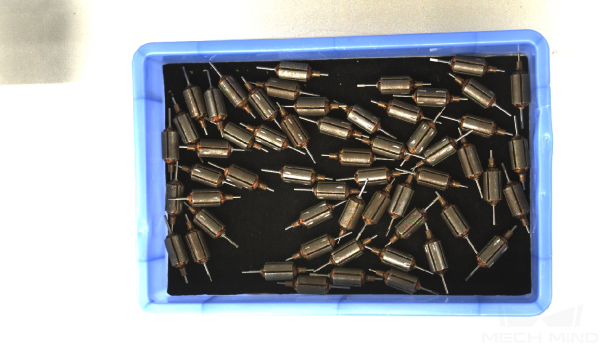
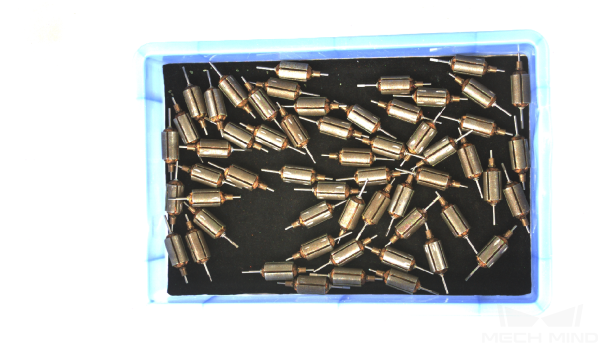
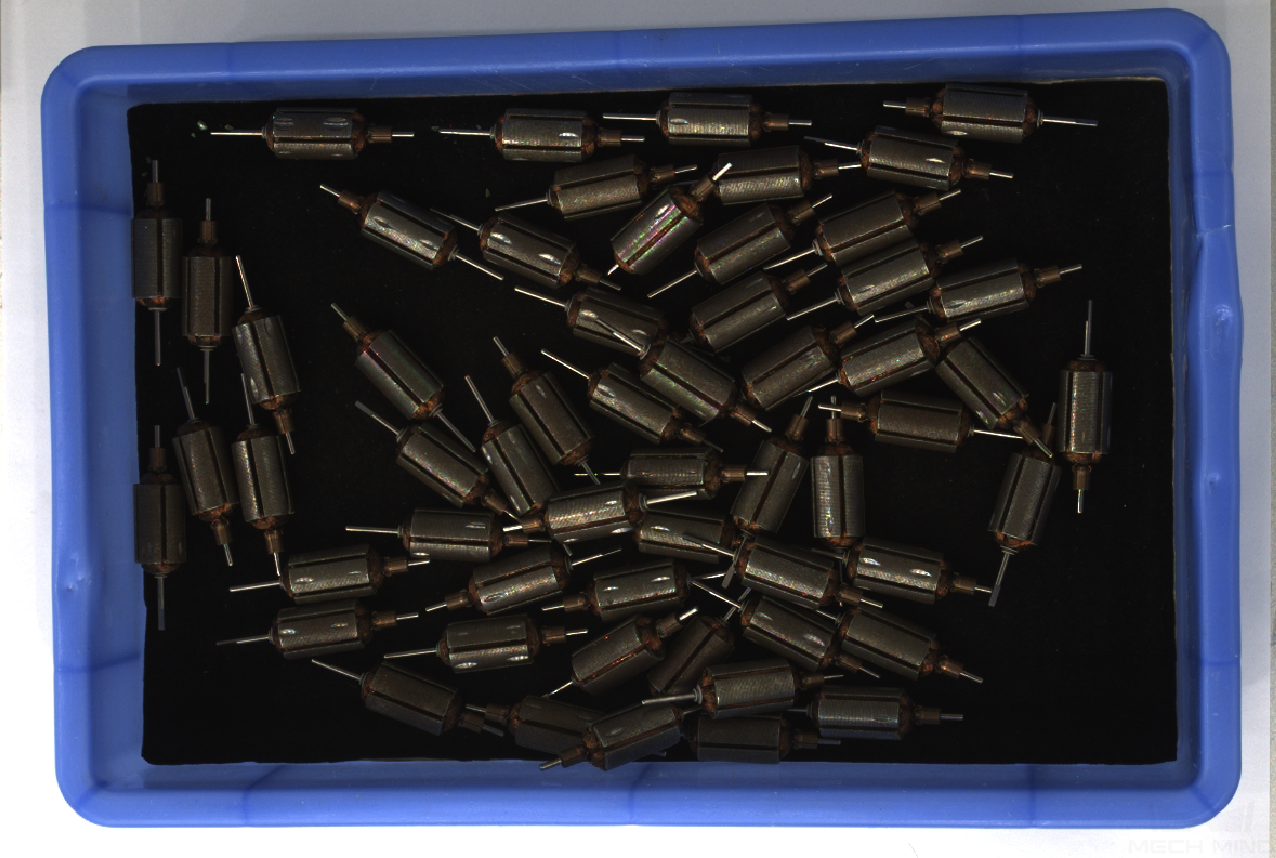
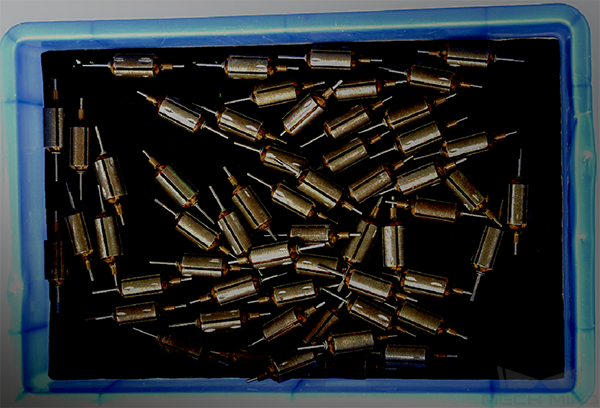
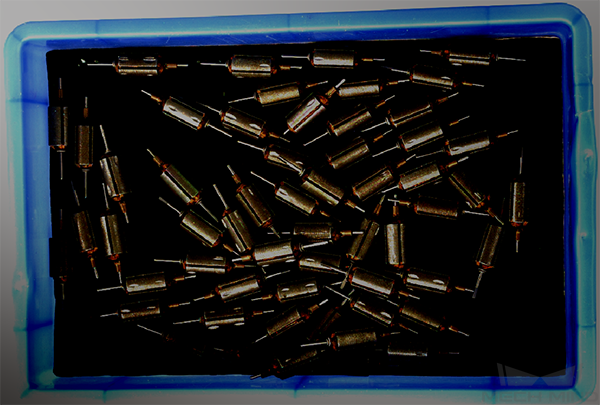
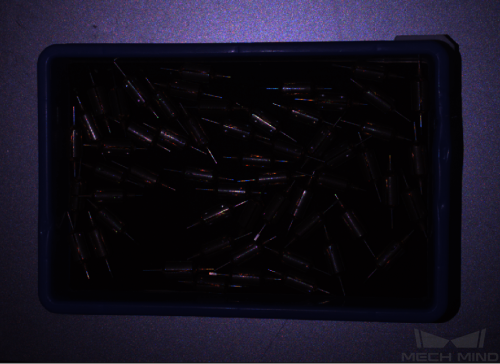
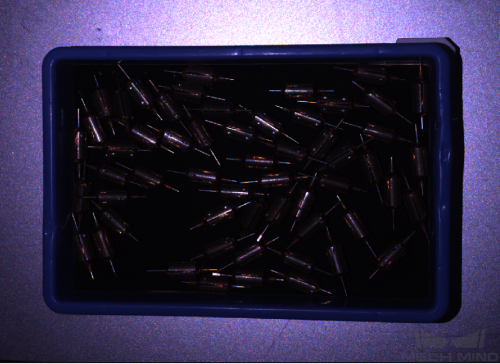
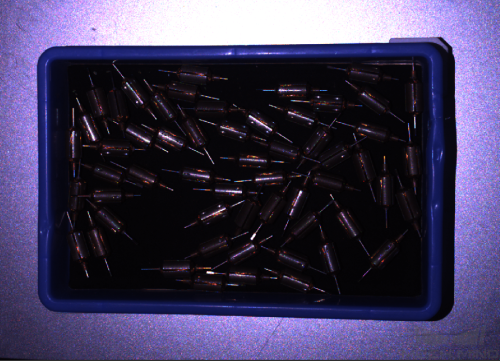
2D images captured with different Exposure Time values (all other conditions identical):
30 ms
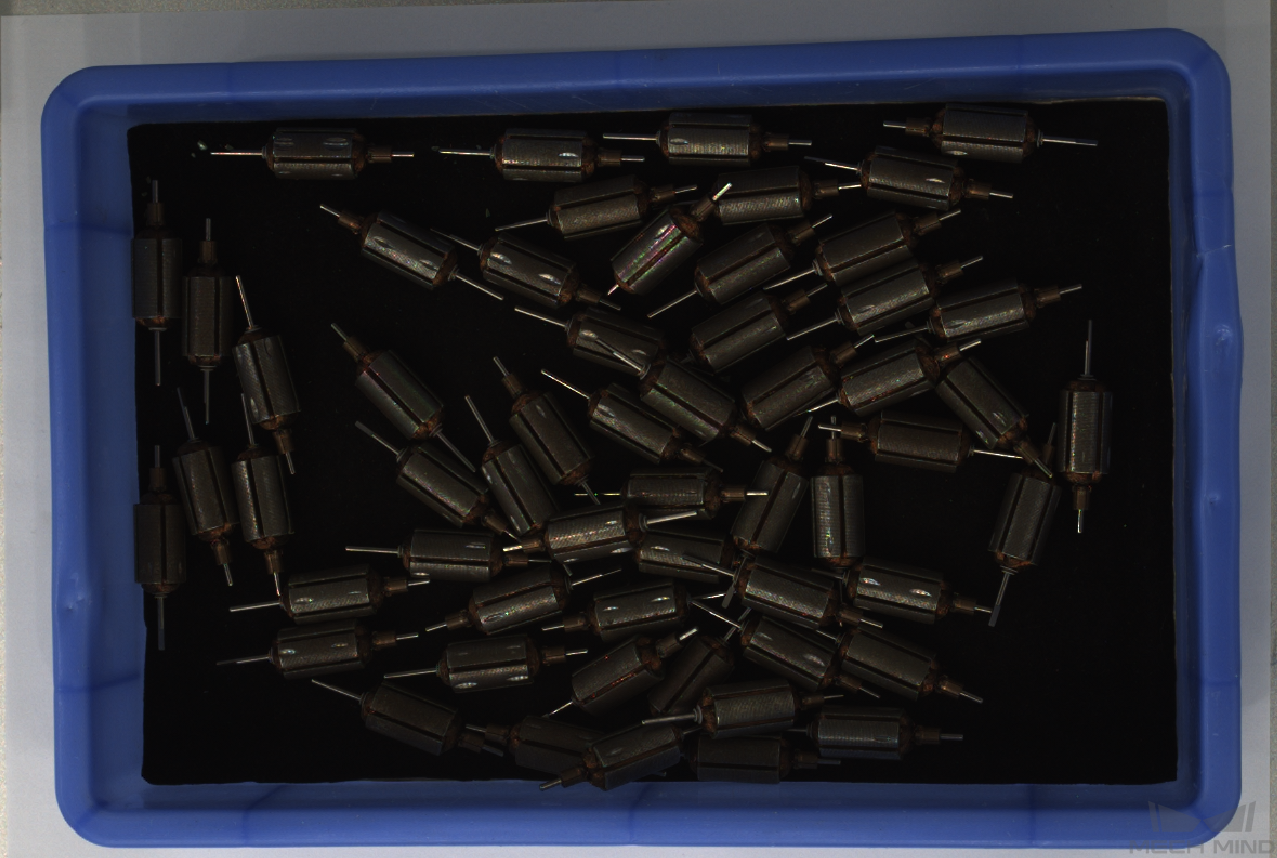
120 ms
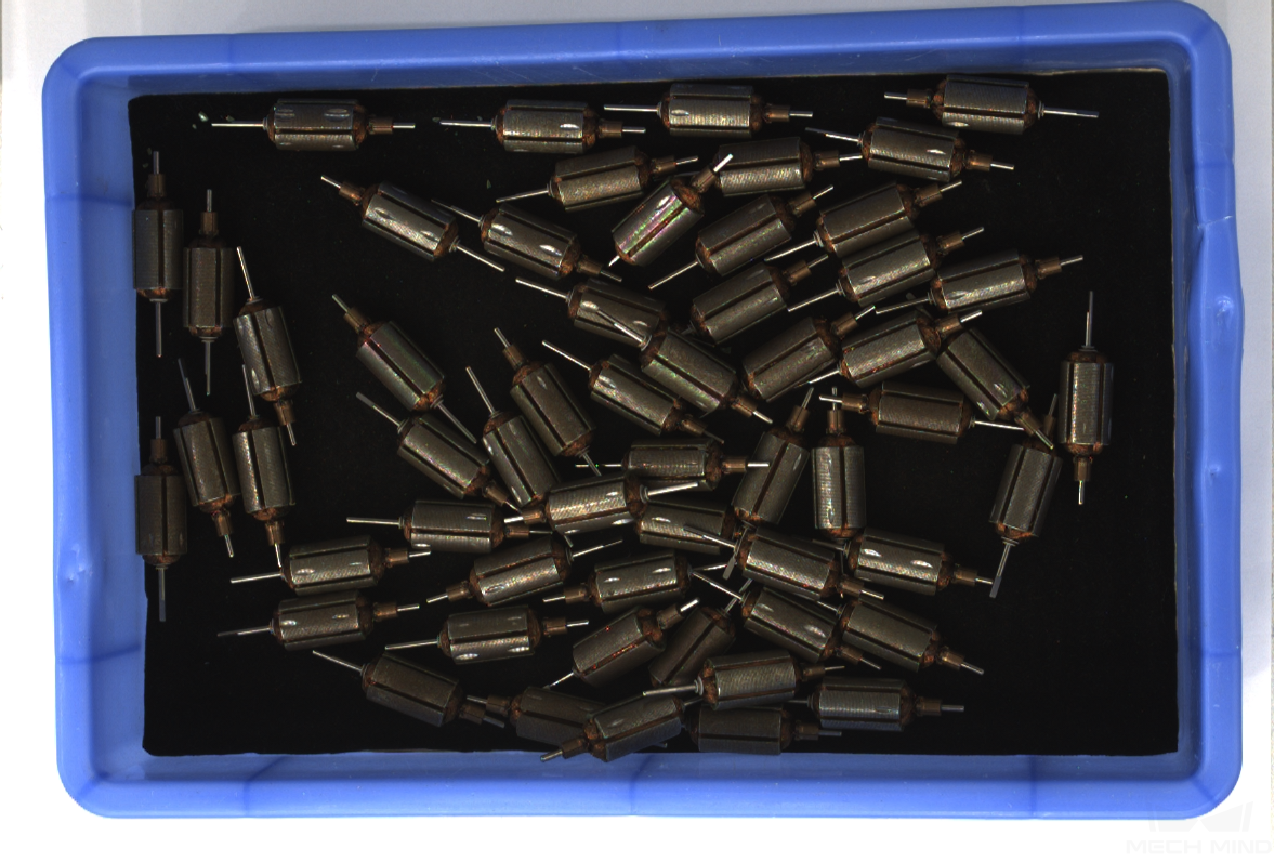
220 ms
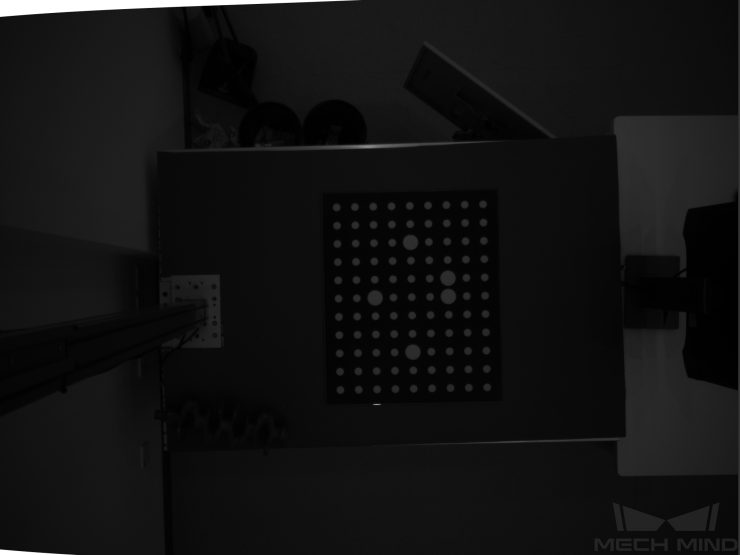
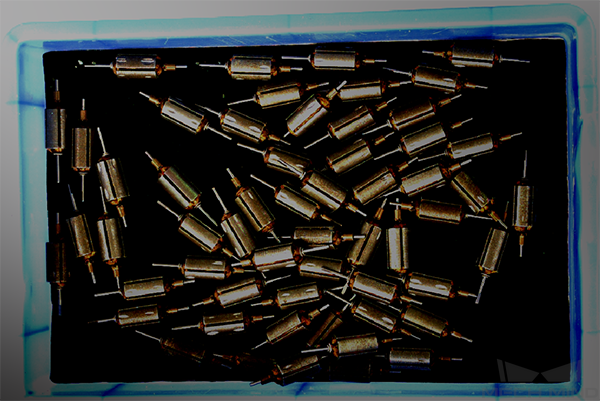
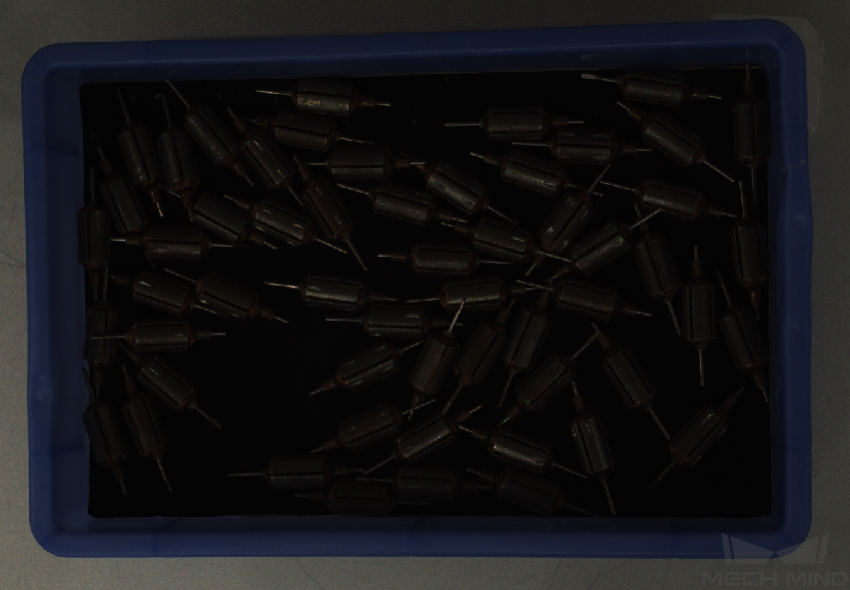
Monochrome images captured with different 2D Image (Depth Source) Exposure Time values (all other conditions identical):
10 ms
40 ms
80 ms

Auto Exposure Mode
With the Auto option, the exposure time is automatically adjusted based on your settings for Auto-Exposure ROI and Gray Value.
Auto-Exposure ROI
If an auto-exposure ROI is set, the exposure time is adjusted based on the lighting, object colors, etc., in the selected region.
Note
If you do not set an auto-exposure ROI, the entire camera FOV is taken into consideration during exposure time adjustment.
To set an auto-exposure ROI:
Double-click Edit next to Auto-Exposure ROI.
Drag the cursor on the image to select an auto-exposure ROI. Adjust the size and position of the selection box if needed.
Hint
Please select the area where the target objects are located and avoid including irrelevant objects as much as possible.
Click Apply to finish setting the auto-exposure ROI.
Hint
Click Clear to delete the set auto-exposure ROI.
Click
 or
or  to perform image capturing. The brightness of the 2D image is automatically adjusted based on the auto-exposure ROI.
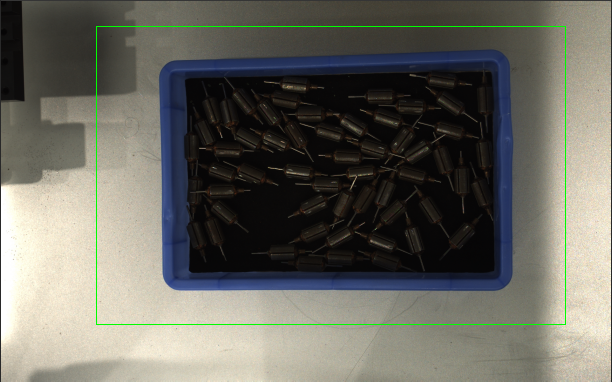
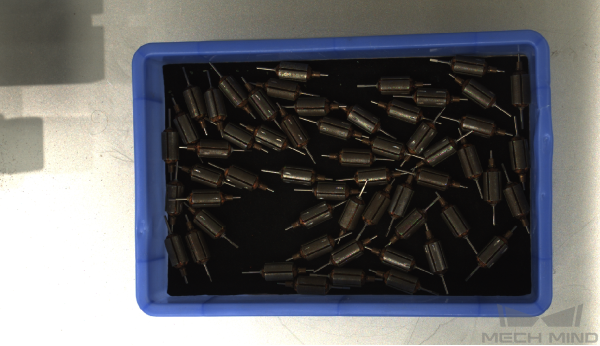
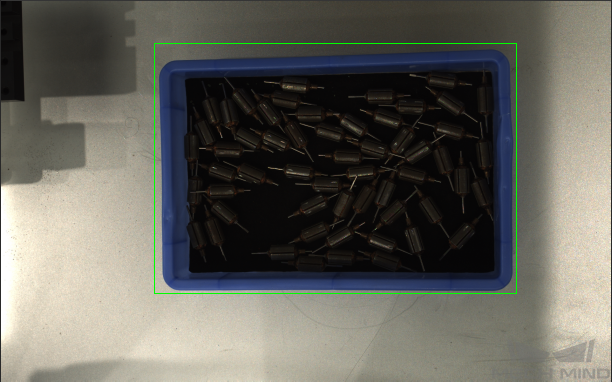
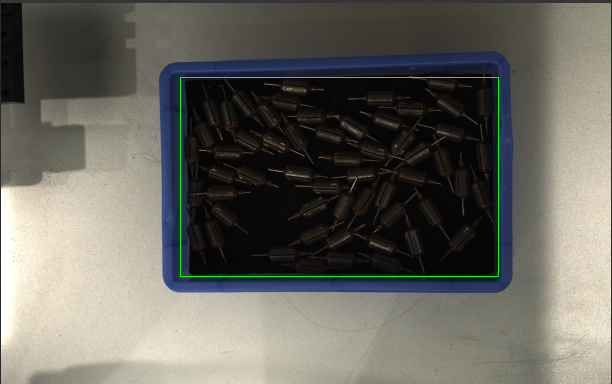
2D images captured with different auto-exposure ROIs (all other conditions identical):
Auto-Exposure ROI
2D Image
Gray Value
This parameter affects the brightness of the 2D image:
Increasing the parameter value makes the 2D image brighter.
Decreasing the parameter value makes the 2D image darker.
It is recommended to set an auto-exposure ROI first. Adjust this parameter if the brightness of the 2D image is still unsatisfactory.
2D images captured with different Gray Value values (all other conditions identical):
50
100
150

Note
For monochrome images, this parameter sets the intensity of the image.
For color images, this parameter sets the intensity of each color channel.
HDR Exposure Mode
With the HDR option, you can set multiple exposure times, and the captured images are merged to generate a 2D image that retains more details in the highlights and shadows.
The parameters available with the HDR option are Exposure Sequence and Tone Mapping.
Exposure Sequence
Set an exposure sequence of multiple exposure times, and the captured images are merged to generate a 2D image that retains more details in the highlights and shadows.
To set a exposure sequence:
Double-click Edit next to Exposure Sequence.
Click + to add an exposure time. Then, adjust the duration of this exposure time.
Hint
To delete an exposure time, select it and click -.
Click Apply to save the exposure sequence.
Hint
Click Reset to delete all the set exposure times.
Click Cancel to exit the window without saving the changes.
Note
If you add only one exposure time to the sequence, it is the same as selecting the Timed mode.
2D images captured with different exposure sequences (all other conditions identical):
700 ms
500 ms and 900 ms
500 ms, 700 ms and 900 ms


For comparison: 2D images captured with single exposure times (all other conditions identical):
500 ms
700 ms
900 ms
Tone Mapping
Enabling Tone Mapping can make the colors of the image look more natural. If the 2D image appears very different from the actual objects, please enable this function.
2D images captured with Tone Mapping disabled and enabled (all other conditions identical):
Disabled
Enabled

Flash Exposure Mode
With the Flash option, the projector is used to project supplemental light.
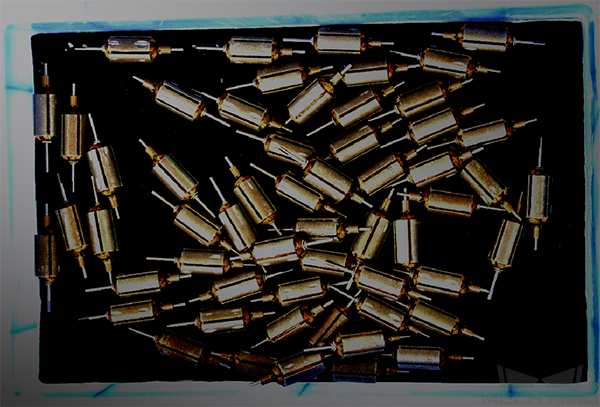
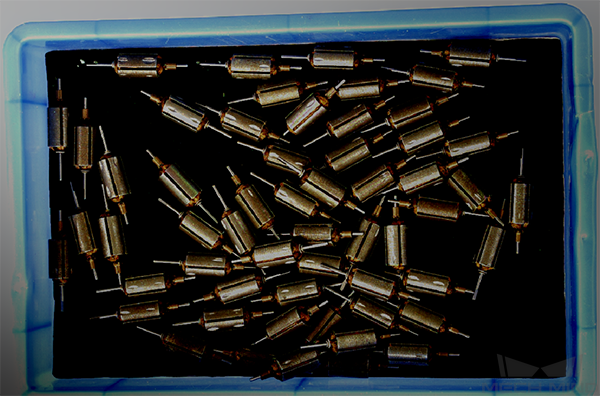
2D images obtained with the Flash exposure mode and Timed exposure mode (all other conditions identical):
Flash
Timed
The brightness of the 2D image obtained with the Flash exposure mode can be adjusted by Exposure Time in the 3D Parameters Category.
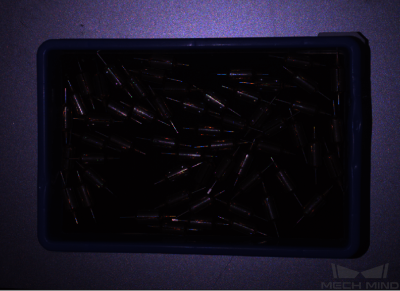
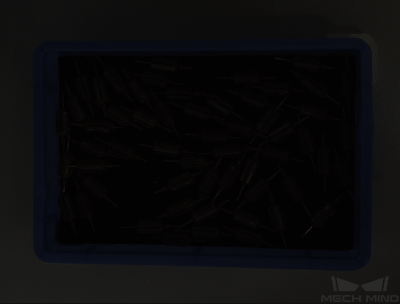
2D images obtained with different Exposure Time values (all other conditions identical):
4 ms
10 ms
15 ms
Advanced Parameters for 2D Image
The Gain parameter in the 3D Parameters category also affects the 2D image. This parameter is available at Expert and Guru visibility level.
Gain
This parameter belongs to the 3D Parameters category. It affects the brightness of the captured image. At the same time, more noise is introduced.
The higher the value of Gain, the brighter the captured image, and the more noise introduced.
Note
If adjusting exposure mode/time does not produce the desired image brightness, you can increase the value of Gain. However, this introduces more noise to the 2D image.
2D images captured with different Gain values (all other conditions identical):
0
5
10
Hint
For models with color 2D cameras, the color of the 2D image may differ significantly from that of the actual objects. In such cases, you can adjust the white balance setting of the color 2D camera. For detailed information, please refer to Adjust White Balance.
Continue reading for descriptions of the basic parameters for the depth map and point cloud.