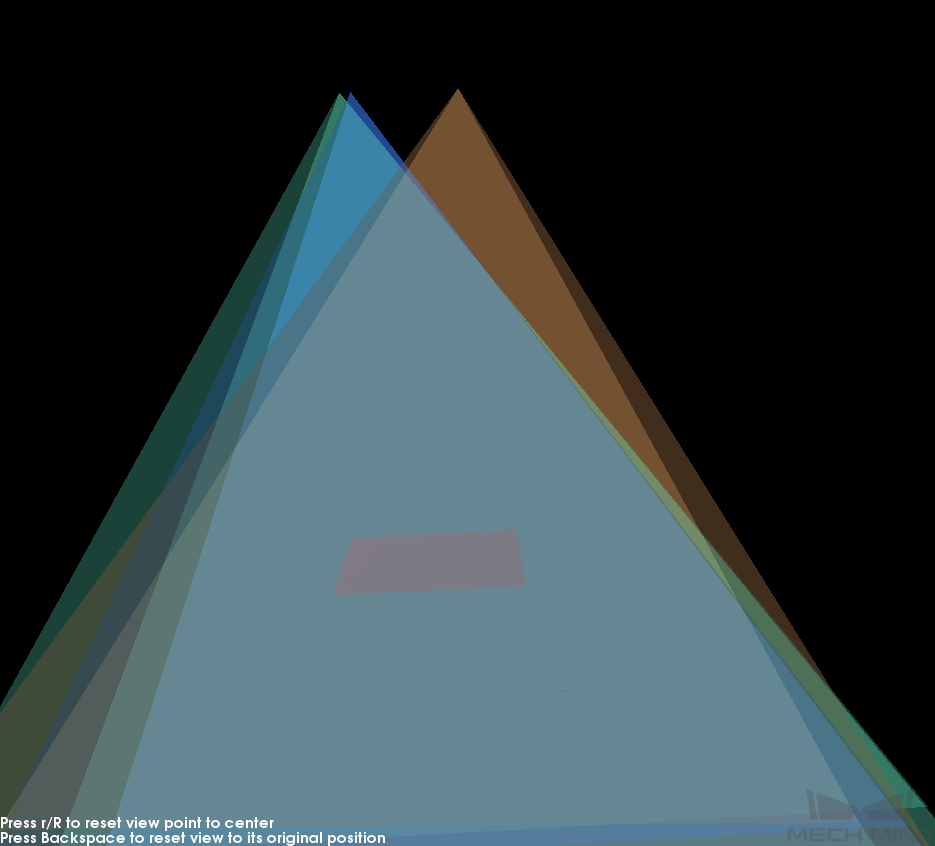
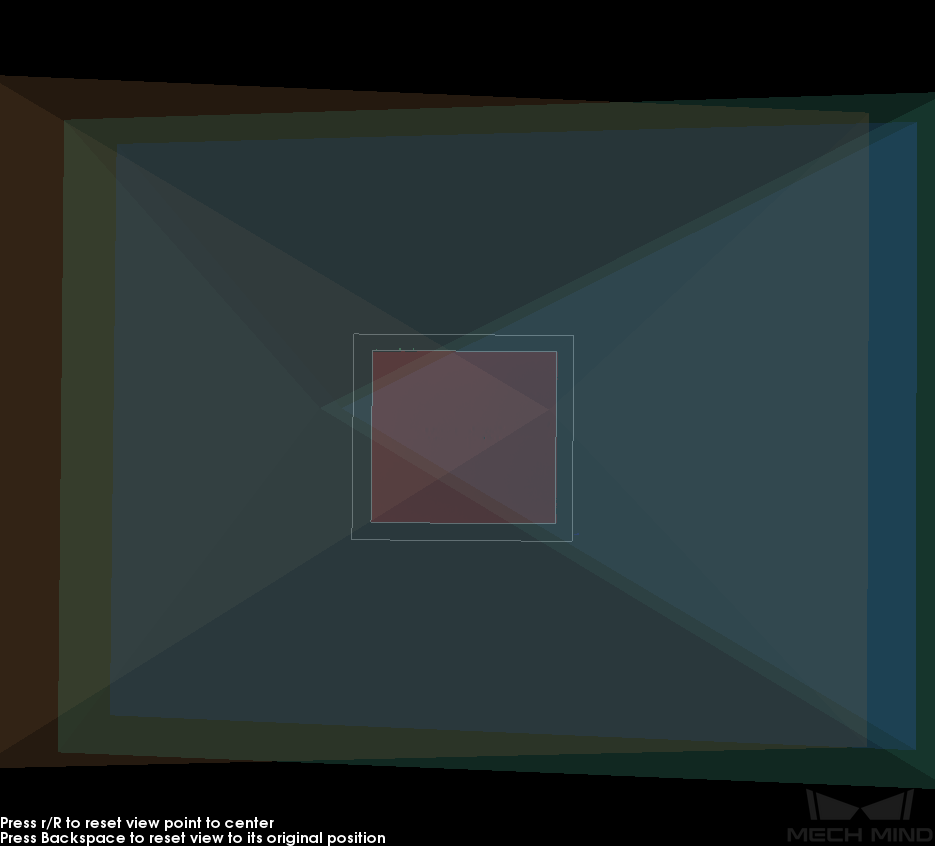
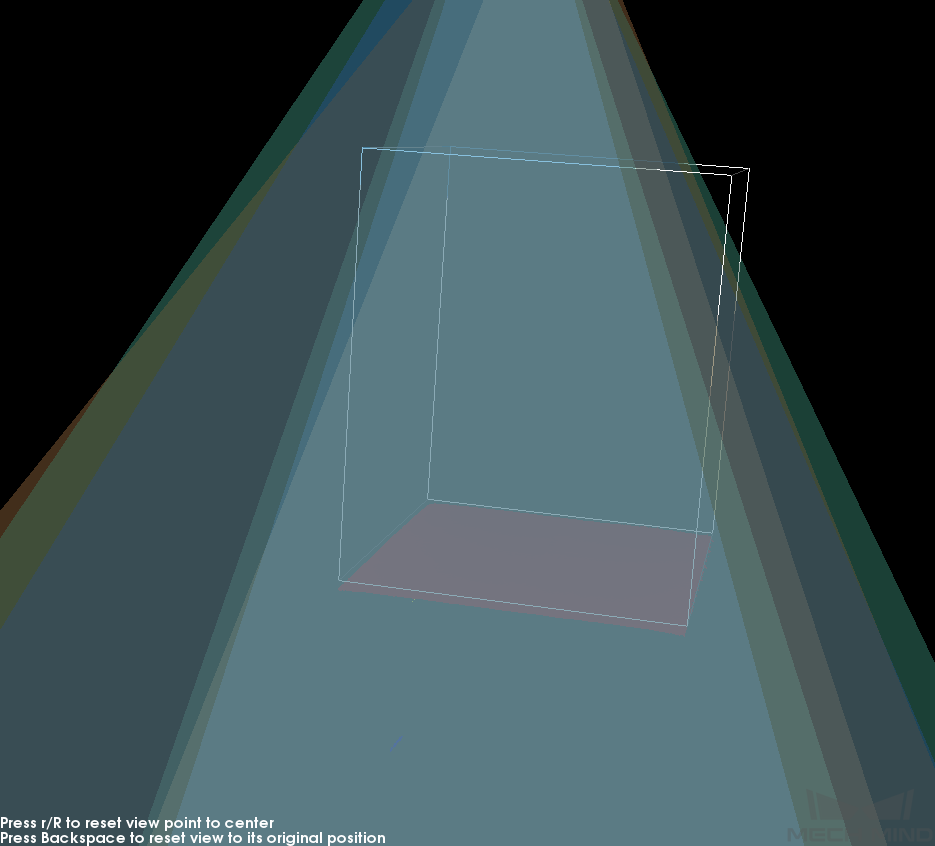
Full Pallet Simulator
Note
This tool can only be used in projects where the camera is mounted perpendicularly above the pallet/load.
This tool is designed for simulating a fully loaded pallet to check if the mounting height of the camera is sufficient.
Before a palletizing/depalletizing project is deployed, it may be difficult to acquire enough material to actually create a fully loaded pallet. In such cases, the camera may not be mounted high enough for the entire top layer of the load to be captured by the camera.
Using this tool, you can create a cuboid to simulate a full load, facilitating you in adjusting the camera mounting height.
Attention
The displayed result is for reference only.
Prerequisites
Before you start using Full Pallet Simulator, have the following ready at hand:
Pallet (empty one recommended)
Dimensions of the full load
Any limitations on the place where the camera will be mounted (such as the maximum mounting height allowed)
Use Full Pallet Simulator
Place the pallet at its designated position within the camera’s FOV.
Perform image capturing with
 . Check the point cloud and make sure that the entire pallet is represented.
Set an ROI to retain only the point cloud of the pallet and exclude irrelevant points as much as possible.
In the menu bar, click Tools and then Full Pallet Simulator.
In the pop-up window, adjust the view of the point cloud until you can see the entire point cloud from the side.
Hint
A list of actions for adjusting the view can be found here.
Click Create cuboid to add a cuboid that represents the full load.
Enter the actual dimensions of a full load in the Cuboid Dimensions section.
Adjust the position of the cuboid: As the cuboid represents the load on the pallet, its bottom should be placed on the pallet’s point cloud. If it’s not, use the arrow buttons in the Center of Cuboid Bottom section to move the cuboid.
Note
Record the amount of z value adjustment made.
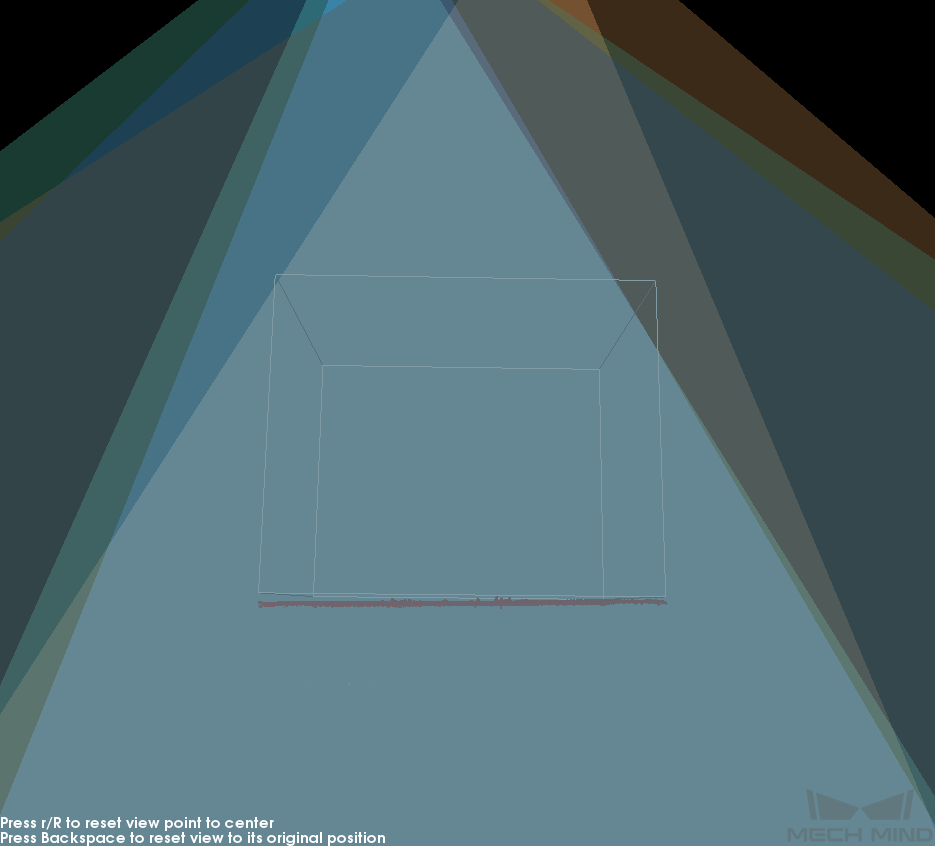
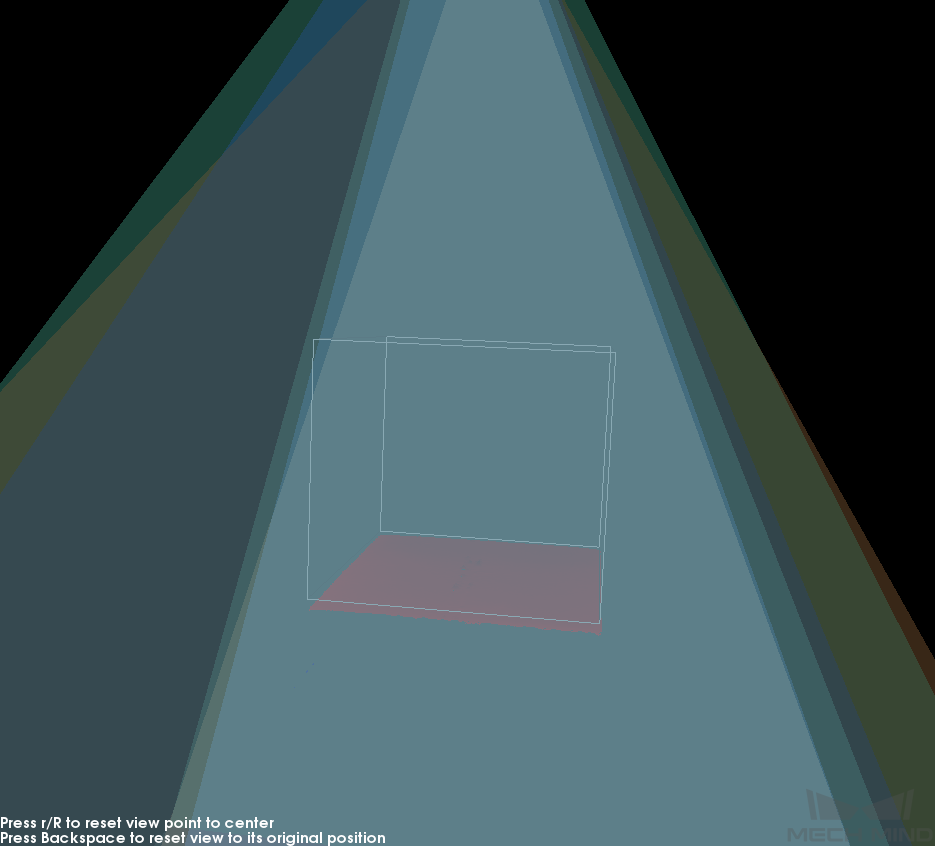
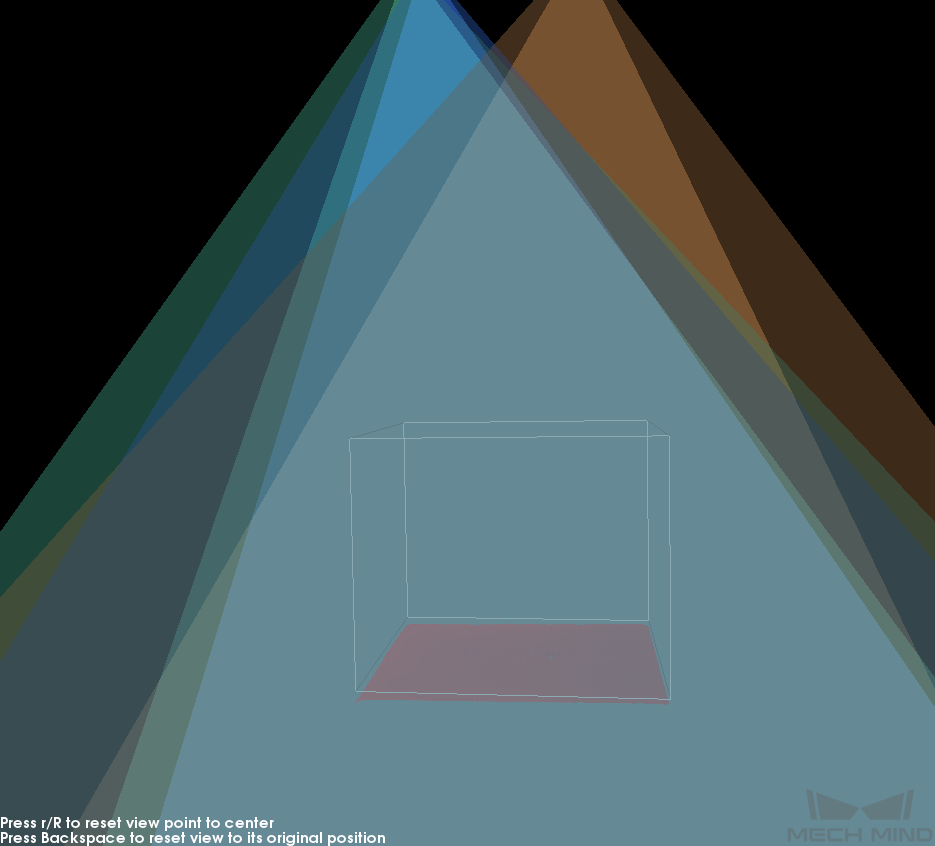
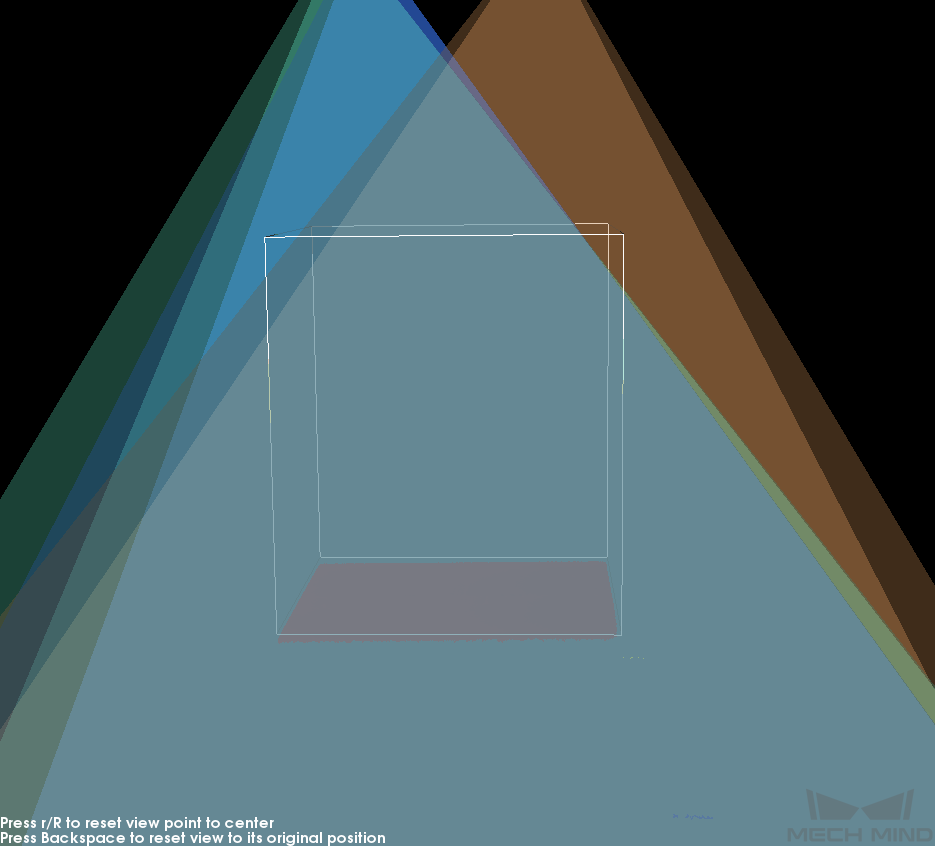
Check if the entire top of the cuboid is confined to the space where the view cones overlap. Use the examples below as a reference.
Note
You may need to rotate the view around to make sure if a small part of the top is not confined.
Top of cuboid entirely within view cone overlap
Top of cuboid not entirely within view cone overlap
Evaluate the camera mounting height:
If the top of the cuboid is entirely confined to the view cone overlap: The camera mounting height is appropriate, no adjustment needed.
If the top of the cuboid is not entirely confined to the view cone overlap: The camera is mounted too low.
Increase the z value of the Center of Cuboid Bottom section to move the cuboid downward, until the top of the cuboid is entirely confined to the view cone overlap.
Record the amount of increase. The camera mounting height should be raised by (this amount - the amount of adjustment in step 6).
Note
Modifications made are not saved when you close this window. Therefore, make sure you note down the above amount of increase in the z value.
