Intrinsic Parameter Tool
This tool is used to check if the camera intrinsic parameters are accurate, to correct the intrinsic parameters, and to reset to factory intrinsic parameters. The coordinates of points are accurate only if the camera intrinsic parameters are accurate.
Note
For projects with high accuracy requirements, you can enable the high-accuracy mode, in which stricter standards are used to check the intrinsic parameters. High-accuracy mode is available in the Administrator account. If needed, please contact Technical Support.
Preparation
Before checking the intrinsic parameters, please prepare the calibration board that came with the camera.
Place the calibration board within the camera FOV and obtain the 2D image and depth map of the calibration board. Make sure the obtained 2D image and depth map satisfy the following requirements:
The region containing the circles on the calibration board is completely captured.
The 2D image is not too bright or too dark, and the circles on the calibration board are clear and complete.
The circles on the calibration board in the depth map are complete.
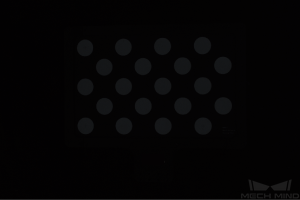
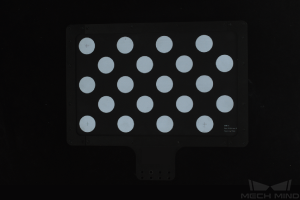
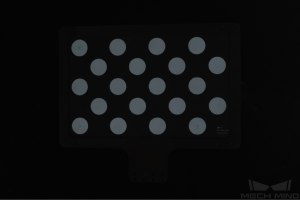
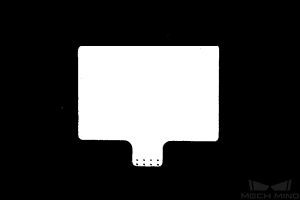
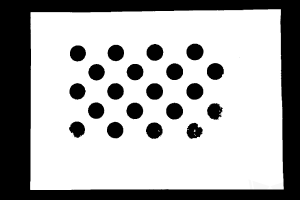
Examples of 2D images of the calibration board:
Too dark
Appropriate
Too bright
If the obtained 2D image does not satisfy the requirements, please adjust the parameters for the 2D image.
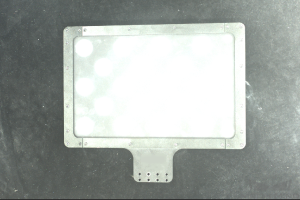
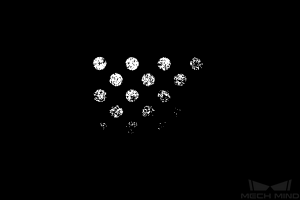
Examples of depth maps of the calibration board:
Too dark
Appropriate
Too bright
If the obtained depth map does not satisfy the requirements, please adjust the parameters for the depth map.

Check Intrinsic Parameters
Click the Tool menu in the menu bar and select Intrinsic Parameter Tool to open the Intrinsic Parameter Tool window.
To use Intrinsic Parameter Tool to check the camera intrinsic parameters, please follow these steps.
In 1. Place calibration board and check image quality, click Acquire images to obtain the 2D image and depth map of the calibration board. Check if the images satisfy the requirements.
In 2. Select model of placed calibration board, set the specifications of the calibration board.
If using a standard calibration board, select the model from the drop-down menu.
If using a customized calibration board, select Customized first, and then set the model, rows, columns and spacing according to the information provided by the engineer.
In 3. Check intrinsic parameters, click Check intrinsic parameters to start checking the intrinsic parameters. When the check is completed, a window of the check results will pop up.
If the check results are displayed in green, then the check is passed, and the camera functions properly.
If the check results are displayed in red, or an error message is displayed, then the errors in the intrinsic parameters are large, or the check has failed. Please troubleshoot according to the instructions in the window.
Hint
For projects with high accuracy requirements: switch to the Administrator account, check High-accuracy mode in 3. Check intrinsic parameters, and place the calibration board according to the displayed distance. If the calibration board is not placed at the designated distance, the intrinsic parameter check may fail.
Troubleshoot Common Problems
The following issues may be encountered while checking the intrinsic parameters:
Errors in the Intrinsic Parameters Are Large
Symptom:
The intrinsic parameter check results are displayed in red, indicating that the errors in the intrinsic parameters are large.
Solutions:
Please try the following solutions:
Check if the calibration board specifications are correct.
If incorrect, enter the correct specifications. Then, check the intrinsic parameters again.
If correct, proceed to the next step.
Check if the 2D image and depth map meet the image requirements. Please refer to the image requirements.
If the 2D image does not satisfy the requirements, please adjust the parameters for the 2D image. If the depth map does not satisfy the requirements, please adjust the parameters for the depth map. Then, check the intrinsic parameters again.
If the images satisfy the requirements, proceed to the next step.
Use the Correct Intrinsic Parameters function to correct the intrinsic parameters. Please follow these steps:
Place the calibration board within the camera FOV.
Check the Correct Intrinsic Parameters option, and then click Acquire data.
Move the calibration board, and click Acquire data again.
Hint
Please add at least 3 sets of data.
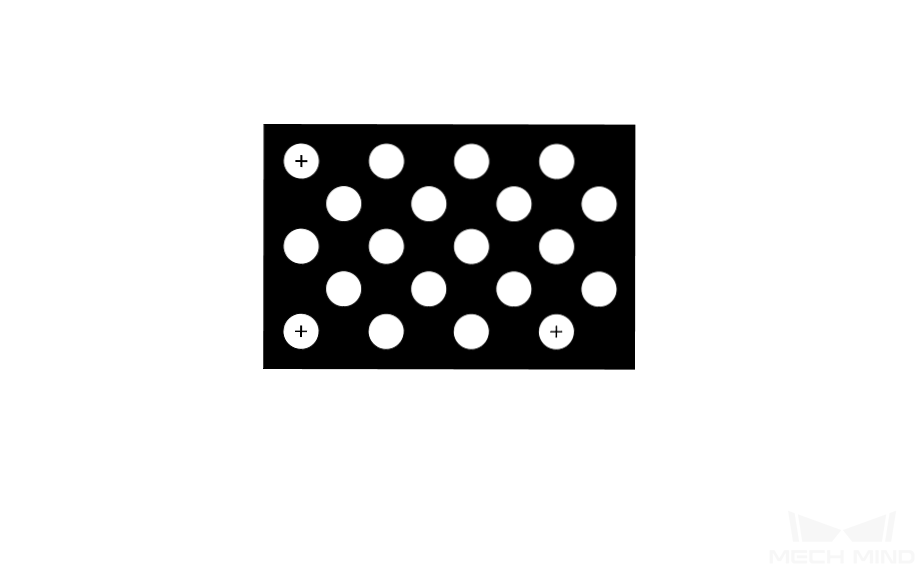
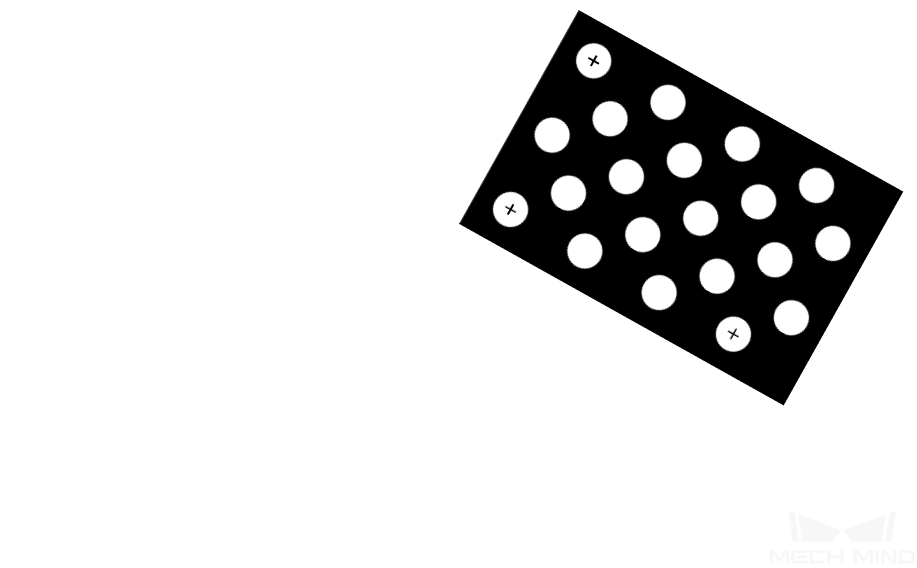
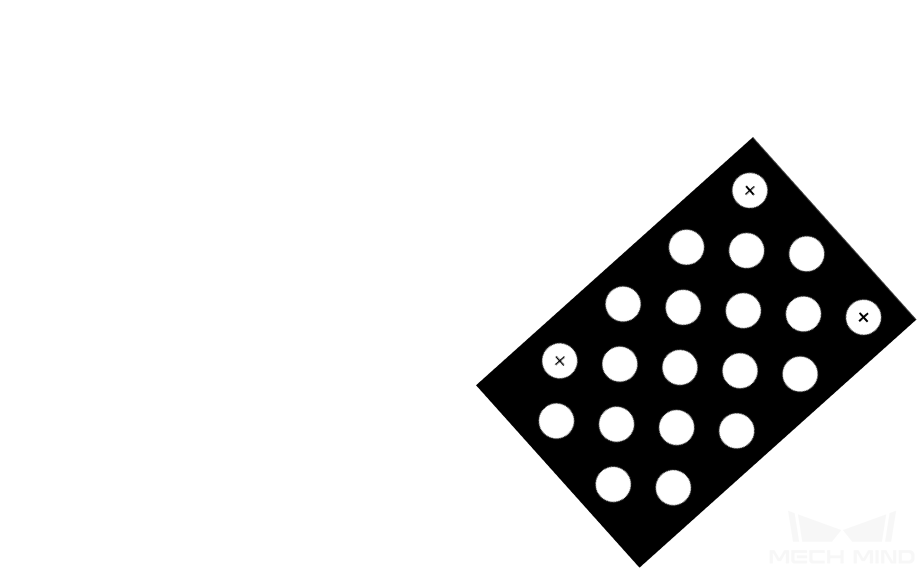
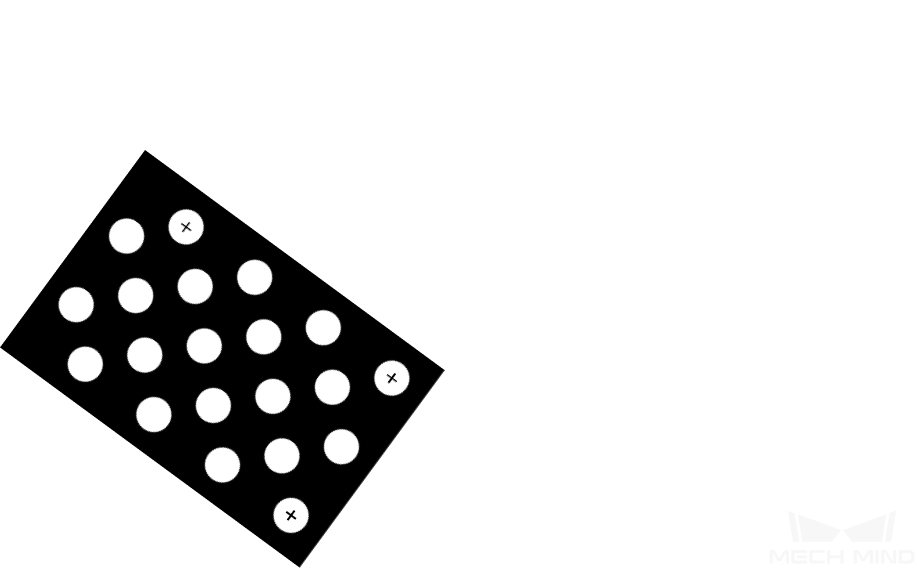
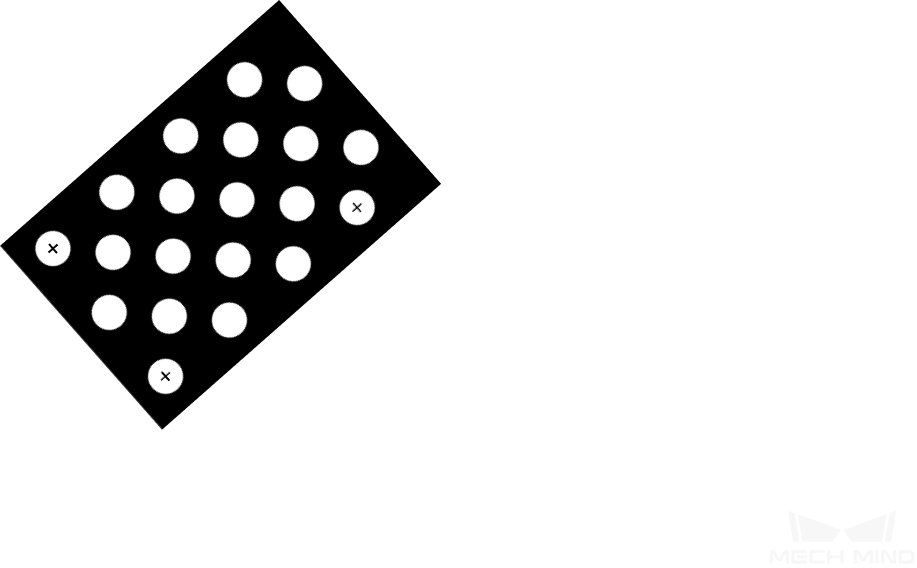
When moving the calibration board, make sure the orientation of the board is changed along with the position. The recommended positions are the center and four corners of the FOV, as shown below.
Position 1
Position 2
Position 3
Position 4
Position 5
After adding the data, click Correct intrinsic parameters. When the correction is completed, a window of the correction results will pop up.
If the correction succeeded, click Check intrinsic parameters in this window to check the intrinsic parameters again.
If the correction failed, click Confirm in this window, and retry the correction or contact Technical Support.
Circles on the Calibration Board not Detected
Symptom:
The intrinsic parameter check result window displays this message: Circles on the calibration board not detected.
Solutions:
Please try the following solutions:
Check if the calibration board specifications are correct.
If incorrect, enter the correct specifications. Then, check the intrinsic parameters again.
If correct, proceed to the next step.
Check if the 2D image and depth map meet the image requirements. Please refer to the image requirements.
If the 2D image does not satisfy the requirements, please adjust the parameters for the 2D image. If the depth map does not satisfy the requirements, please adjust the parameters for the depth map. Then, check the intrinsic parameters again.
If the images satisfy the requirements, proceed to the next step.
Use the Draw aid circle to facilitate the detection. Please follow these steps:
In 3. Check intrinsic parameters, click Draw aid circle.
Find a complete circle on the calibration board in the 2D image. Move the cursor to the center of this circle. Click while holding the Ctrl key and then move diagonally up or down to adjust the size of the aid circle. Click again to finish drawing the aid circle.
Note
Only one aid circle can be drawn. The aid circle should be as close possible to the boundary of the circle on the calibration board.
If you need to re-draw the aid circle, click Draw aid circle again.
To zoom the 2D image, move the cursor onto the 2D image and scroll the mouse wheel.
In 3. Check intrinsic parameters, click Check intrinsic parameters to check the intrinsic parameters again.
If the check succeeded, the troubleshooting has been completed.
If the intrinsic parameter check result window still displays Circles on the calibration board not detected, proceed to the next step.
Use the Edit Feature Detection Parameters to facilitate the detection. Please follow these steps:
In 3. Check intrinsic parameters, click Edit Feature Detection Parameters.
Adjust the displayed feature detection parameters according to the actual situation.
If not all the circles on the calibration board can be captured, check Allow absence of some circles, and adjust the newly displayed feature detection parameters.
In 3. Check intrinsic parameters, click Check intrinsic parameters to check the intrinsic parameters again.
If the intrinsic parameter check result window still displays Circles on the calibration board not detected, please contact Technical Support.
Valid Feature Points Not Found in Depth Map
Symptom:
The intrinsic parameter check result window displays this message: Valid feature points not found in depth map.
Solutions:
Check if the depth map satisfies the requirements. Please refer to the image requirements.
If the depth map does not satisfy the requirements, please adjust the parameters for the depth map. Then, check the intrinsic parameters again.
If the depth map satisfies the requirements, please contact Technical Support.