Mech-Eye Viewer Quick Start Guide
This topic provides a quick start guide to get you familiar with the basic functions in Mech-Eye Viewer.
Connect to the Camera
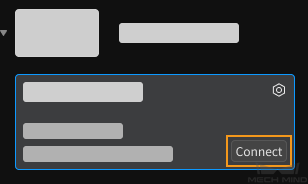
Open Mech-Eye Viewer, select the camera you’d like to connect to in the Camera List, and then click Connect.
Note
Refer to Connect to Camera and Set IP Address for instructions on setting camera IP address.
Capture Images
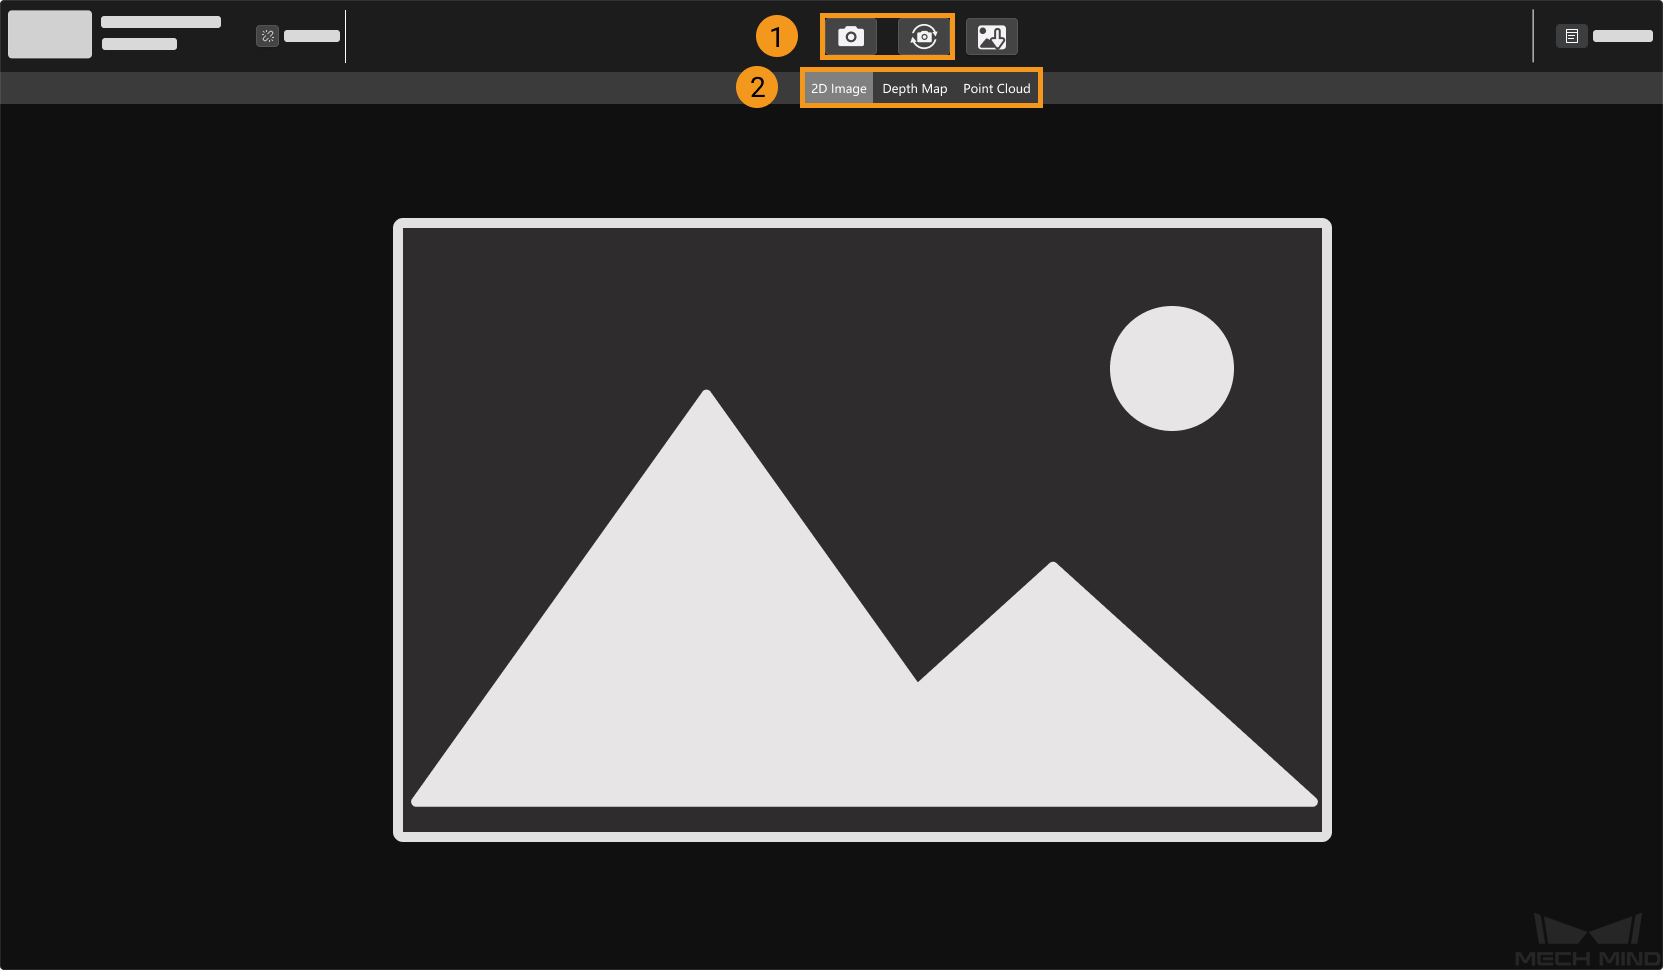
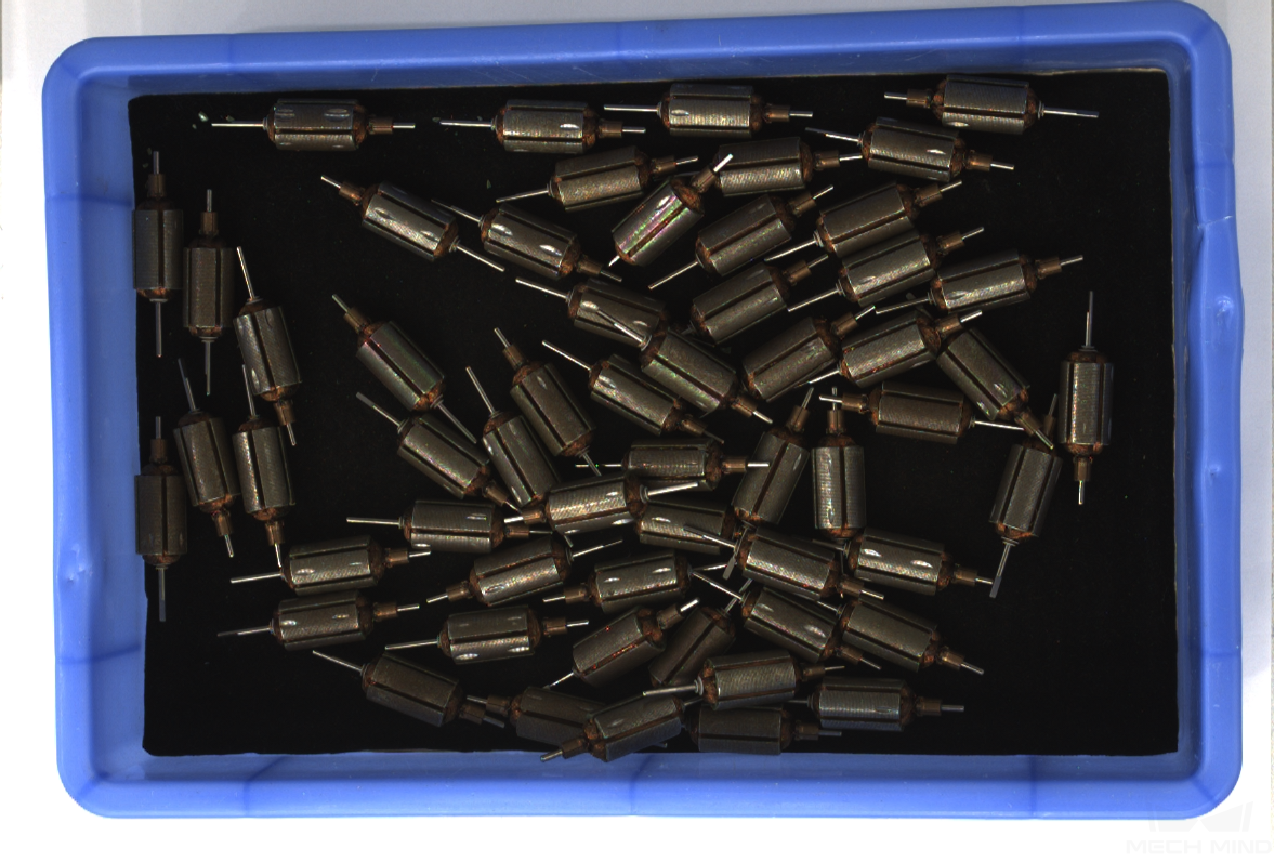
If the camera is successfully connected, Mech-Eye Viewer displays the following interface.
Adjust Parameters
You can adjust parameters in the parameter panel to the right to improve data quality.
Adjust Parameters for 2D Image
Adjust the Exposure Mode and relevant parameters of 2D Parameters in the parameter panel. You can use  to see the effect in almost real time.
Hint
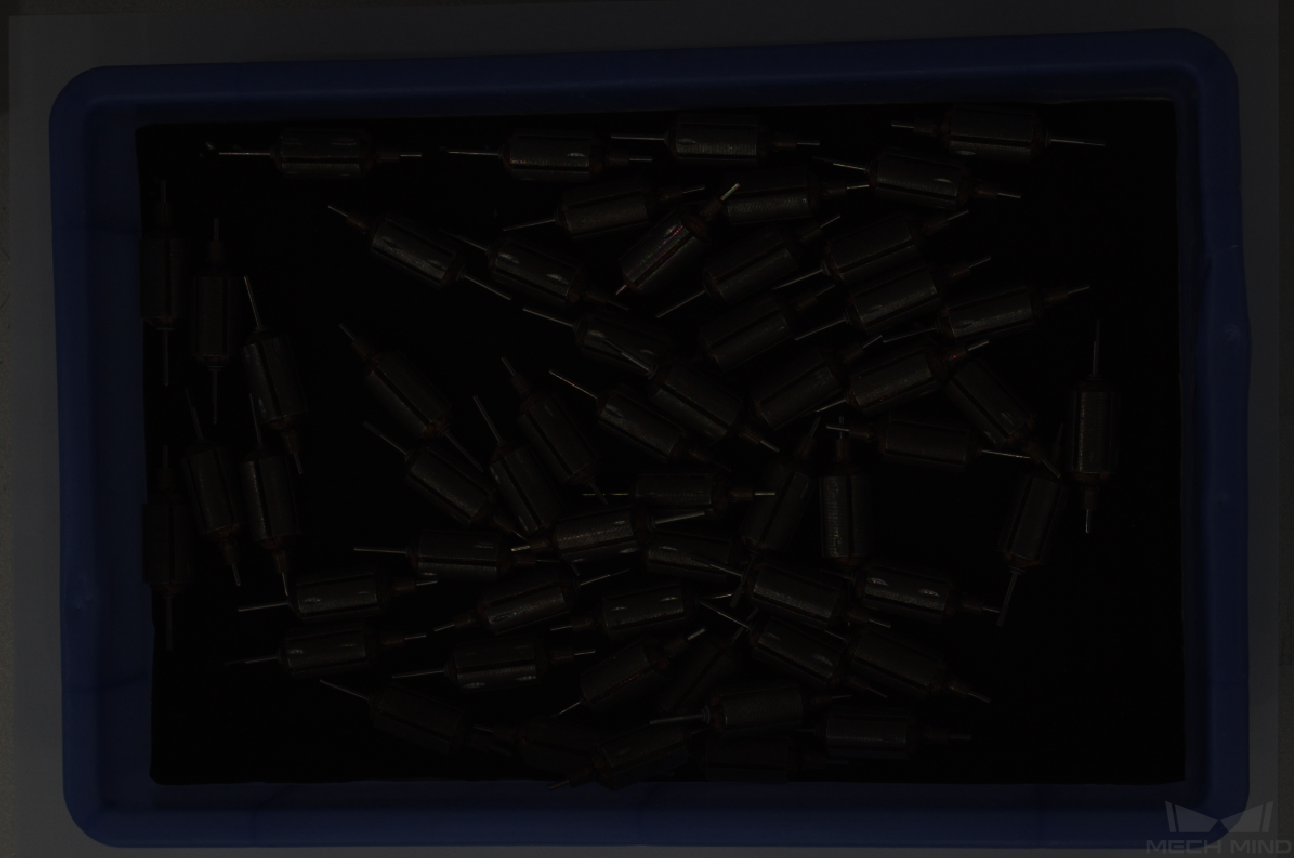
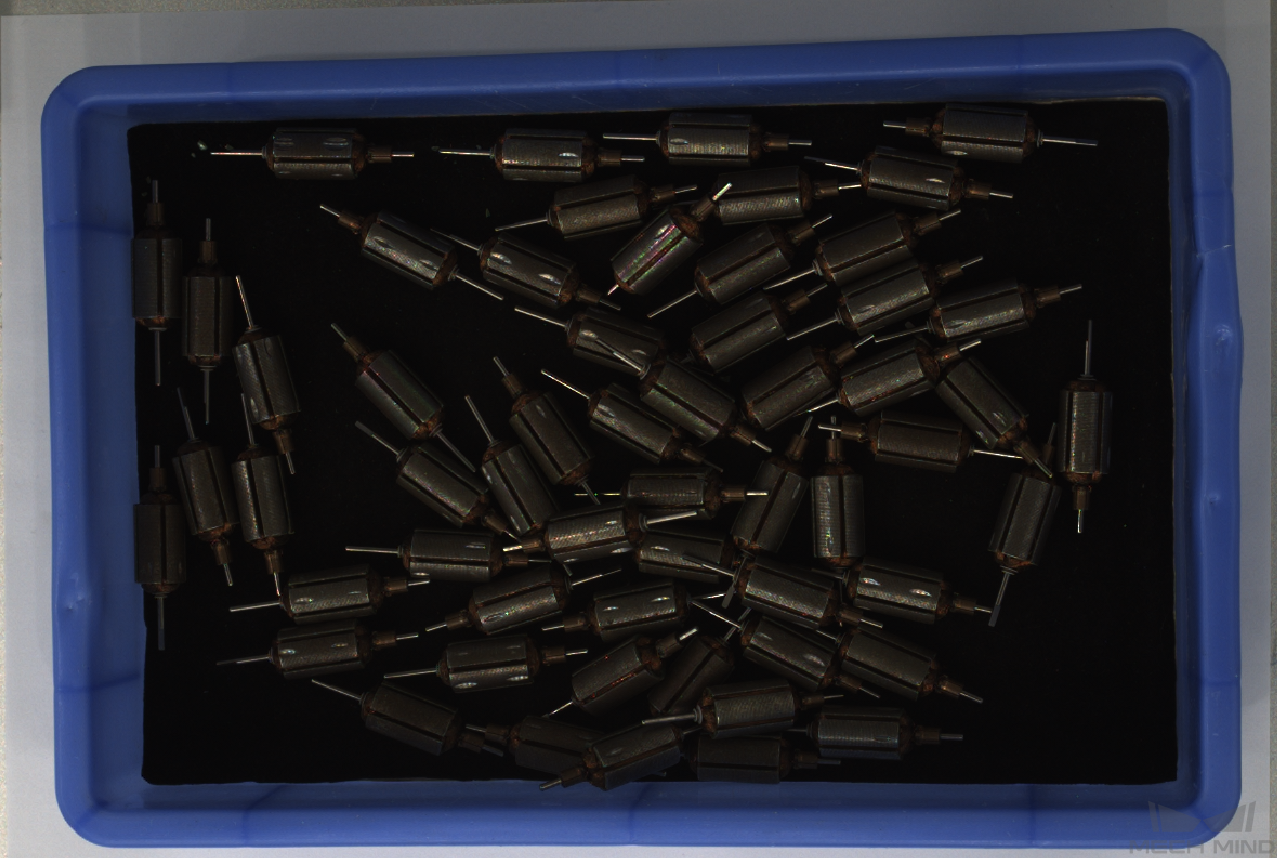
The exposure time affects the brightness of the image. The longer the exposure time, the brighter the image.
Adjust Parameters for Depth Map and Point Cloud
Adjust the Exposure Multiplier and Exposure Time of 3D Parameters in the parameter panel. You can use Exposure Assistant to obtain the recommended values for these parameters. Please refer to Basic Parameters for Depth Map and Point Cloud for detailed instructions.
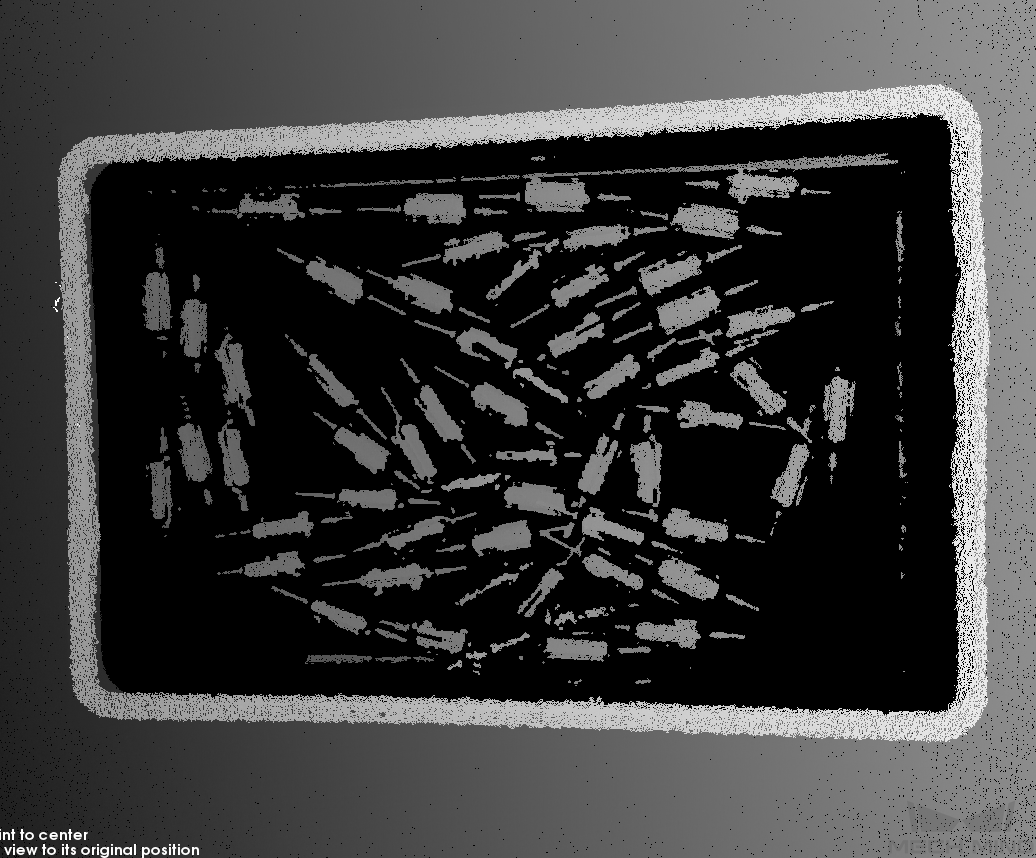
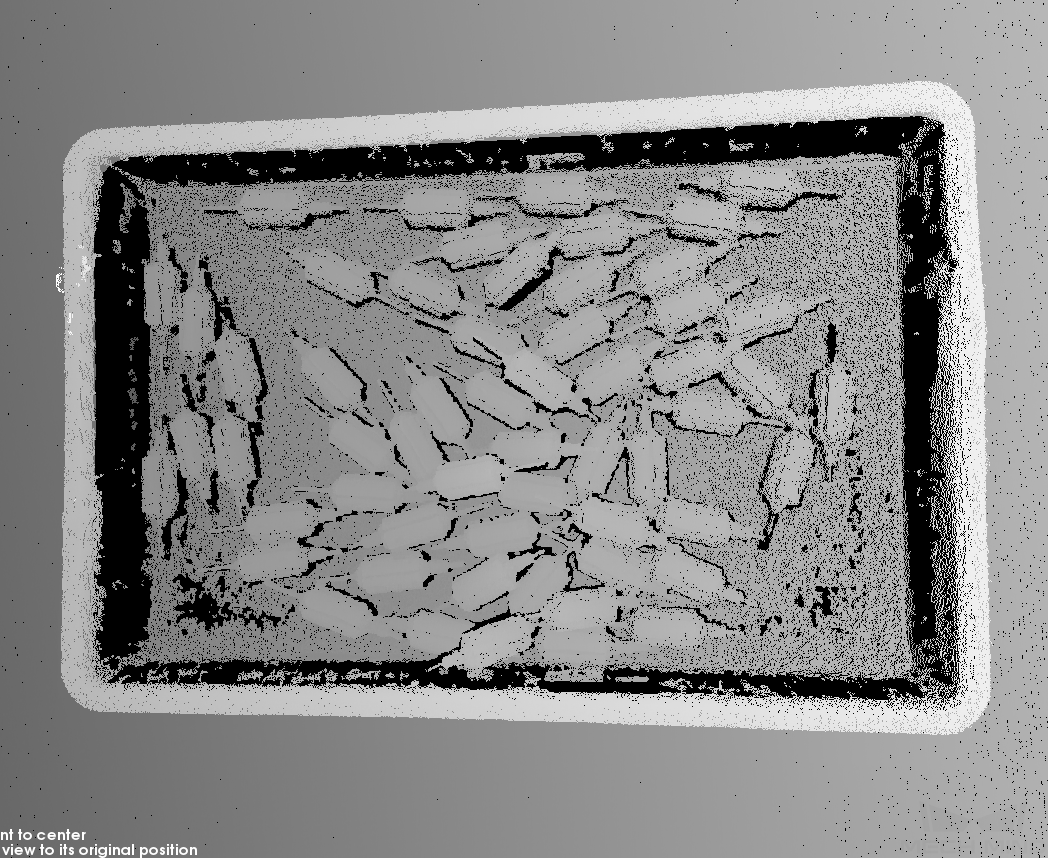
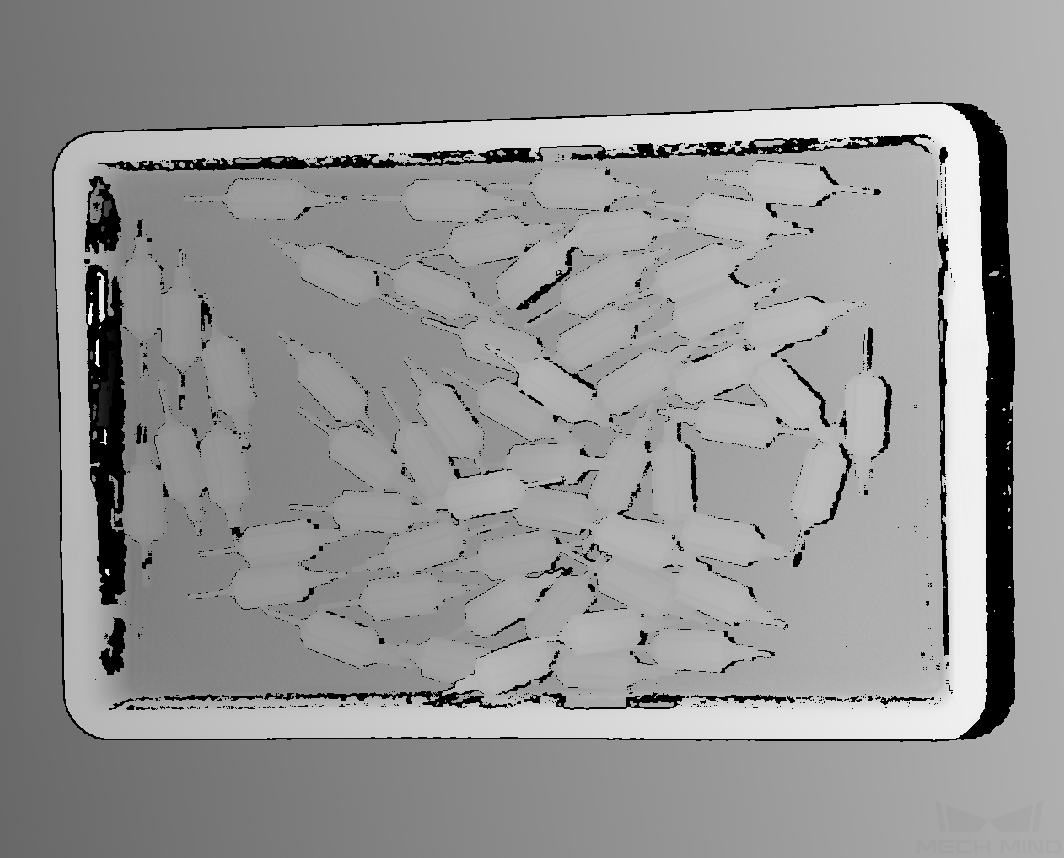
Point clouds generated with different Exposure Time values:
Adjust Point Cloud Processing Settings
Adjust Point Cloud Smoothing, Outlier Removal, and Stripe Contrast Threshold of Point Cloud Processing in the parameter panel. Please refer to Point Cloud Processing for detailed explanations.
Save Data
Click  in the camera toolbar to save the last obtained 2D image, depth map, and/or point cloud.
If you’d like to save the raw data in MRAW format, go to File in the menu bar and click Save Raw Data of Camera. You can use Start Virtual Camera in the File menu to open MRAW data.
For detailed information on Mech-Eye Viewer, please refer to the Mech-Eye Viewer User Manual.
