Mech-DLK Quick Start
This section shows how to train and export an example model that can be used for defect detection and defect classification.
You can use a Semantic Segmentation module cascaded with a Classification module in Mech-DLK to make a final trained model.
Before using Mech-DLK, please ensure that Deep Learning Environment and Mech-DLK are both installed successfully.
Create a new project
Open Mech-DLK, click on New Project to create a new project, as shown in Figure 1.
Figure 1. New project
Name and save the project
Name the project, select a folder to save the project, and add descriptions if necessary. Then click on OK to finish setting, as shown below.
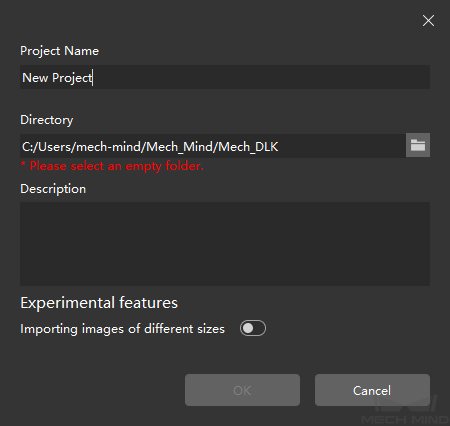
Figure 2. Project settings
Select a module
Add a module: Click on
 on the right side of the panel Modules, and then select Semantic Segmentation. Click on OK to finish setting.
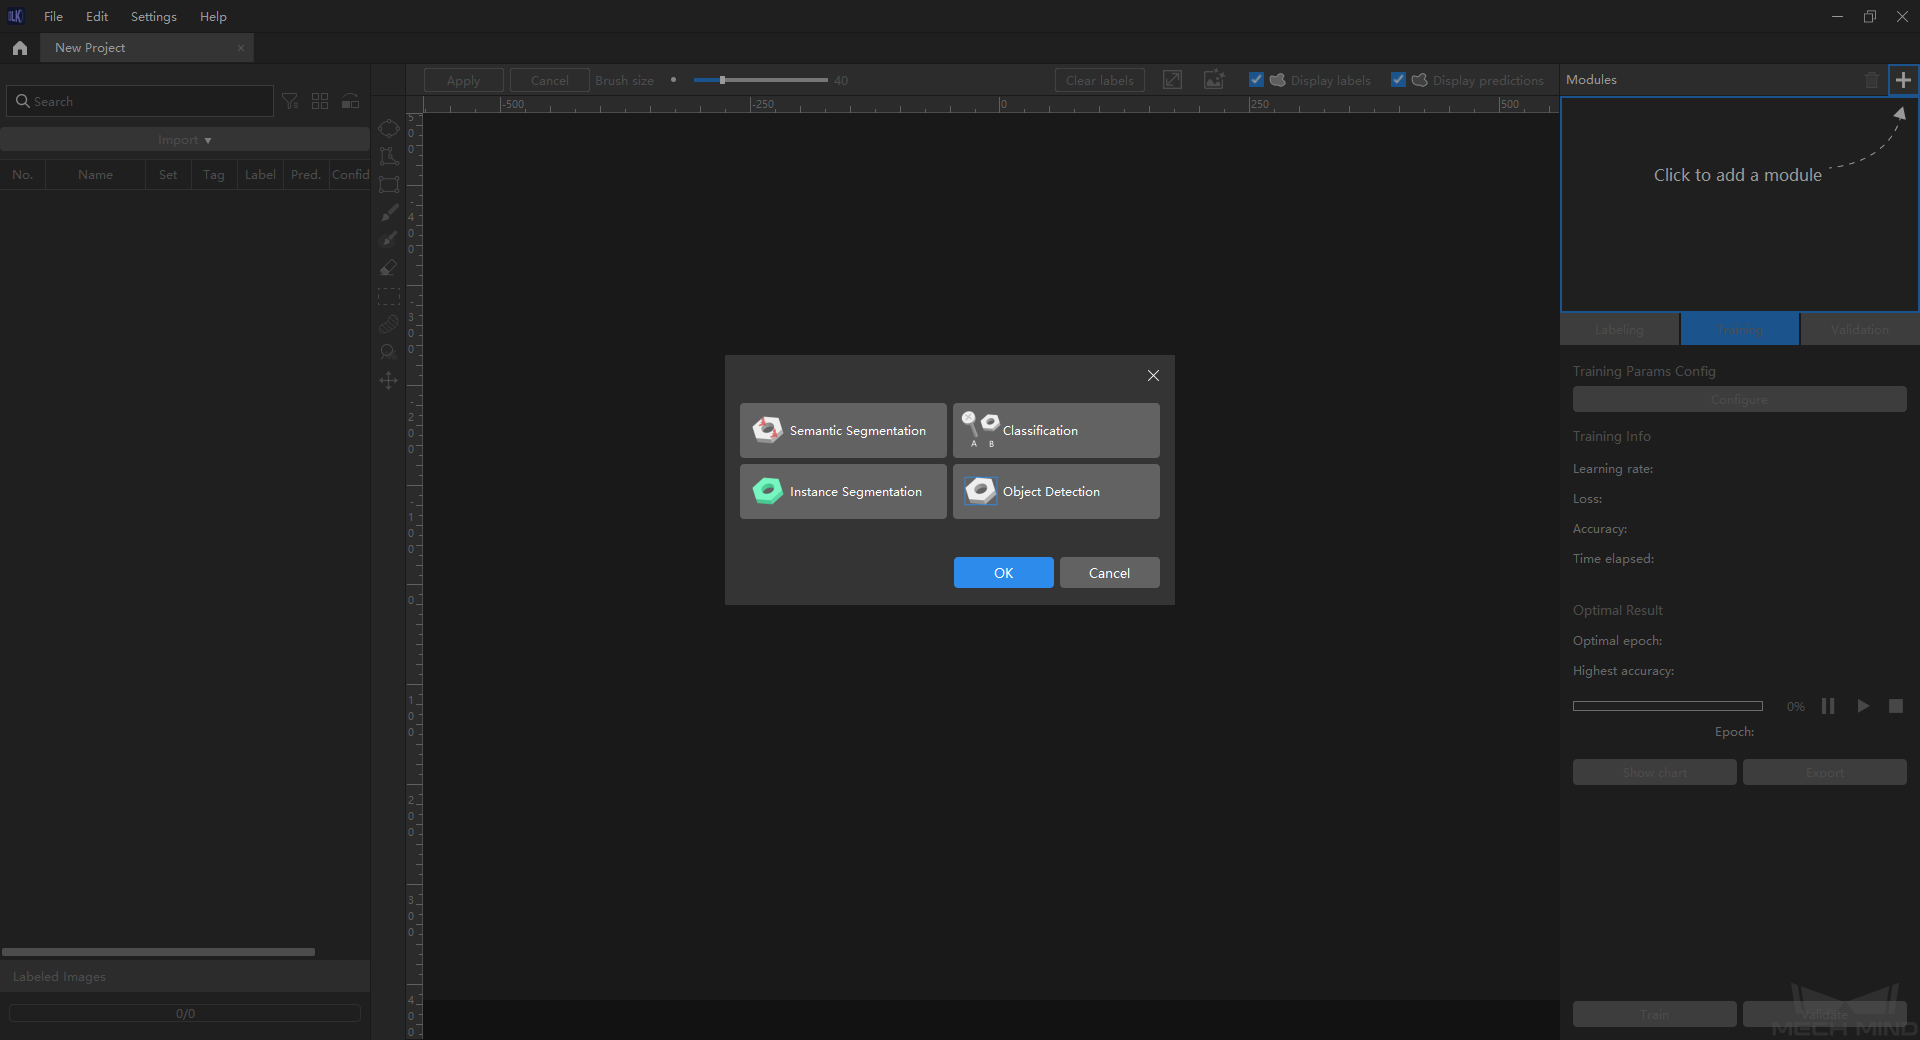
Figure 3. Add module
Import data
Click
 in the upper left corner to import local images.
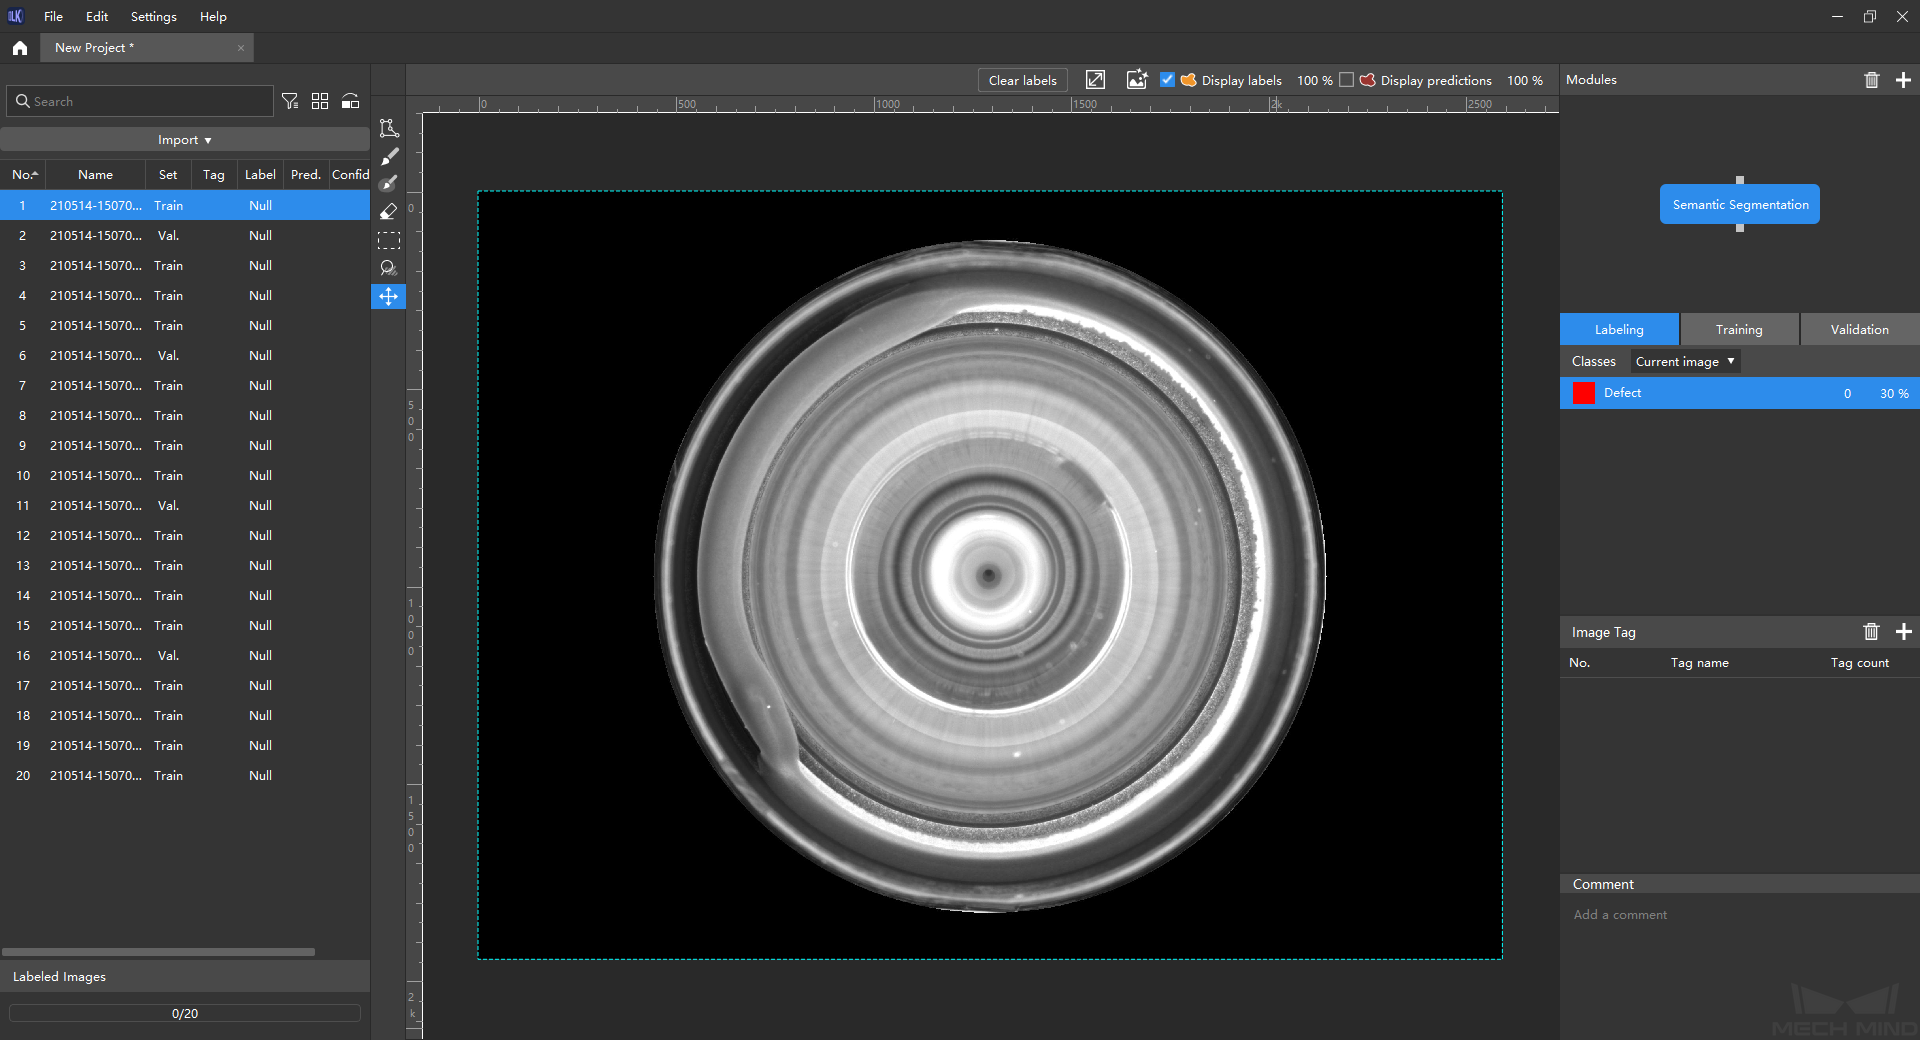
Figure 4. Import data
Attention
Images imported into the Semantic Segmentation module must include defect-free images, which should also be included in both the validation set and the training set, or else an alert will be displayed and the training cannot continue.
Labeling
The Semantic Segmentation algorithm will have an automatically generated Defect label. You can use the tools
 ,
,  , and
, and  on the left to label the images.
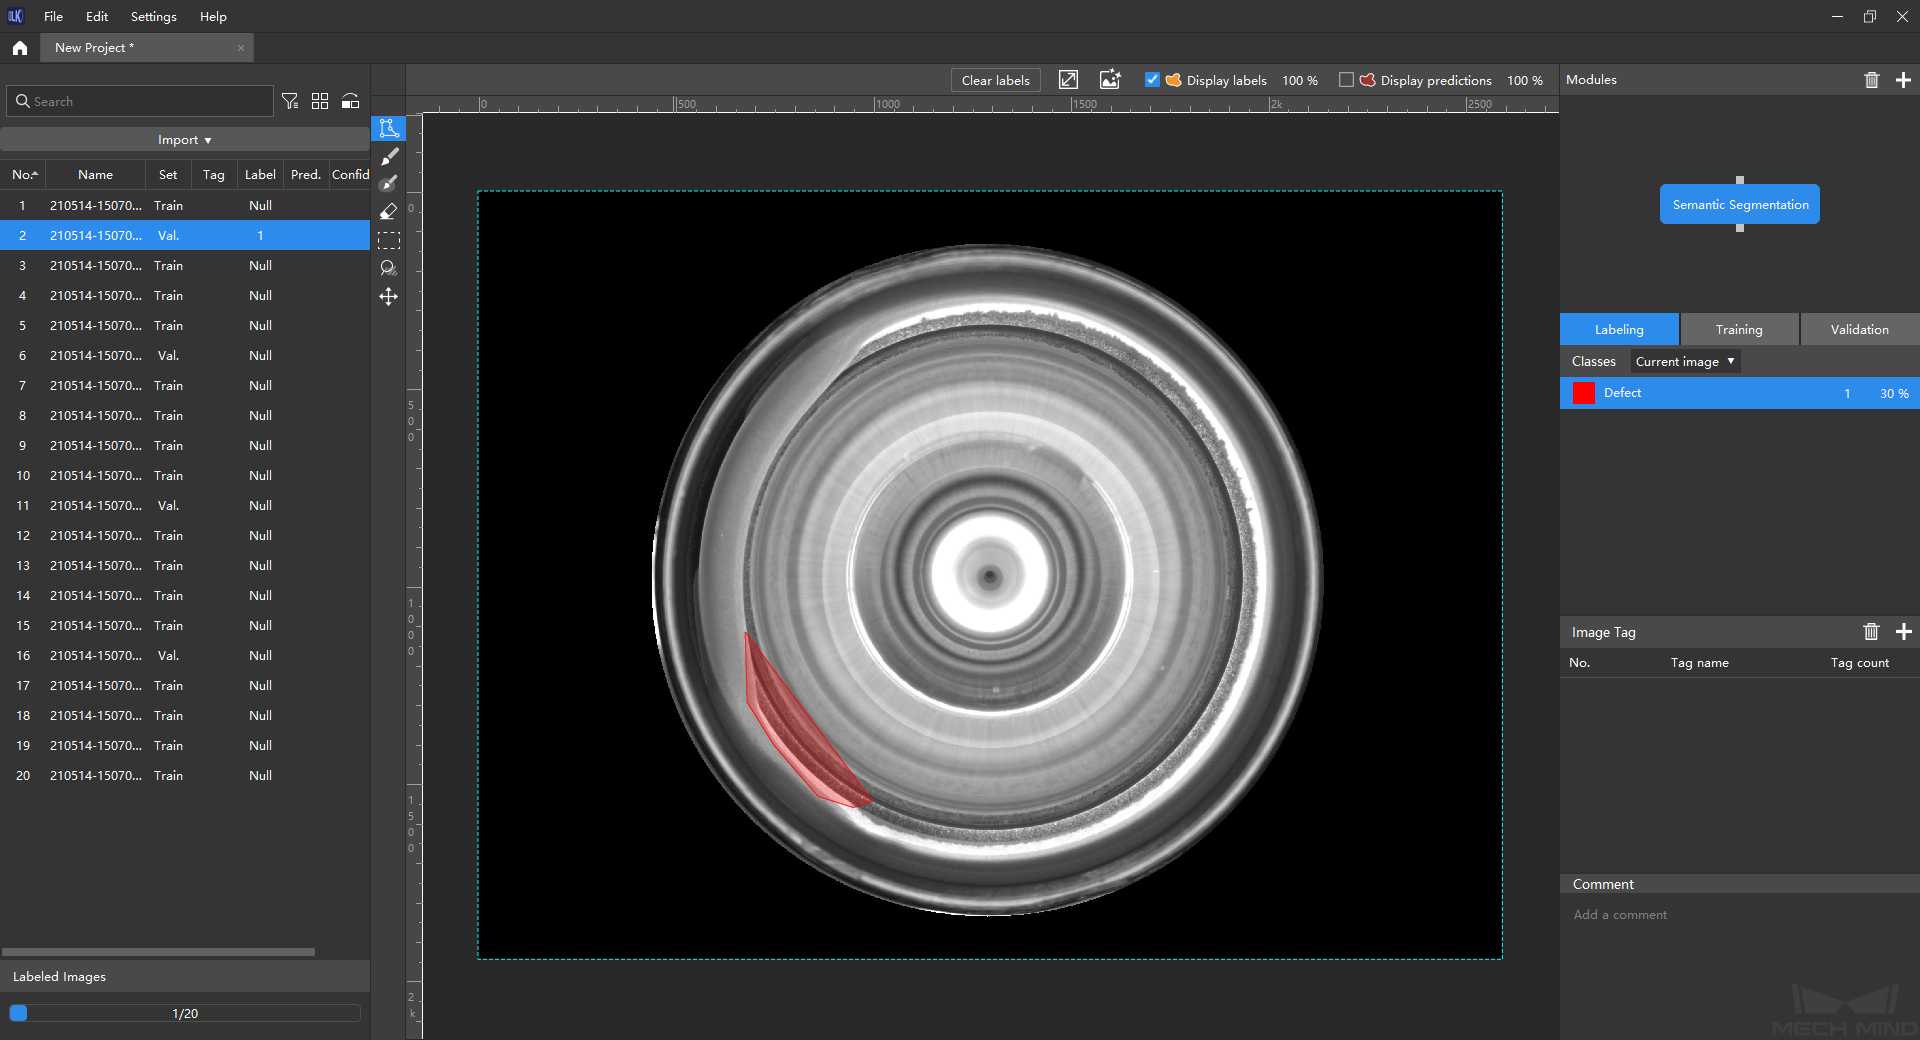
Figure 5. Labeling in Semantic Segmentation
Train the model
Click on Train in the lower right corner to start training. Click on Show chart to check the accuracy and loss during the training.
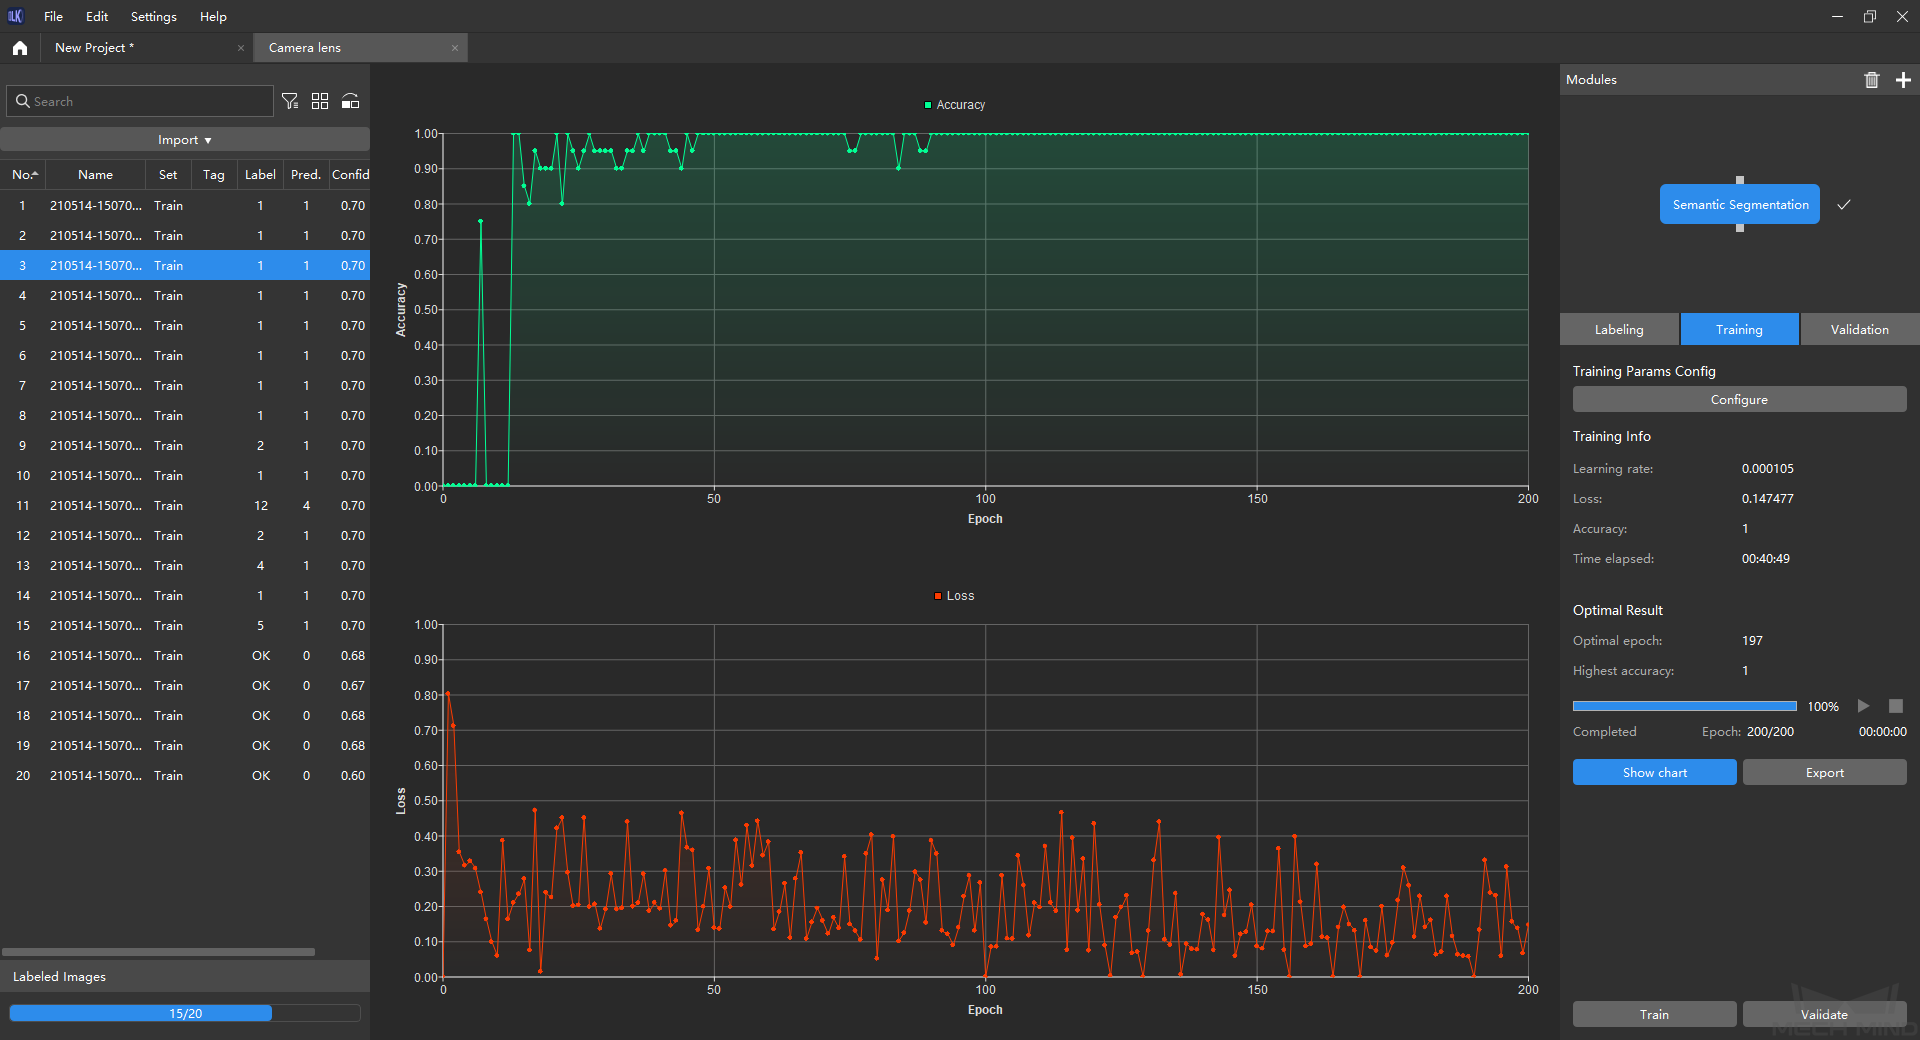
Figure 6. Learning curves in the chart
Validate the model
After training the Semantic Segmentation model, click on Validate to validate the results. A training result will be saved after the validation.
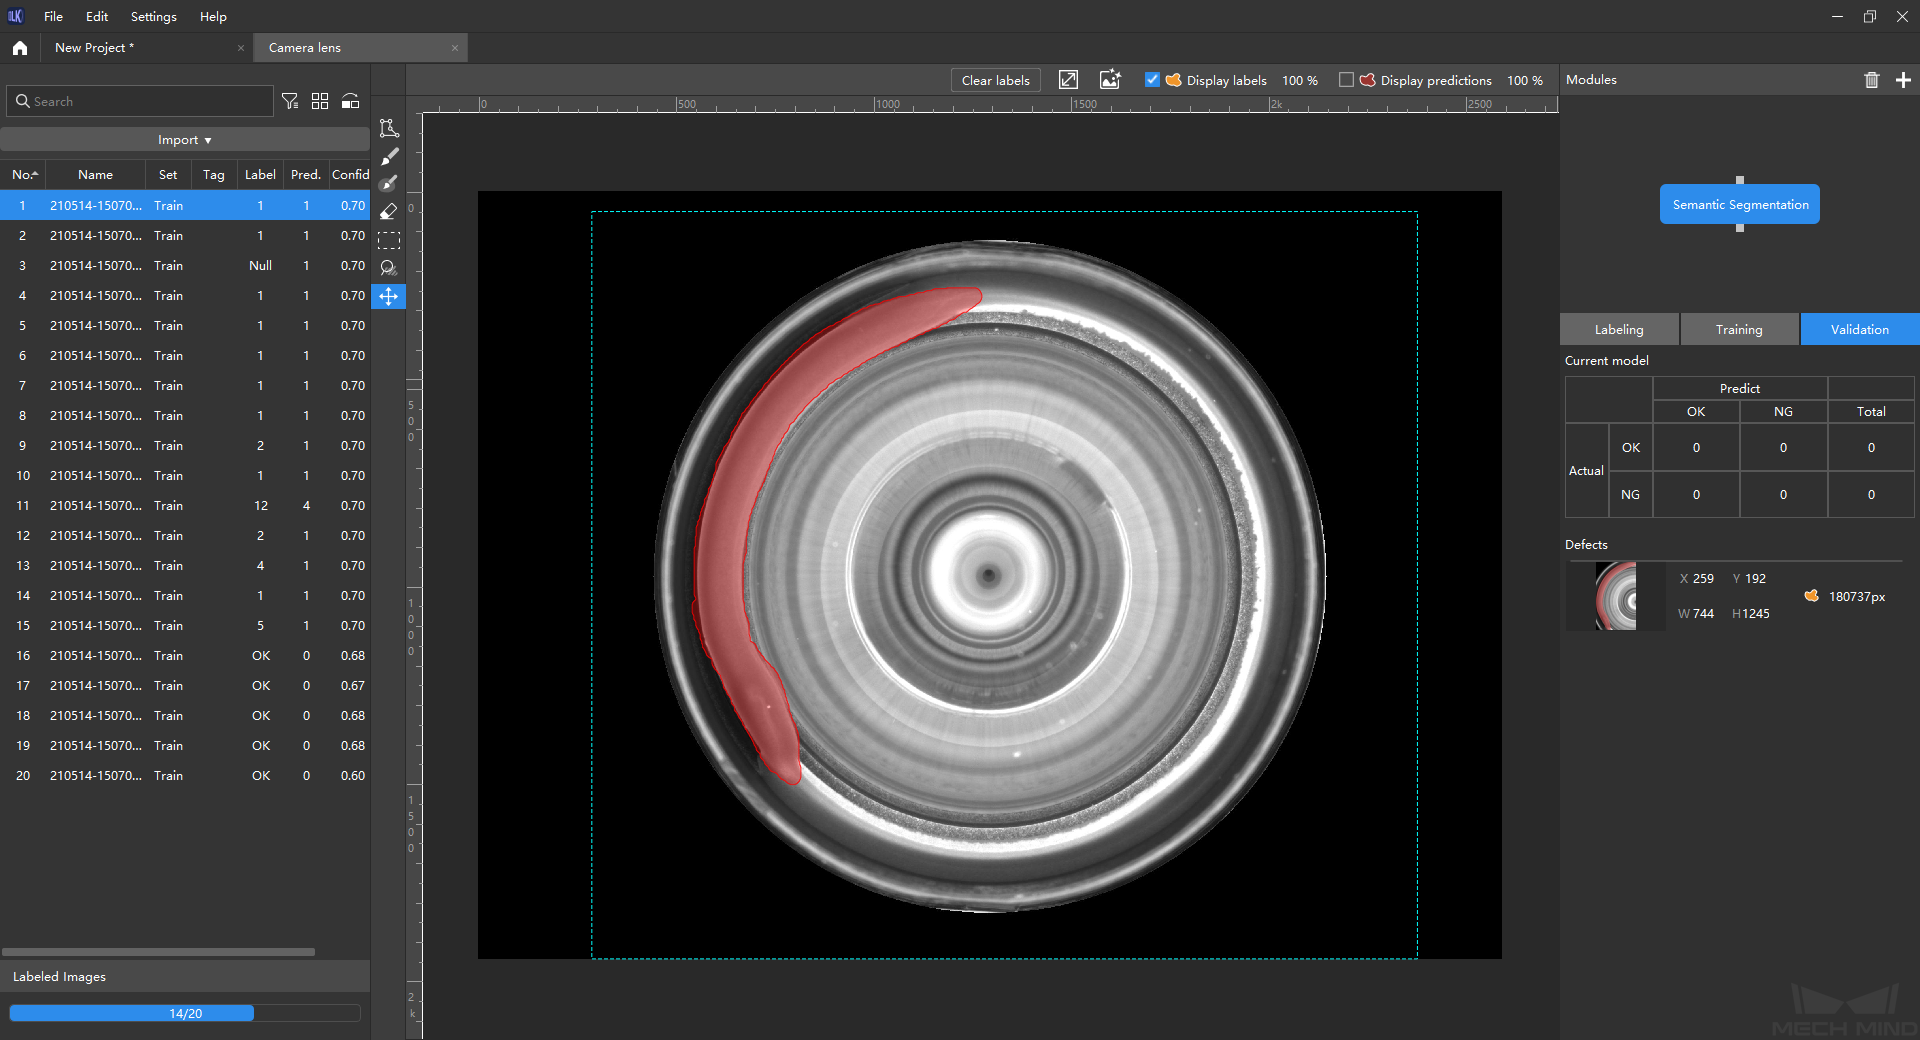
Figure 7. Validation
Add another module
After confirming that the model training is completed and satisfactory, click on
in the upper right corner to add the Classification module.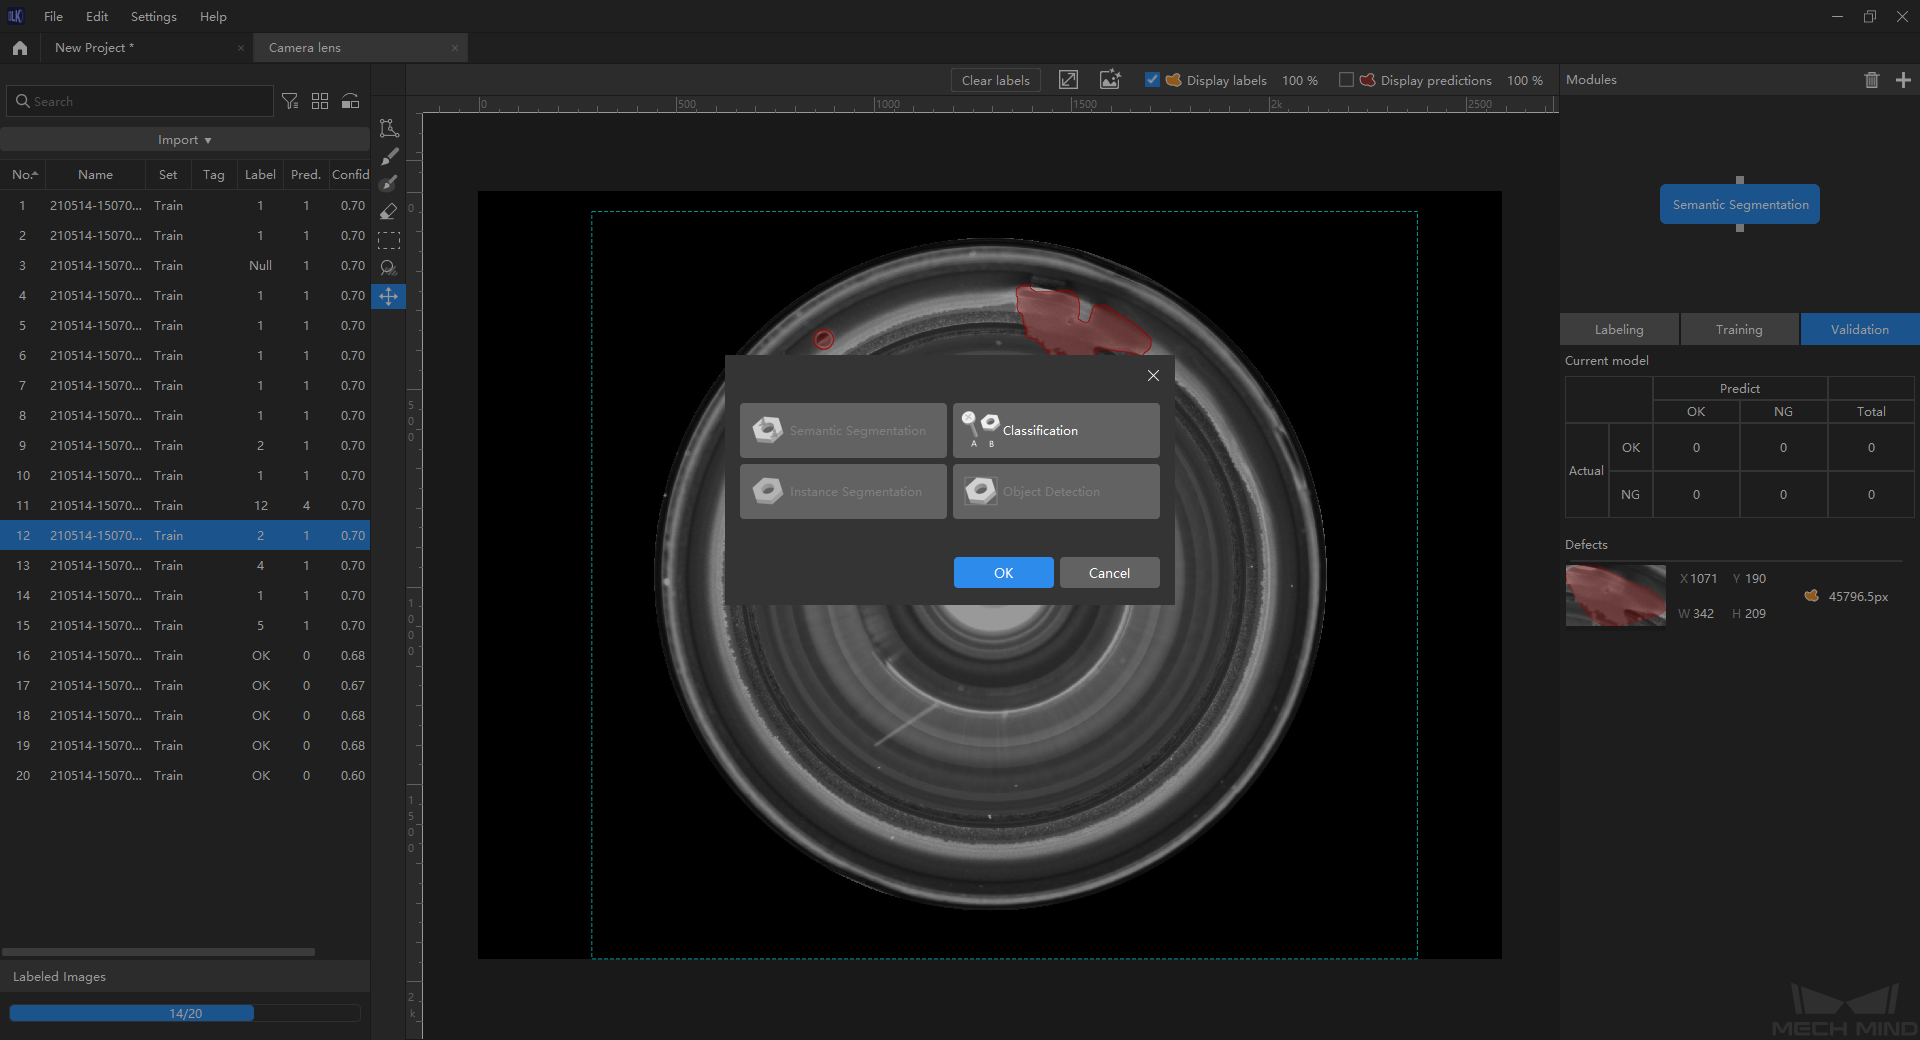
Figure 8. Add another module
Import the data to the Classification module
The training result of the previous model will be imported as the source data to the Classification module. Click on
to display all selectable images, and then manually select the images needed for training/validation of classification.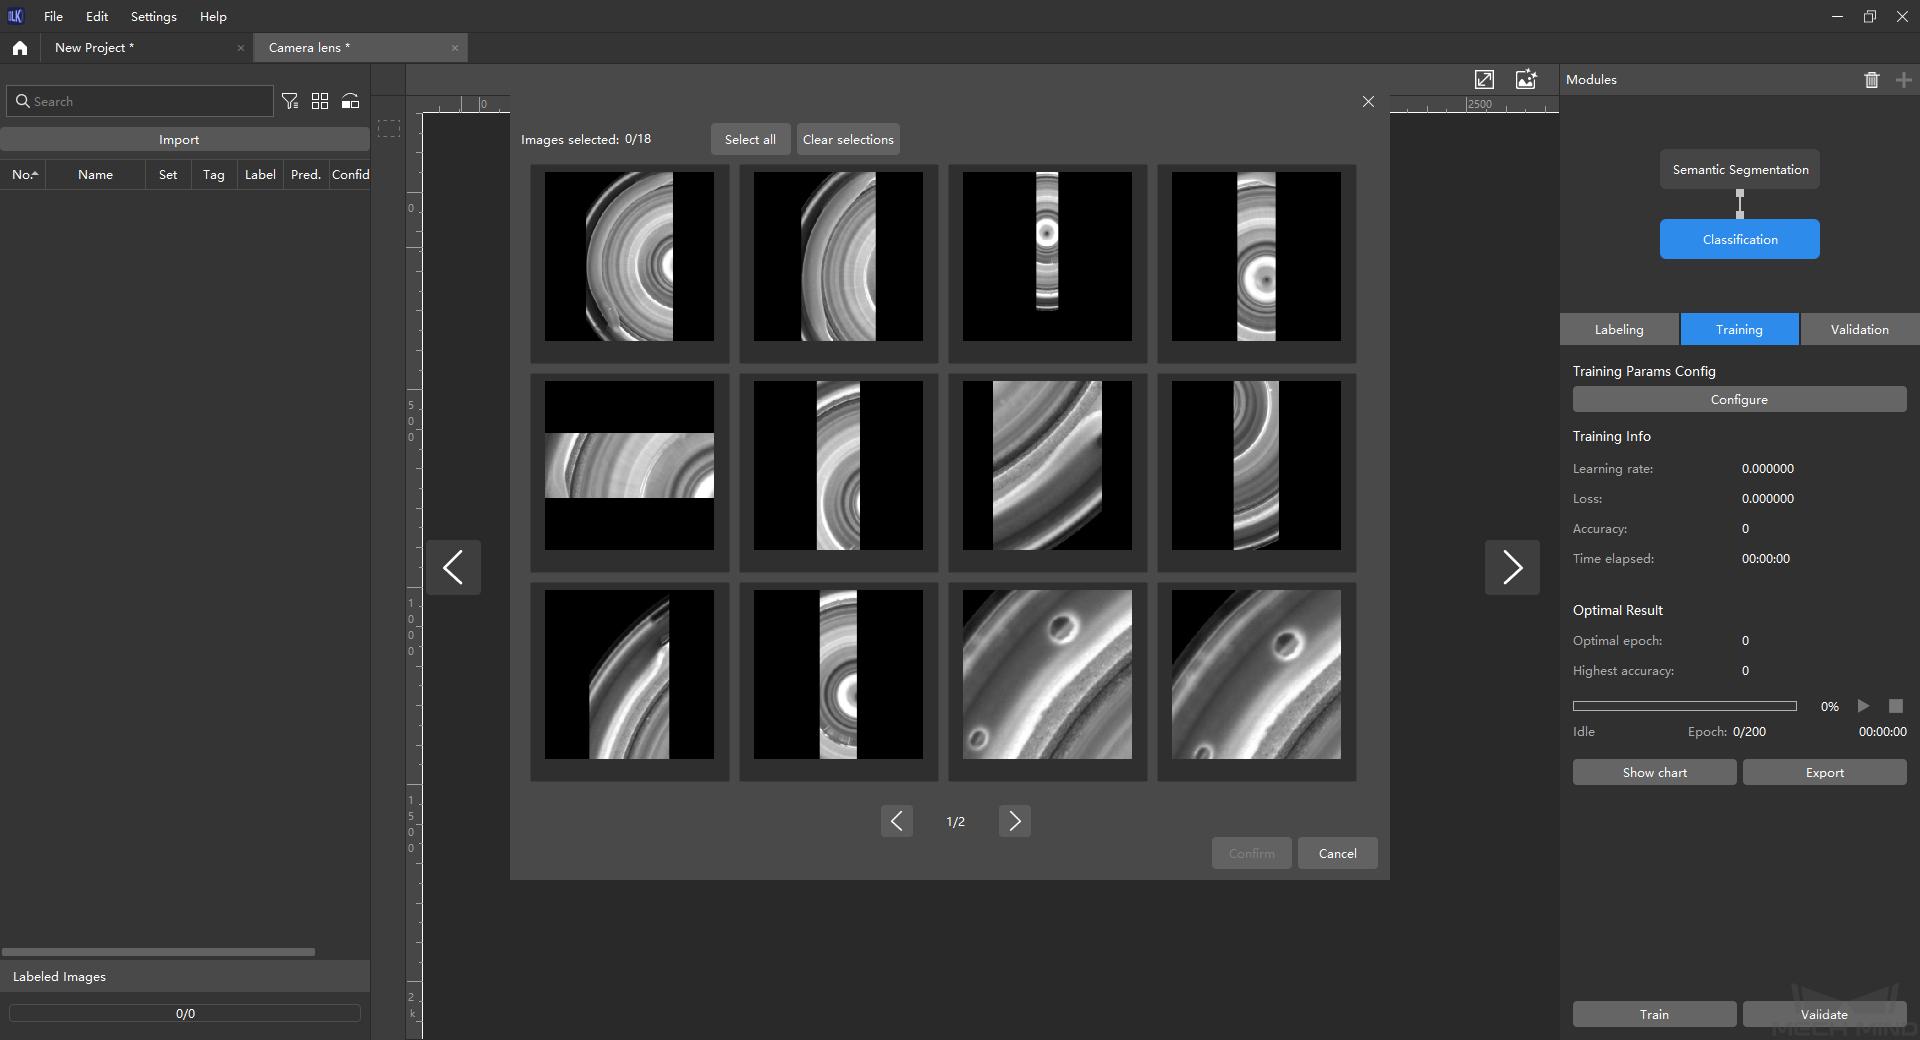
Figure 9. Import source data
Label images of different classes
Before labeling images of different classes, you need to click on
 in the lower left part of the panel Classes to create different labels for different classes. After creating the labels, you can label the images by clicking on
  or
or  .
.
Figure 10. Classification and labeling
Train the model
Click on Train in the lower right corner to start training. Click on Show chart to check the accuracy and loss of the training.
Export the final model
After the training of the model is completed, click on Export to export the trained model. You can select a folder to save the final model, and the model file is as shown below.
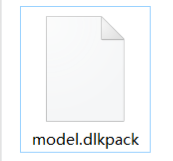
Figure 11. Model file