Basic Parameters for Depth Map and Point Cloud
The following table summarizes which categories of parameters are adjusted for the depth map and point cloud:
Depth map
Point Cloud
Note
Before proceeding, make sure you are familiar with the components and functions of the parameter panel.
The Beginner level parameters are basic parameters and are covered in this topic. The additional parameters in Expert and Guru levels are advanced parameters and are covered in the next topic.
3D Parameters
The parameters in this category affect the images used for calculating depth data, thus affecting the quality of the depth map and point cloud.
The Beginner level parameters in this category include Exposure Multiplier and Exposure Time.
Exposure Multiplier
This parameter sets the number of exposure times. If the value of Exposure Multiplier is greater than 1, multiple Exposure Time parameters must be set. You can set at most three exposure times.
All images captured with different exposure times are used for calculating depth.
Using multiple exposure times can improve the completeness of depth data but also increases processing time.
Exposure Time
This parameter sets the exposure time for capturing the images used for calculating depth data.
Usually, long exposure time is used for dark objects, and short exposure time is used for light objects.
Exposure time too long or too short both may cause loss of depth information in the depth map and point cloud.
Point clouds generated from images captured with different Exposure Time values (all other conditions identical):
1 ms
4 ms
10 ms
50 ms

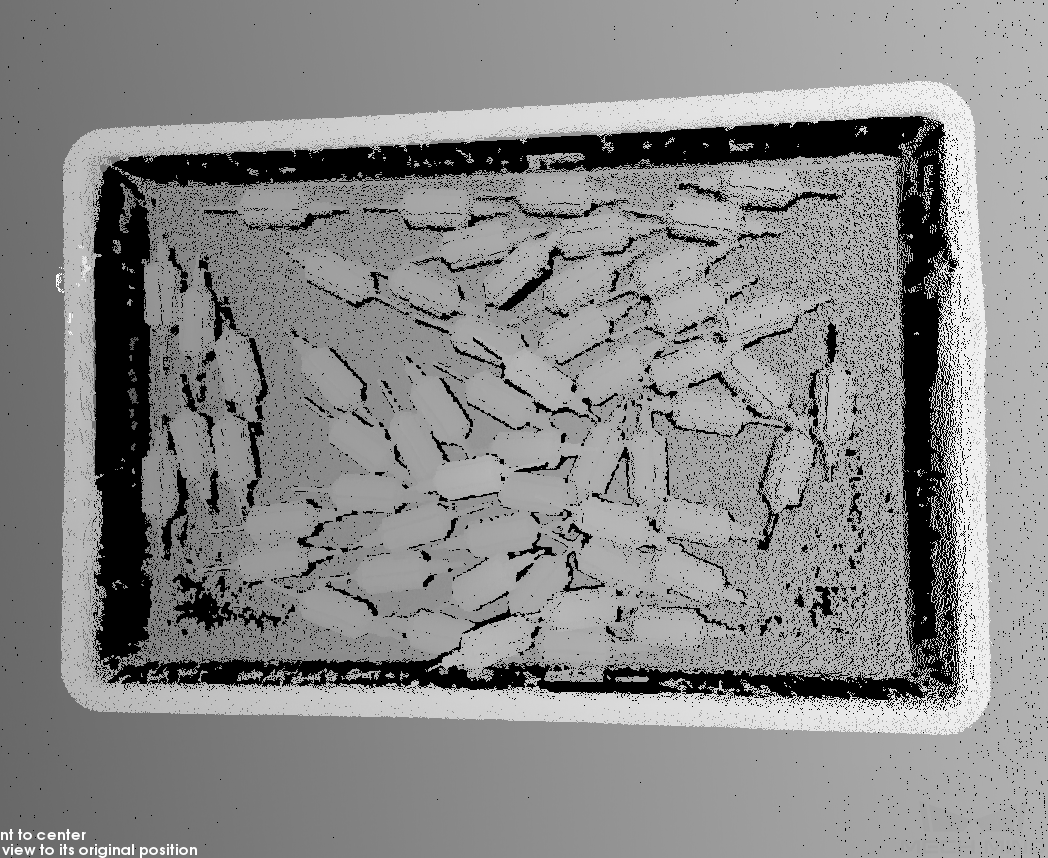


Hint
The regions in black lack the points corresponding the object surface and thus are showing the background color.
Note
The exposure time of a laser camera must be a multiple of 4. The entered value is automatically adjusted.
The minimum value that can be set is 4 ms for the Laser series and 8 ms for other laser cameras.
Hint
Long exposure time(s) increases the capture time and thus may negatively affect the project cycle time. You can try using a larger value of Gain in combination with relatively short exposure time(s).
You can use Exposure Assistant to obtain the recommended values for 3D parameters. To open this tool, double click Auto Set next to 3D Parameters in the parameter panel or click .
UHP
Hint
This parameter category is only available for the UHP series.
Capture Mode
Set which 2D camera(s) is used for image capturing. A UHP camera contains two 2D cameras, the numbering below corresponds to that displayed in Check and Configure 2D Camera.
Option
Description
Camera1
Use Camera 1 to capture images.
Camera2
Use Camera 2 to capture images.
Merge
Use both 2D cameras to capture images. The depth map and point cloud are generated by merging the images. 2D images are captured by Camera 1.
Note
Only Camera1 mode supports setting an ROI.
Point Cloud Processing
The parameters in this category are used to process the generated point cloud.
Principles for Adjusting Point Cloud Processing Parameters
When adjusting the Point Cloud Processing parameters, the capture time and cycle time can be reduced if you follow these principles:
Adjust Outlier Removal first. The calculation time for different intensities of this parameter is about the same. Using a higher intensity will not add to the calculation time too much.
It is recommended to use low intensities of Surface Smoothing and Noise Removal. The higher the intensities of these two parameters, the longer the calculation time.
Surface Smoothing
Surface smoothing reduces the depth fluctuation in the point cloud and improves its resemblance to the actual object surface. At the same time, surface smoothing causes loss of object surface details.
Values:
Off
Weak
Normal
Strong
Default value: Off
Instructions:
The more intense the surface smoothing, the more details are lost.
The more intense the surface smoothing, the longer it takes.
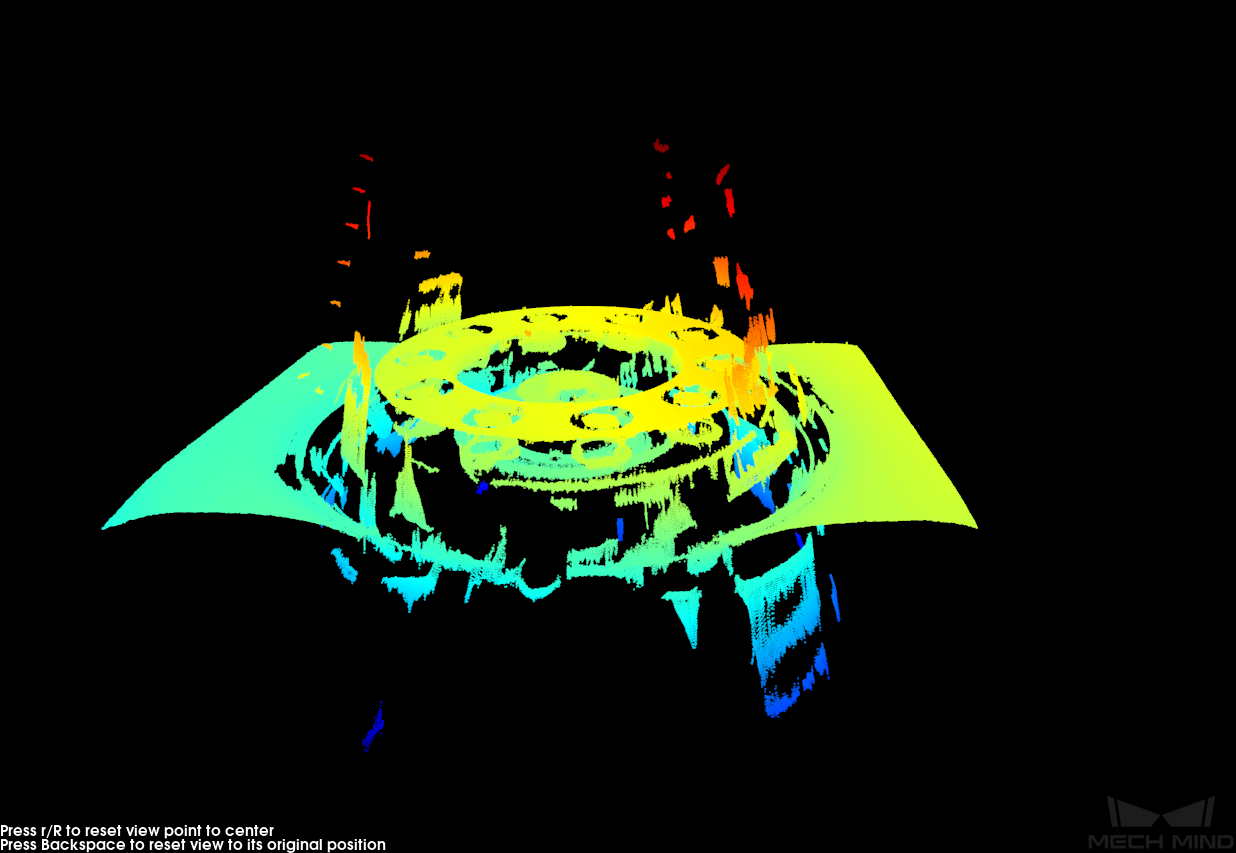
Point clouds generated with different surface smoothing intensities (all other conditions identical):
Off
Weak


Normal
Strong


Outlier Removal
Outlier removal removes the outliers in the point cloud. Outliers are clustered points away from the object point cloud.
Values:
Off
Weak
Normal
Strong
Default value: Weak
Instructions:
The more intense the outlier removal, the more outliers are removed.
If the object point cloud contains multiple parts, high intensities of outlier removal might remove some parts. For example, if the object is a cup, outlier removal might remove the point cloud of the handle part.
Point clouds generated with different outlier removal intensities (all other conditions identical):
Off
Weak


Normal
Strong

Noise Removal
Noise removal removes the noise in the point cloud. Noise is the scattered points close to the object surface.
Values:
Off
Weak
Normal
Strong
Default value: Weak
Instructions:
The more intense the noise removal, the more noise is removed, but some object feature might also be removed.
The more intense the noise removal, the longer it takes.
Point clouds generated with different noise removal intensities (all other conditions identical):
Off
Weak


Normal
Strong


Hint
If this function removes the needed object features, please reduce the intensity. However, more noise will be retained.
Edge Preservation
Note
This parameter is only available at the Guru visibility level.
This parameter preserves the sharpness of object edges during surface smoothing.
Values:
Sharp
Normal
Smooth
Default value: Normal
Instructions:
Sharp: Preserves the sharpness of object edges as much as possible. However, the effect of surface smoothing will be reduced.
Normal: Balances between edge preservation and surface smoothing.
Smooth: Does not preserve the edges. The object surface will be well smoothed, but the object edges will be distorted.
Stripe Contrast Threshold
Increasing the value of this parameter can remove noise in the depth map and point cloud. However, the points of dark objects might be lost.
Note
It is recommended to adjust Point Cloud Smoothing and Outlier Removal first. If the level of noise is still high, please increase the value of this parameter.
The “stripe” in the parameter name refers to stripes in the structured light pattern captured in the images.
Point clouds generated with different Stripe Contrast Threshold values (all other conditions identical):
3
15
30


Depth Range
This parameter sets the depth range in the camera reference frame. Points outside this range are removed from the depth map and point cloud.
Hint
Adjusting this parameter simultaneously changes the max and min depth values in the depth map and point cloud display.
To set the depth range:
Double-click Edit next to Depth Range.
In the pop-up window, adjust the view of the point cloud and the depth range.
Adjust the view of the point cloud: Use the actions listed here to adjust the view. A good view allows you to see the two gray squares representing the lower and upper limits of the depth range and the obtained point cloud. All points between the two squares will be preserved.

Adjust the depth range: Drag the handles on the slider or enter the values in the text boxes. An appropriate range would sandwich all the desired points between the two gray squares while excluding unwanted points as much as possible.
Note
Click Recommended Range to automatically adjust the depth range to the recommended working distance of the camera model.
Click Reset to restore the last saved depth range.
Click Save to save the changes.
The same point cloud with different Depth Range values:
Too large
Appropriate
Too small


Note
If the depth range is too large, more noise are preserved. If the depth range is too small, points that are needed may be cut off.
Hint
You can use Depth Analyzer to check the depth map quality.
ROI
Set the ROI in the XY-plane for the depth map and point cloud. Points outside the selected region are removed.
To set an ROI:
Double-click Edit next to ROI.
Drag the cursor on the image to select an ROI. Adjust the size and position of the selection box if needed.
Note
For the LSR series, if the image displayed here is too bright/dark, please adjust the 2D Image (Depth Source) Exposure Mode parameter.
Click Apply to finish setting the ROI.
Hint
Click Clear to delete the set ROI.
Click
 or
or  to perform image capturing. The obtained depth map and point cloud is now trimmed by the set ROI.
Hint
If the quality of the depth map and point cloud is still unsatisfactory after adjusting the parameters, you can save the camera raw data in the File menu and send it to Technical Support.
Continue reading for descriptions of the advanced parameters for the depth map and point cloud.